I have been asked how I extracted the cutless bearing from Anne Marie and then put in a replacement. It was a long process of trial and error this is in summary how it worked.

The cutless bearing holds the propeller shaft in place when it spins in the hull. Without a cutless bearing the shaft would flap about and break. It is water-lubricated so water can get past the bearing so it is not a seal. Propeller shafts need an internal seal to prevent the boat filling with water. In Anne Marie’s case this is a Volvo Penta drip-less shaft seal.


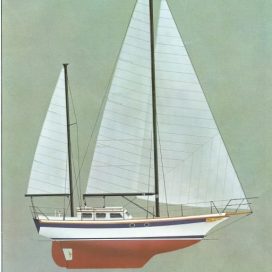
Some boats with long propeller shafts have more than one cutless bearing and some have a bearing in the ‘skeg’. Anne Marie has a long traditional style keel so the cutless bearing fits inside the stern tube which carries the propeller shaft.

EXTRACTING THE OLD BEARING
Firstly I had not got the rudder fitted at this point. The arrangement I used would need to be tweaked if the rudder was present. I also withdrew the propeller shaft too so I had total access to the stern tube and the existing cutless bearing.
Importantly some bearings are secured in place with a grub screw so you need to grind away paint and filler to find out if one is fitted. Fortunately (or unfortunately) for me there was not one. Skegs often use grub screws because they are a ‘loose’ fit and the grub screw holds the bearing in place. With Anne Marie it is held in place by friction.
I made up a small disk of plate metal just the right diameter to fit inside the stern tube. This took some time because I wanted to make certain that it would not jam and that the plate was strong enough – I used 6mm plate steel. The disk had to be small enough to just slide freely into the empty shaft but not too small so as to move past the existing bearing. A cutless bearing shell is about 3 mm thick so there is not much room for error.
I drilled a 12 mm diameter hole in the centre of this disk to take a 12 mm diameter threaded steel rod about 1m long. I bolted the disk at one end of the rod using four bolts to lock it in place (two either side) so it would not undo when under strain – and there was a lot of that!
I made up a U shaped wooden jig with 4″x 2″ (100×50) timber long enough to take the extracted bearing – it was about 6″ (150) long and 4″ (100) wide – and I drilled a 12 mm hole centrally through the bottom of the U. I then threaded the rod from the inside of the boat, through the stern tube, so that the disk was on the inside of the boat and the free end on the outside.
I then pushed the U-shaped jig down the free end of the rod so that the two ends of the jig pressed against the hull either side of the bearing. In that way I was able to pull the rod through the shaft by turning the nut on the outer (free) end. I had to place a large washer on the outer end to spread the load because the pressure created tended to pull the nut into the wood rather than the nut pulling the rod through the shaft.
It was then a case of using a 12mm ring spanner and just winding and winding – and winding. Every now and then I gave the bearing a light tap of encouragement with a hammer and it slowly pulled out. After about 30 minutes it was out.
PUTTING A NEW ONE IN
This was a different story and took a while.


I read up about this but most videos and blogs were pretty unhelpful which just told me it was going to be difficult. None showed a cutless bearing on a long-keeled boat, they were all skeg type.
You are supposed to install the bearing in a specific orientation too but when writing this I can’t remember what that is so look it up.
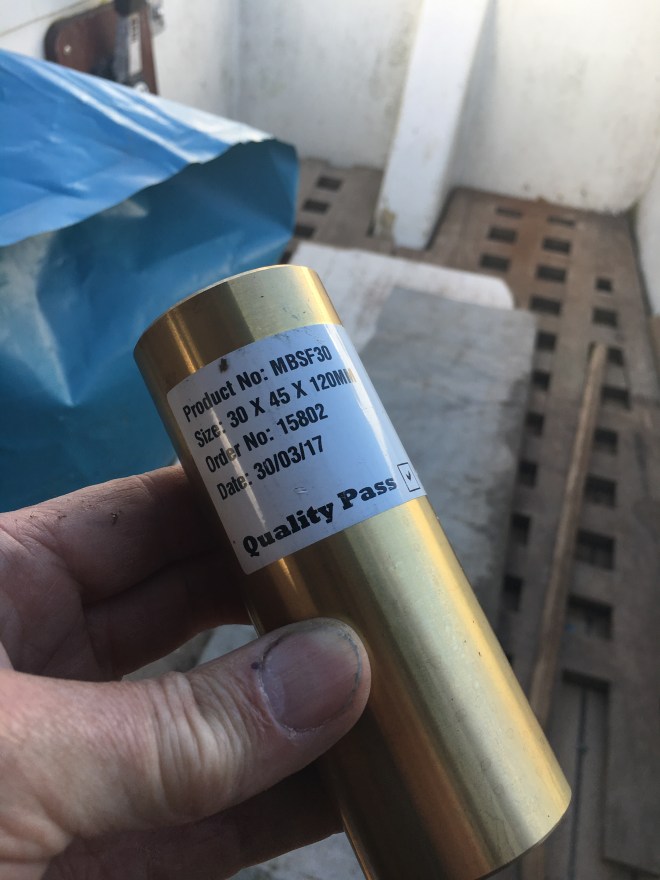
I started by freezing the new bearing overnight and keeping it in a cool box until needed. I persuaded myself that this would shrink the bearing’s diameter so that it would be easily inserted. I’m not convinced.
I also cleaned out the stern tube to remove scratches, burrs or dirt/dust to reduce any friction. I also wetted the inside surface. Don’t be too fastidious here as you need to maintain the size of the stern tube as you want the bearing to sit tight once in.
Then I used the reverse principle to wind the bearing into place but this proved almost impossible. I got the bearing about one-third in and then it just locked solid. I had it aligned correctly but the friction was just too great. I took it out, cooled it down and tried again, probably half-a-dozen times.
Eventually I succumbed to the little devil on my shoulder which kept on saying “Hit it hard and if it doesn’t work use a bigger hammer”. My bigger hammer was a 7lb (3kg) sledge hammer and a colleague. You know the saying “When I nod my head, hit it”, well that was pretty much what we did.
We used a variety of ‘dollies’ to protect the shaft such as the 4×2 timber but the best proved to be a 3×2 piece of heavy duty, hard rubber which was lying around. I never found out whose it was and it’s probably still where I left it.
Putting the new bearing in was a significantly difficult job and I hated that I had to resort to brute force but there really was no other way for a simple soul like me to get it in. Good luck with yours!
Now I have done a video of the removal. I was too knackered to video the installation but there are some photos.

An almost unique and straightforward description of removal from the stern tube rather than the hundreds that describe an easy peasy P bracket removal.Confirms my own preparations for deploying a puller even down to use of an Exalto replacement.
Although I have a concern that the stern tube is not continuous and quite possibly of lesser diameter at the inward end – we will see when the stuffing box is removed.
Thank you for sharing.
LikeLike
Nice description and great job. Did you try lubricating the stern tube and new bearing with the likes of a teflon lubricant or soap or soapy water?
LikeLike
Hi Geof. Yes I used soap and water as I read that you should use something that would wash away.
LikeLike