


OMG! I leave Alan for three days and look what happens. He has ripped out all of the port side of the main cabin including the navigation table. It was mostly rotten but what a change.
Category: Uncategorized
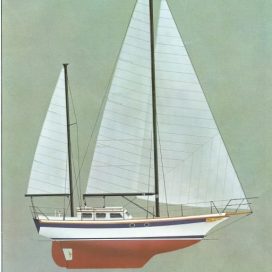
The old engine
Would you believe that this is the engine that used to run Anne-Marie? It’s a Perkins 4.108 diesel. You can see that it is rather rusty and has seen better days. It’s missing a good few pieces but I do have the gearbox and water pump in another shed. This is a job for the summer. Maybe.

That sinking feeling
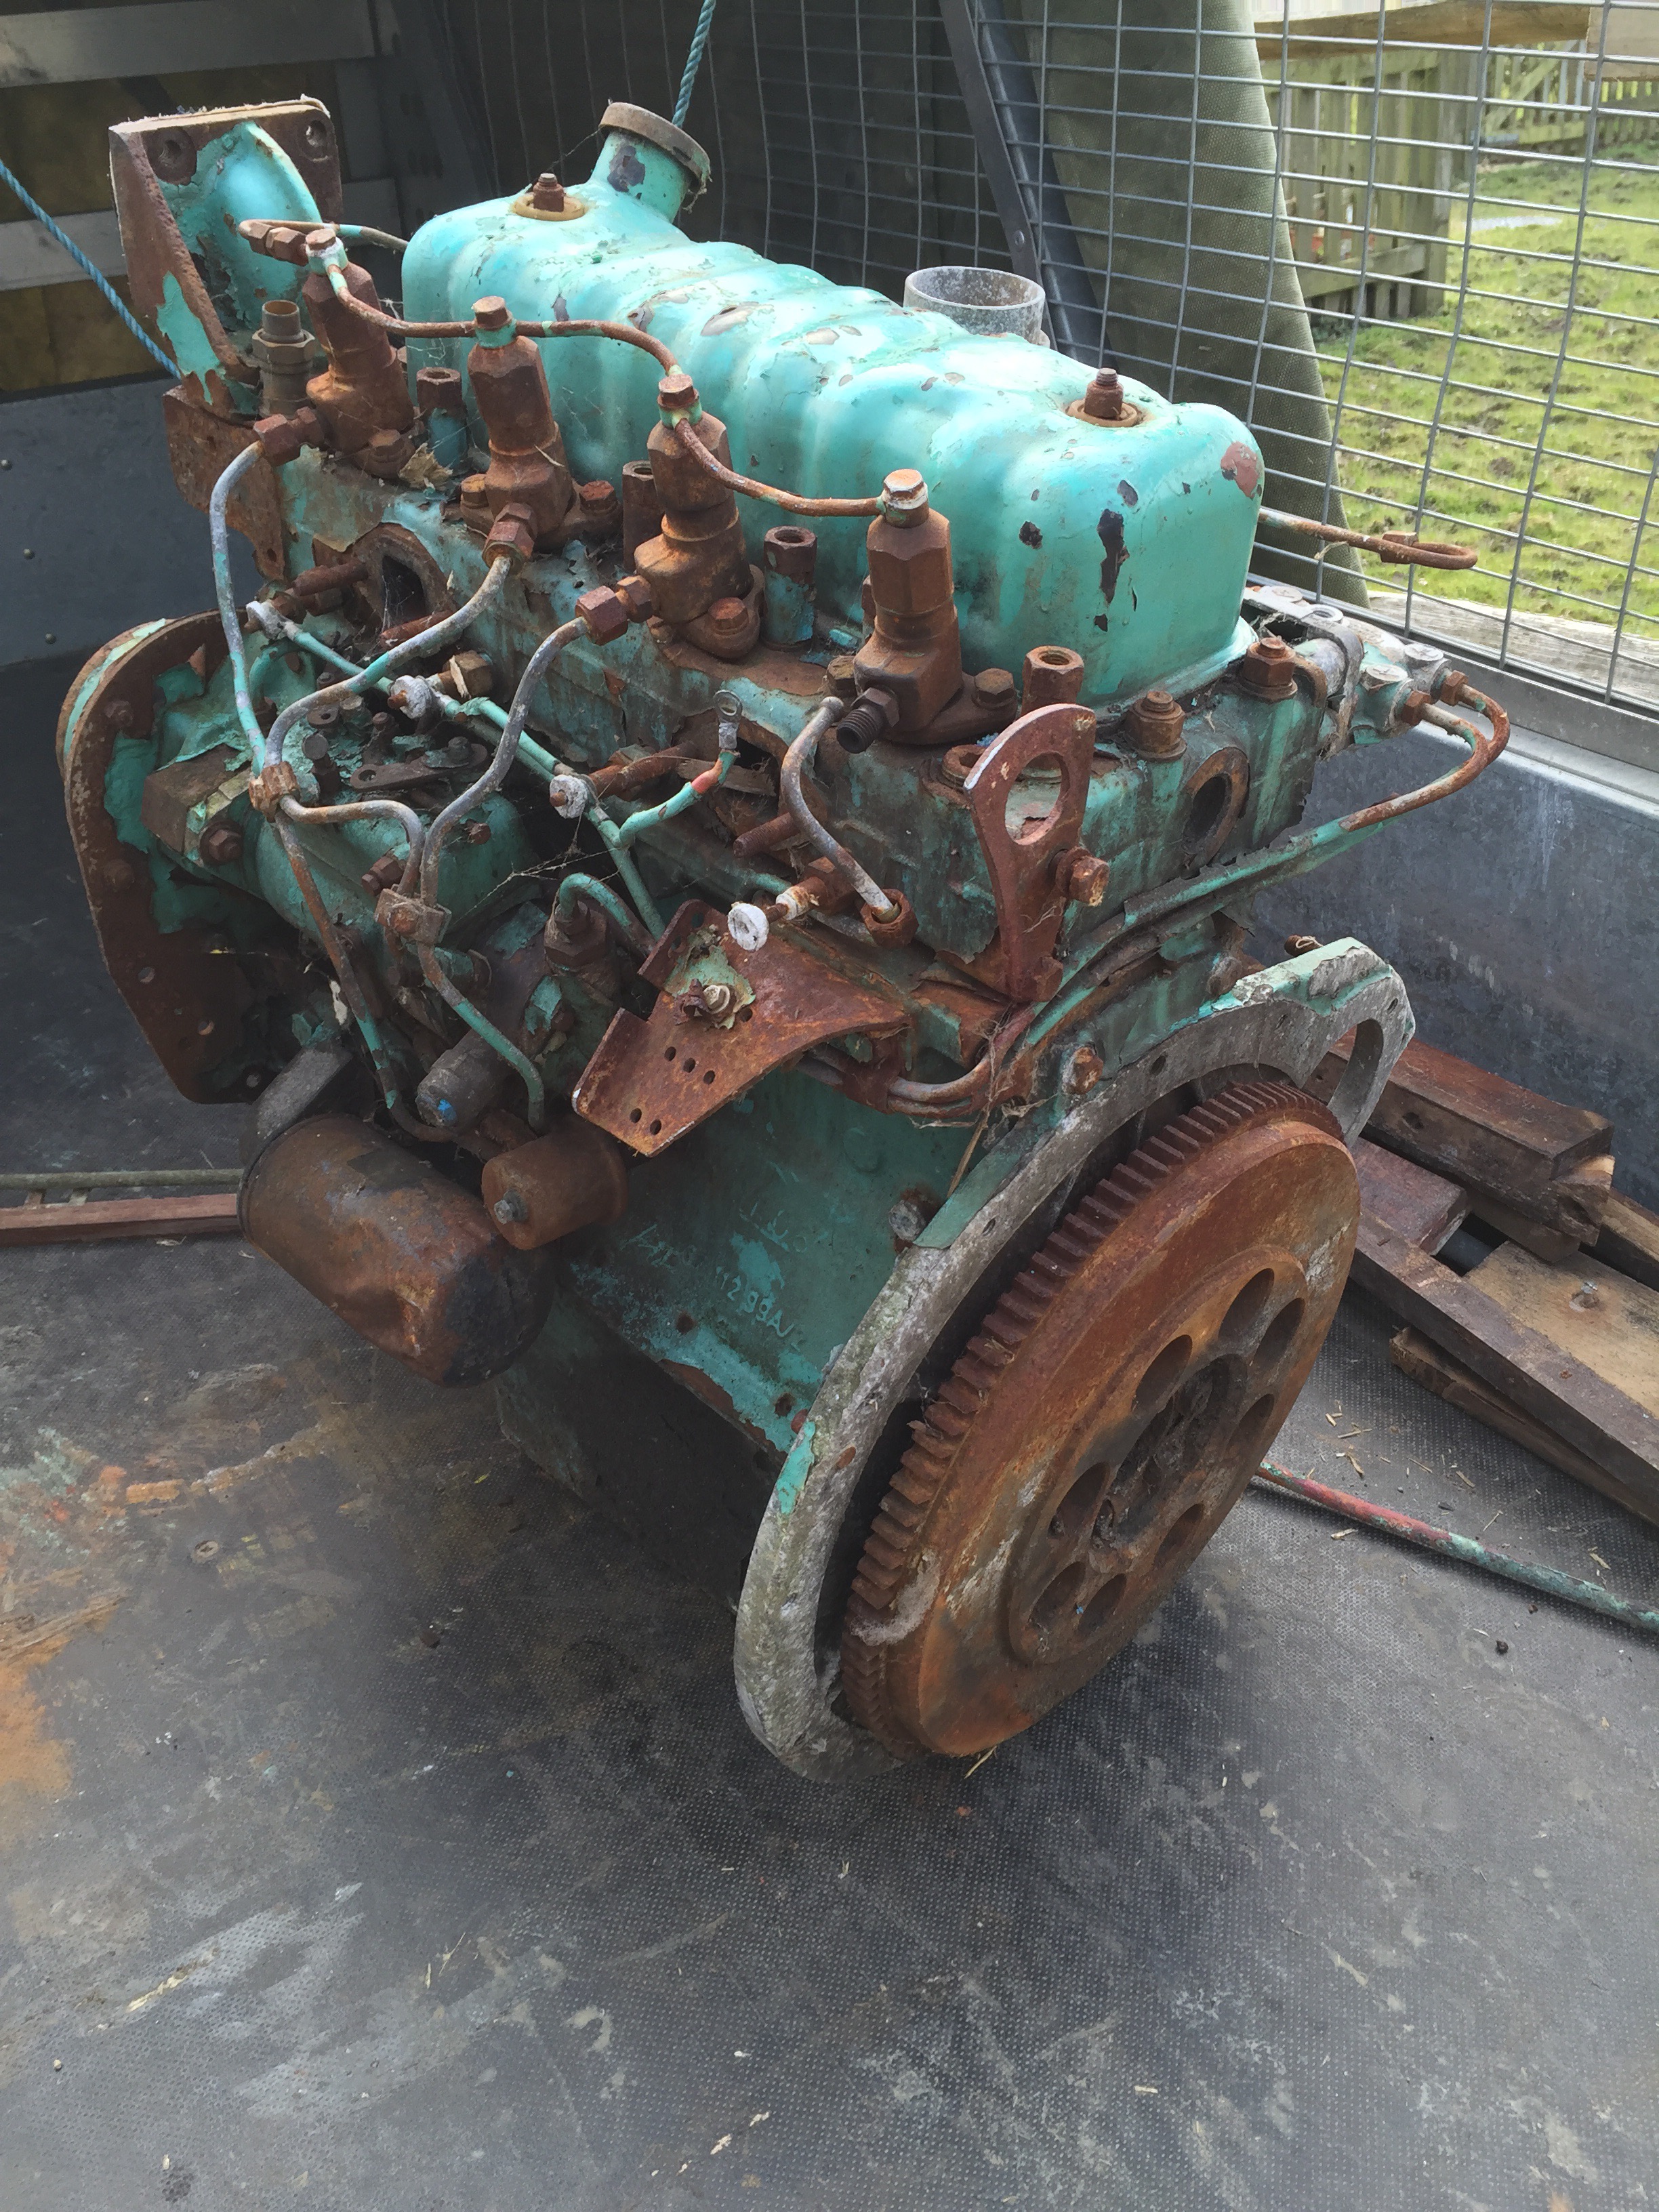
These are the three through-hull fittings that link the toilet and wash basin to the sea. They are supposed to be shiny and clean.


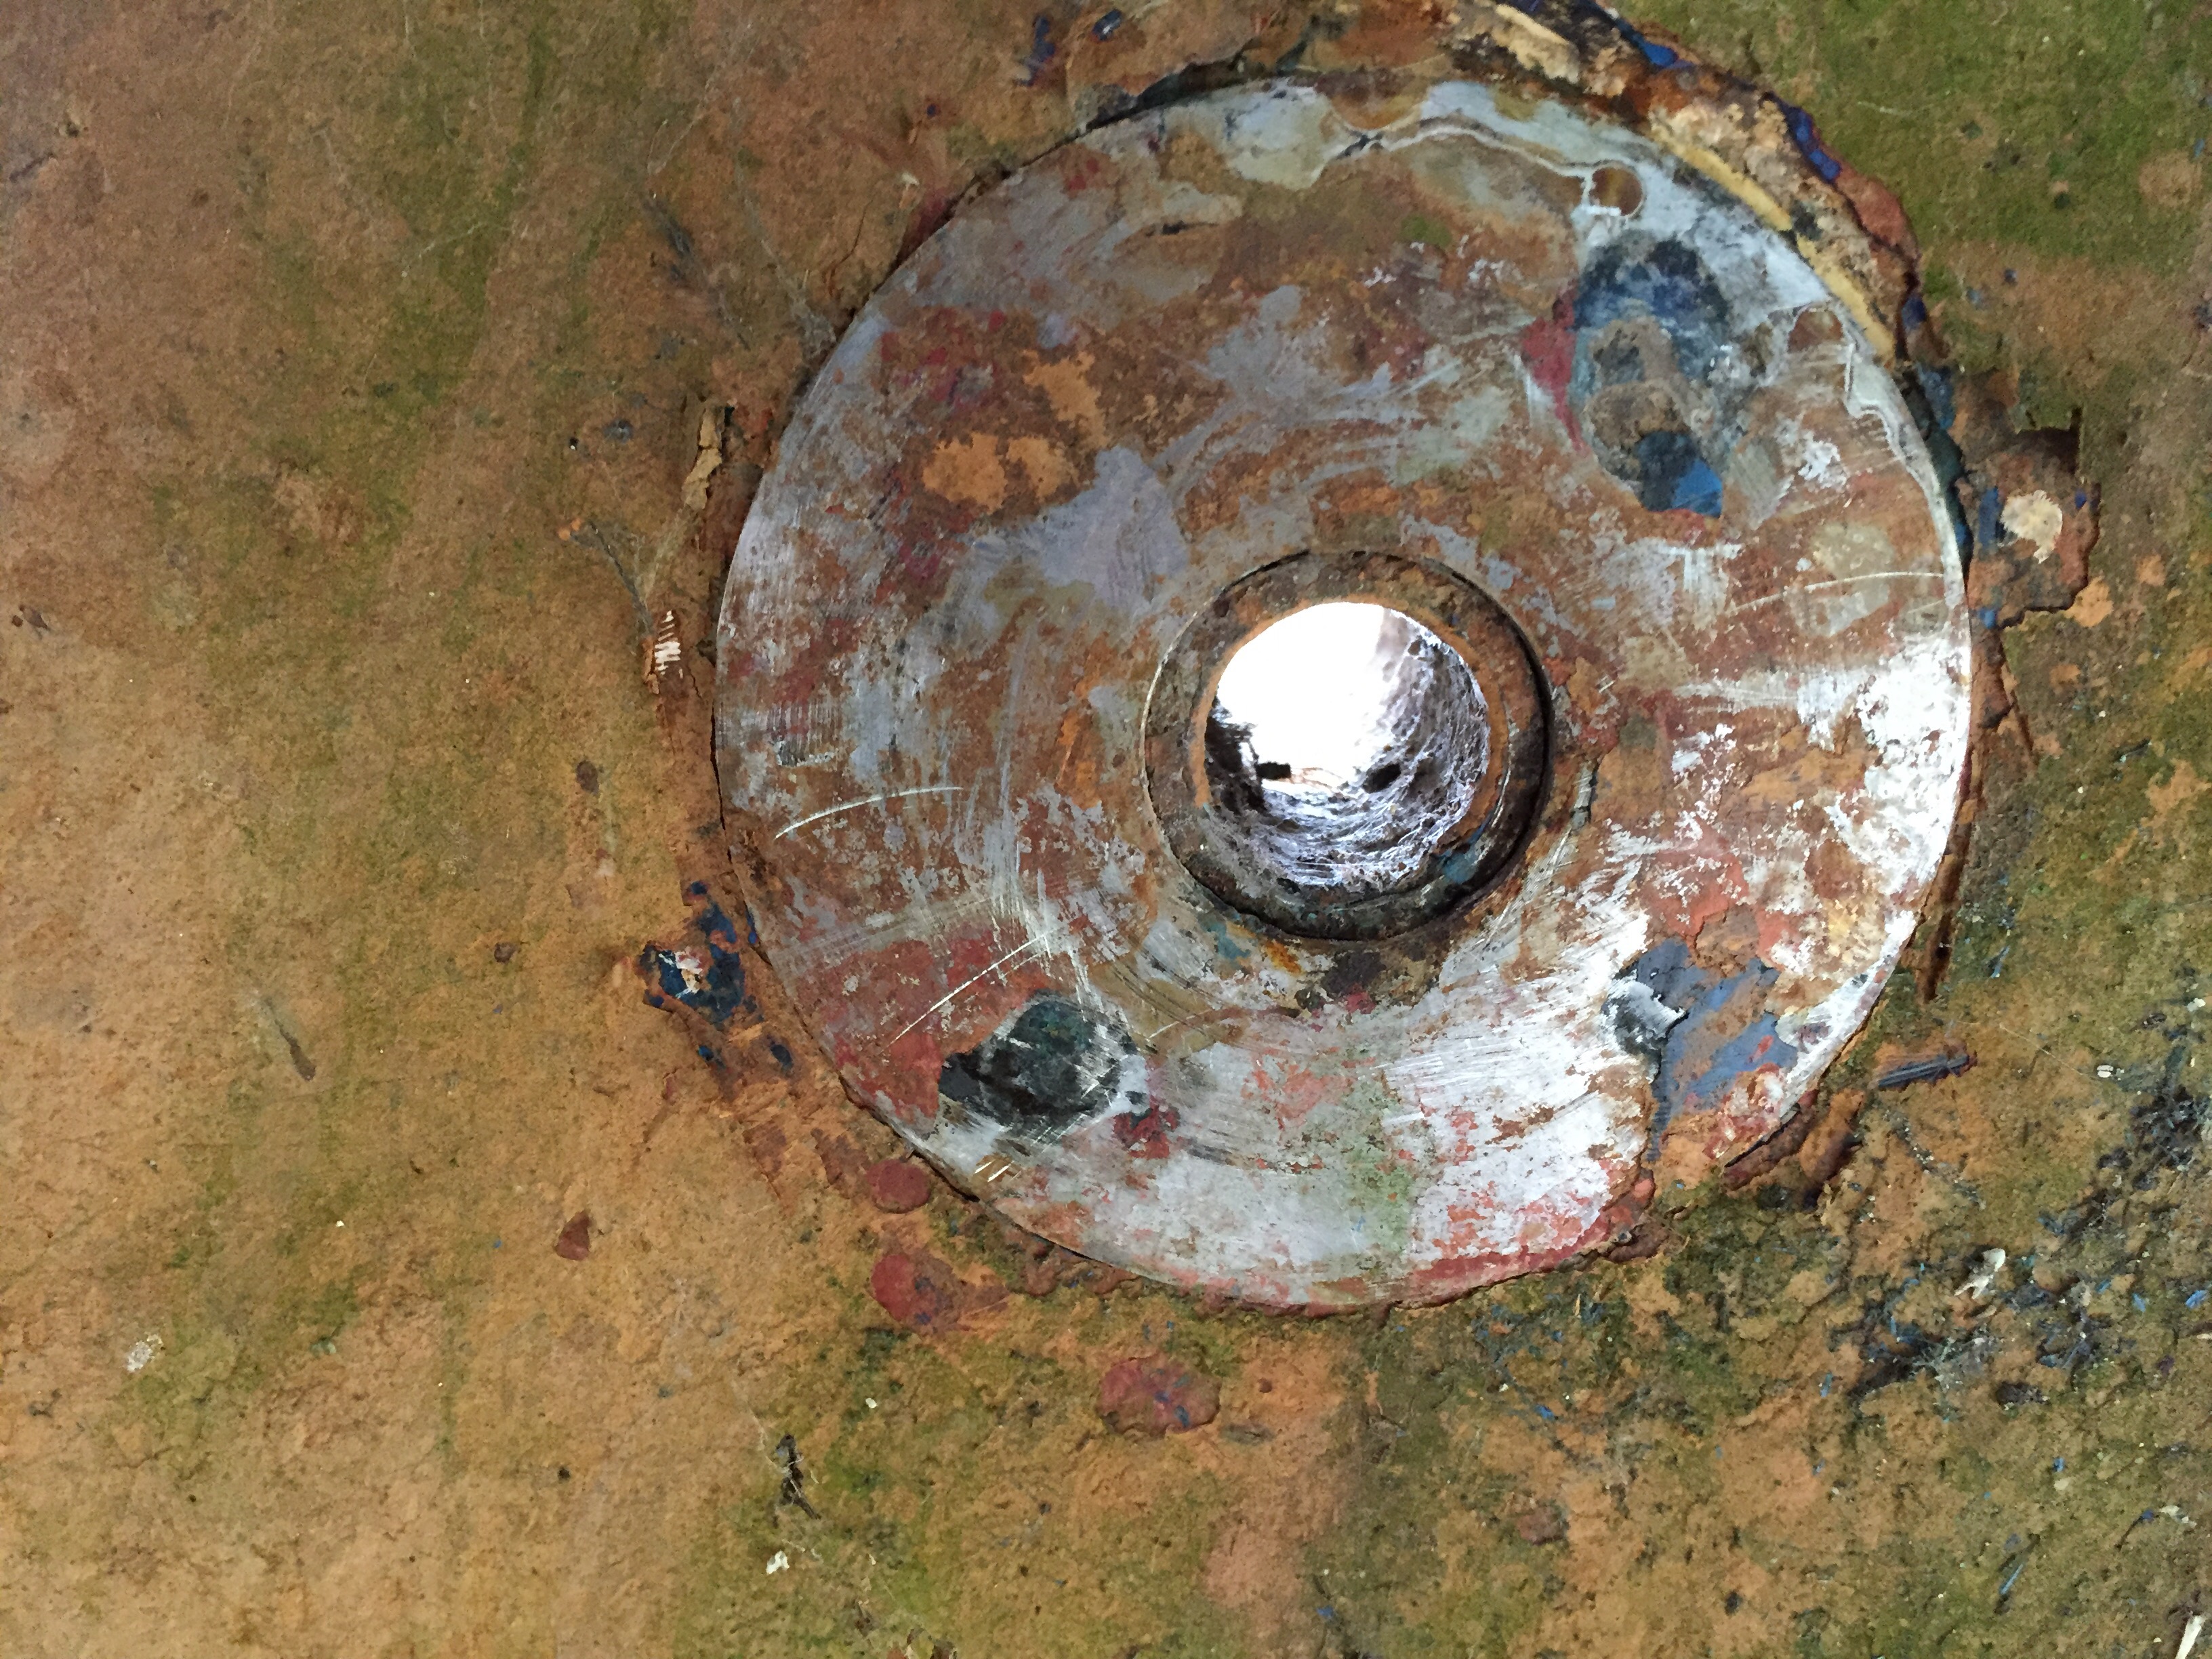


The two large ones are stainless steel and the smallest is bronze. The large ones have been fixed by galvanised steel nuts which have rusted to nothing.
When I tried to remove the smallest it turns out to be brass. Now brass is an alloy very rich in zinc and this corrodes away in seawater through electrolysis called de-zincivisation. Only the zinc disappears so the metal becomes very weak. I tapped it with a spanner (as you do) and it crumbled into pieces. The pink colour is the brass after zinc loss.
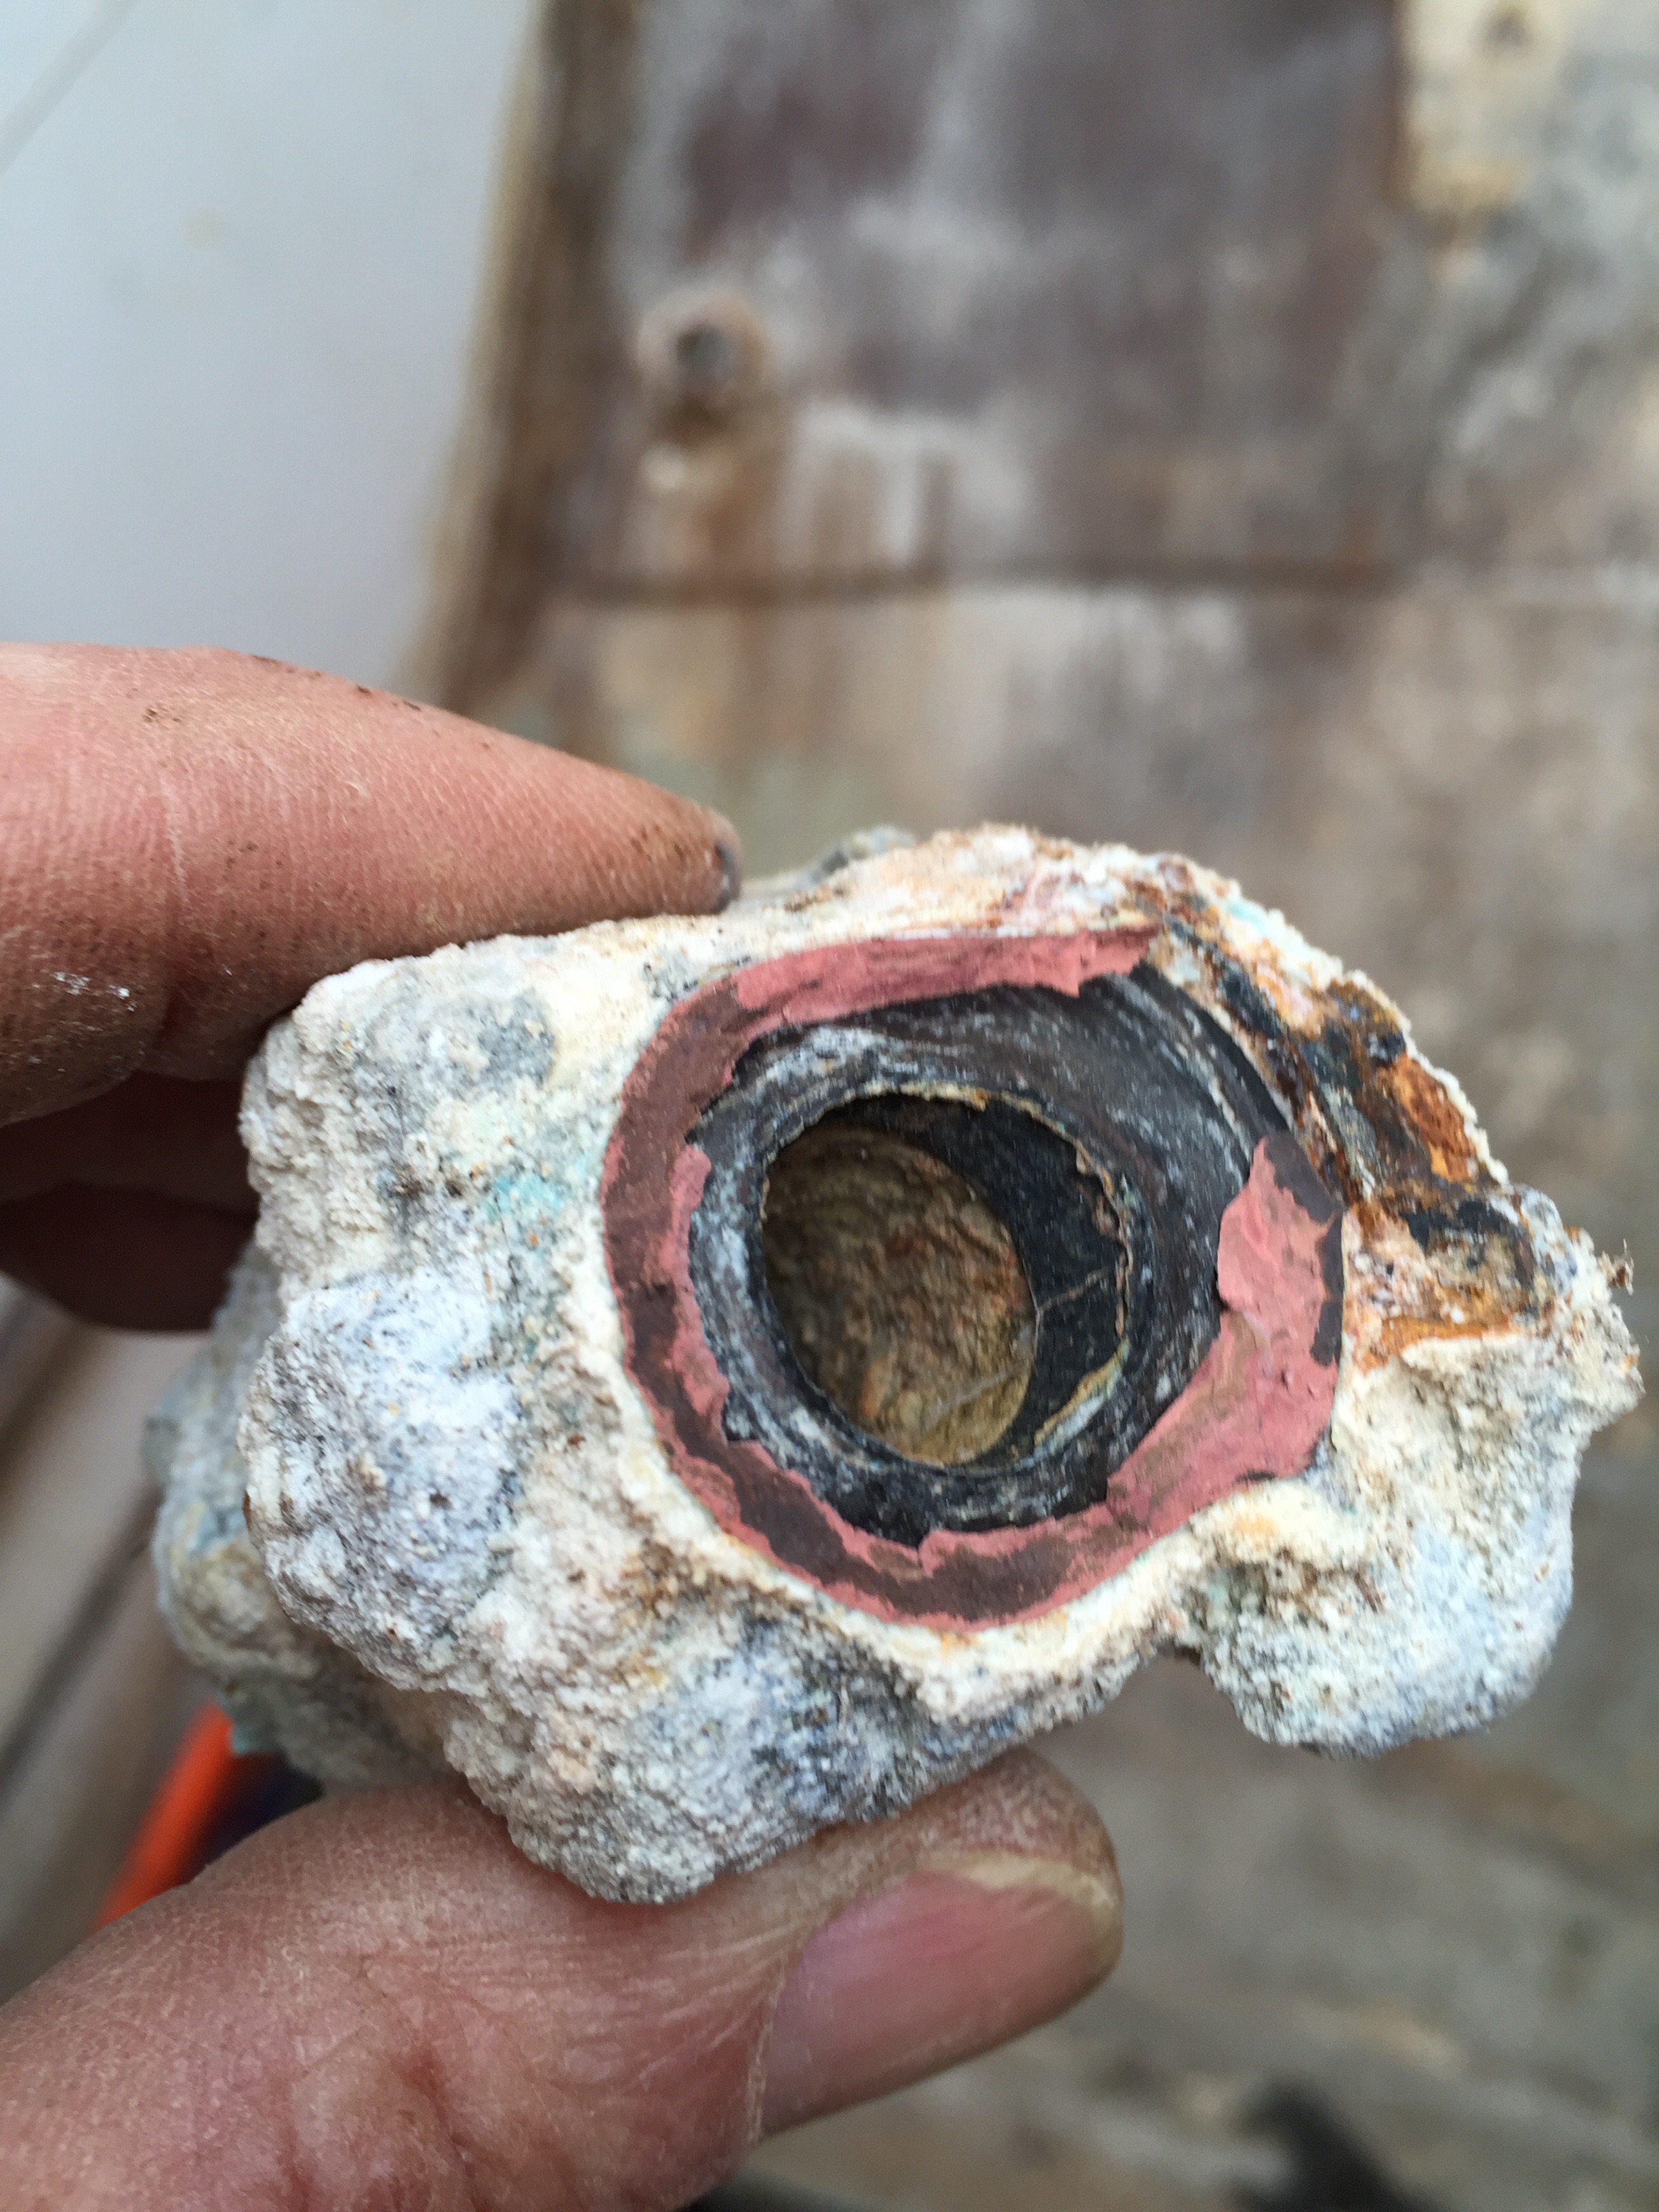
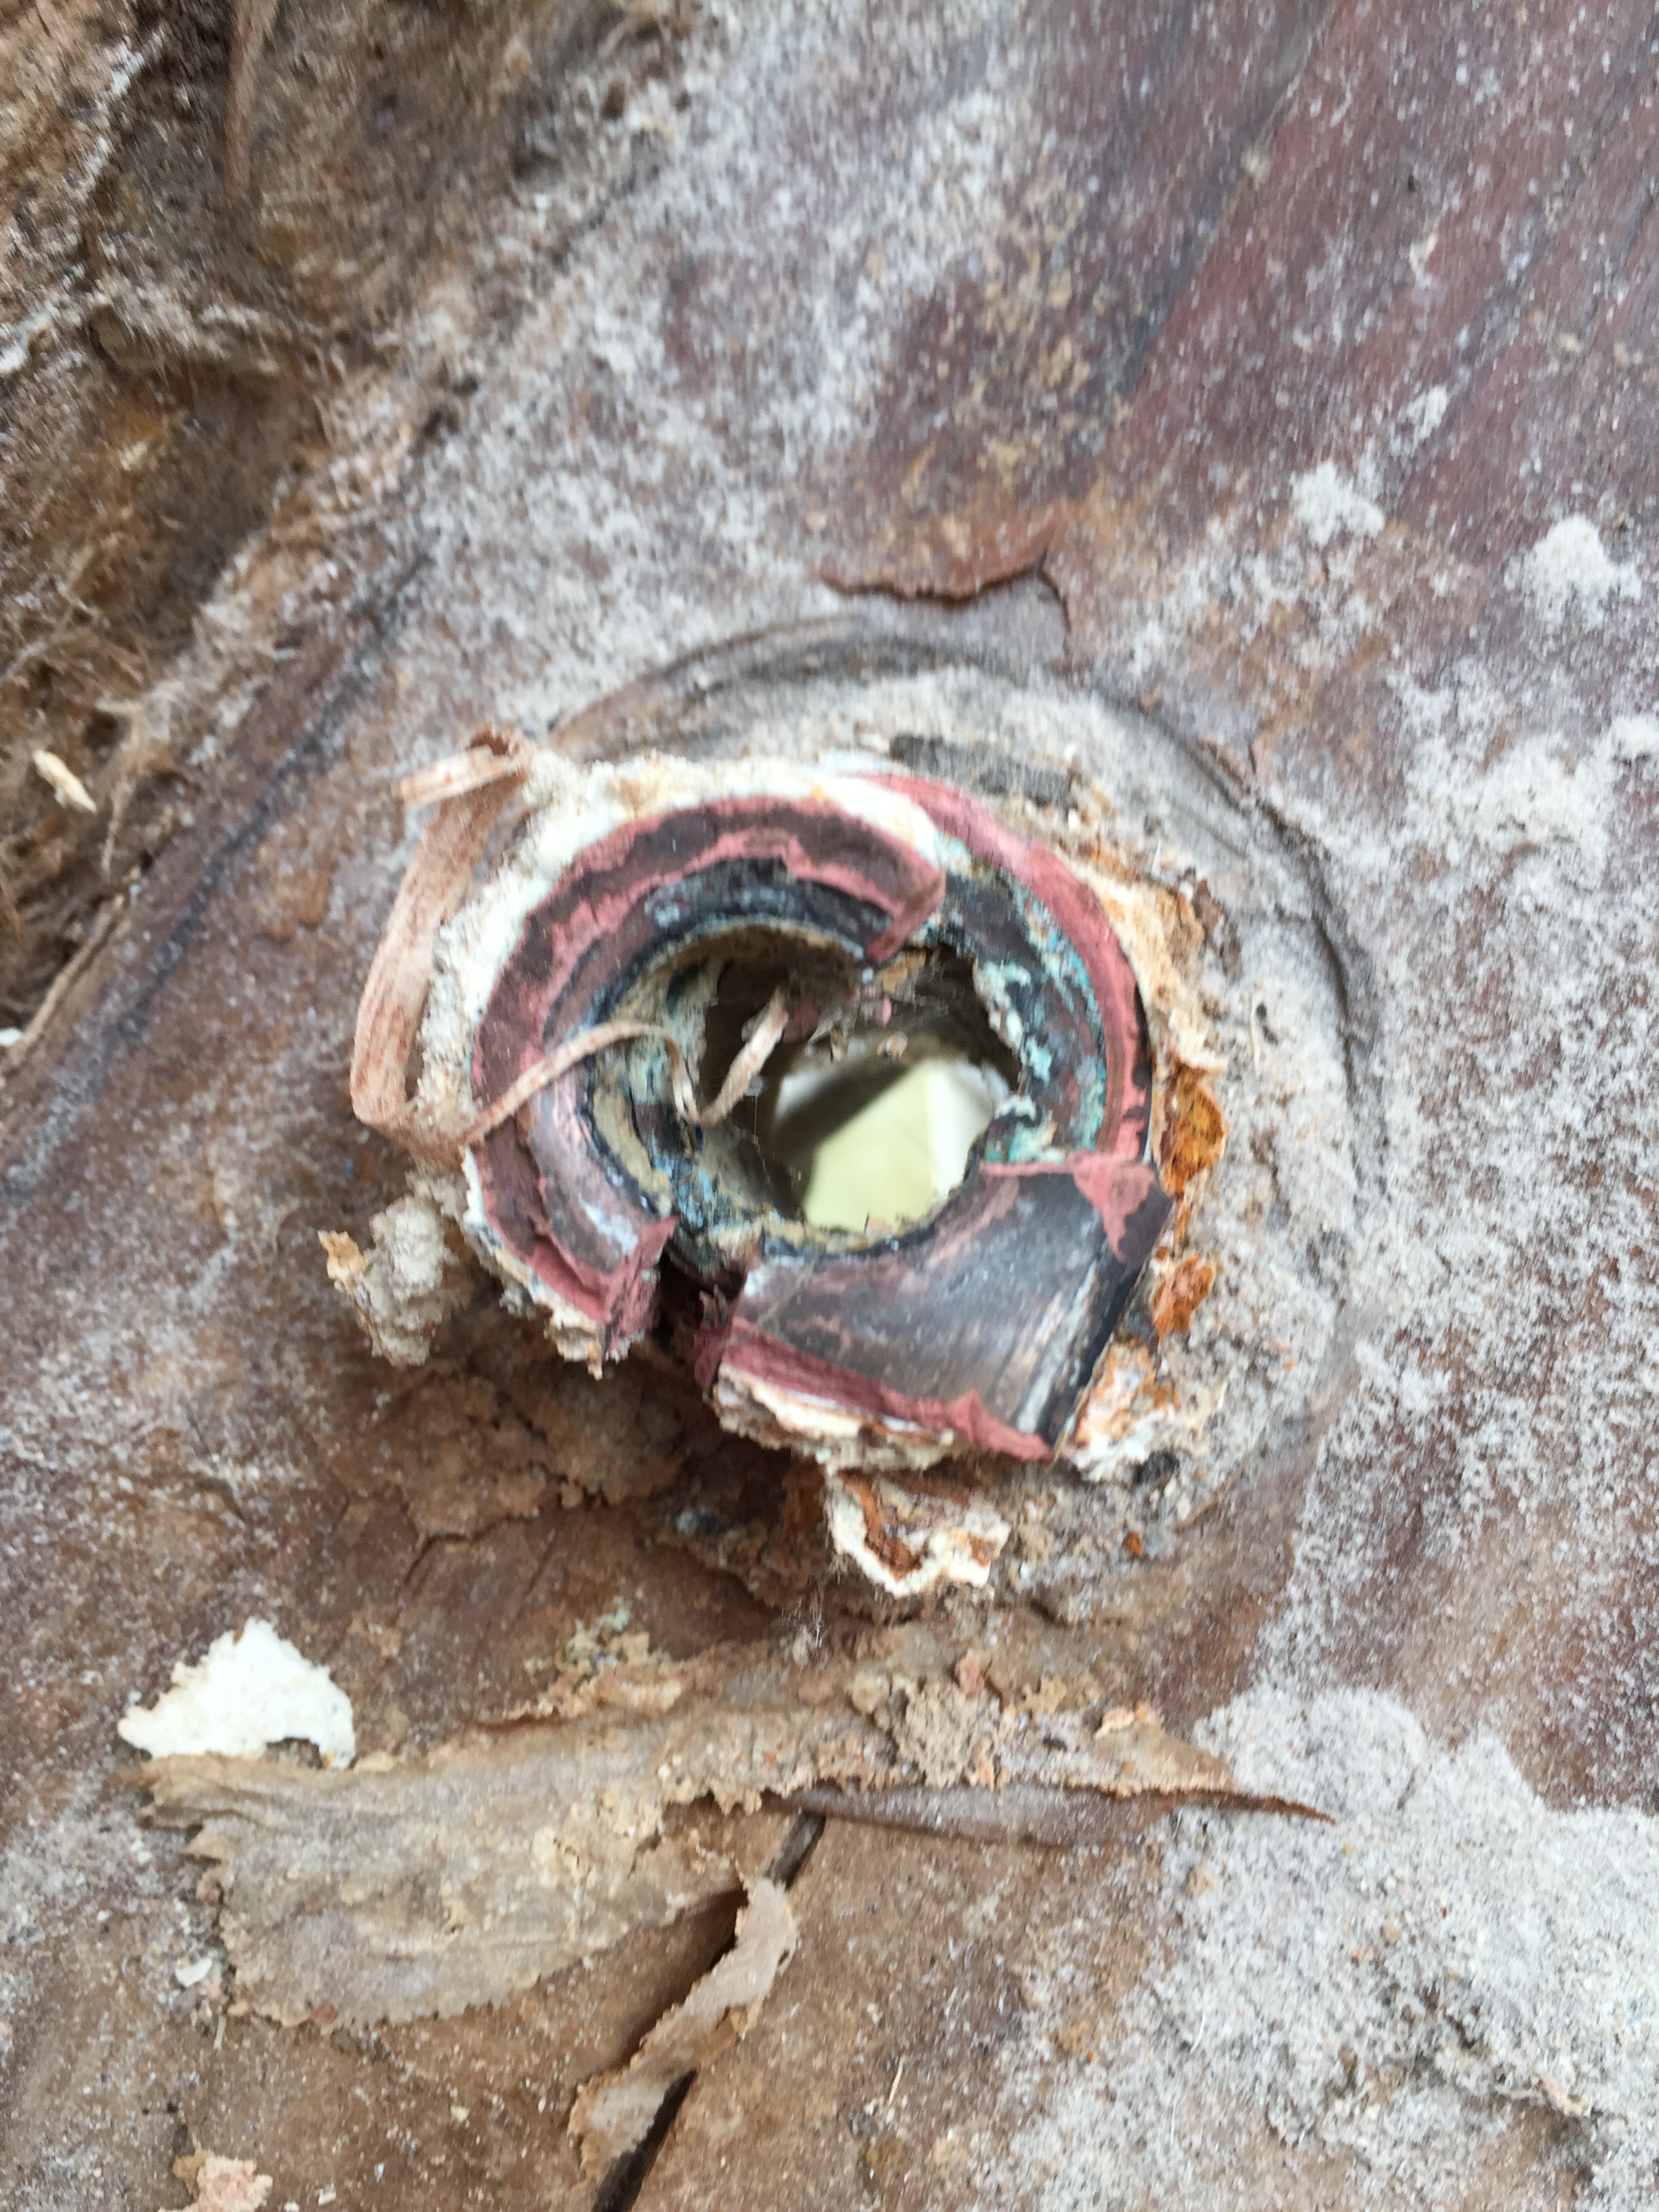
This is not reassuring. If it had broken at sea we would most likely have sunk.
So three new sea-cocks at £150 each! Yuk.
Watched over by an Icon
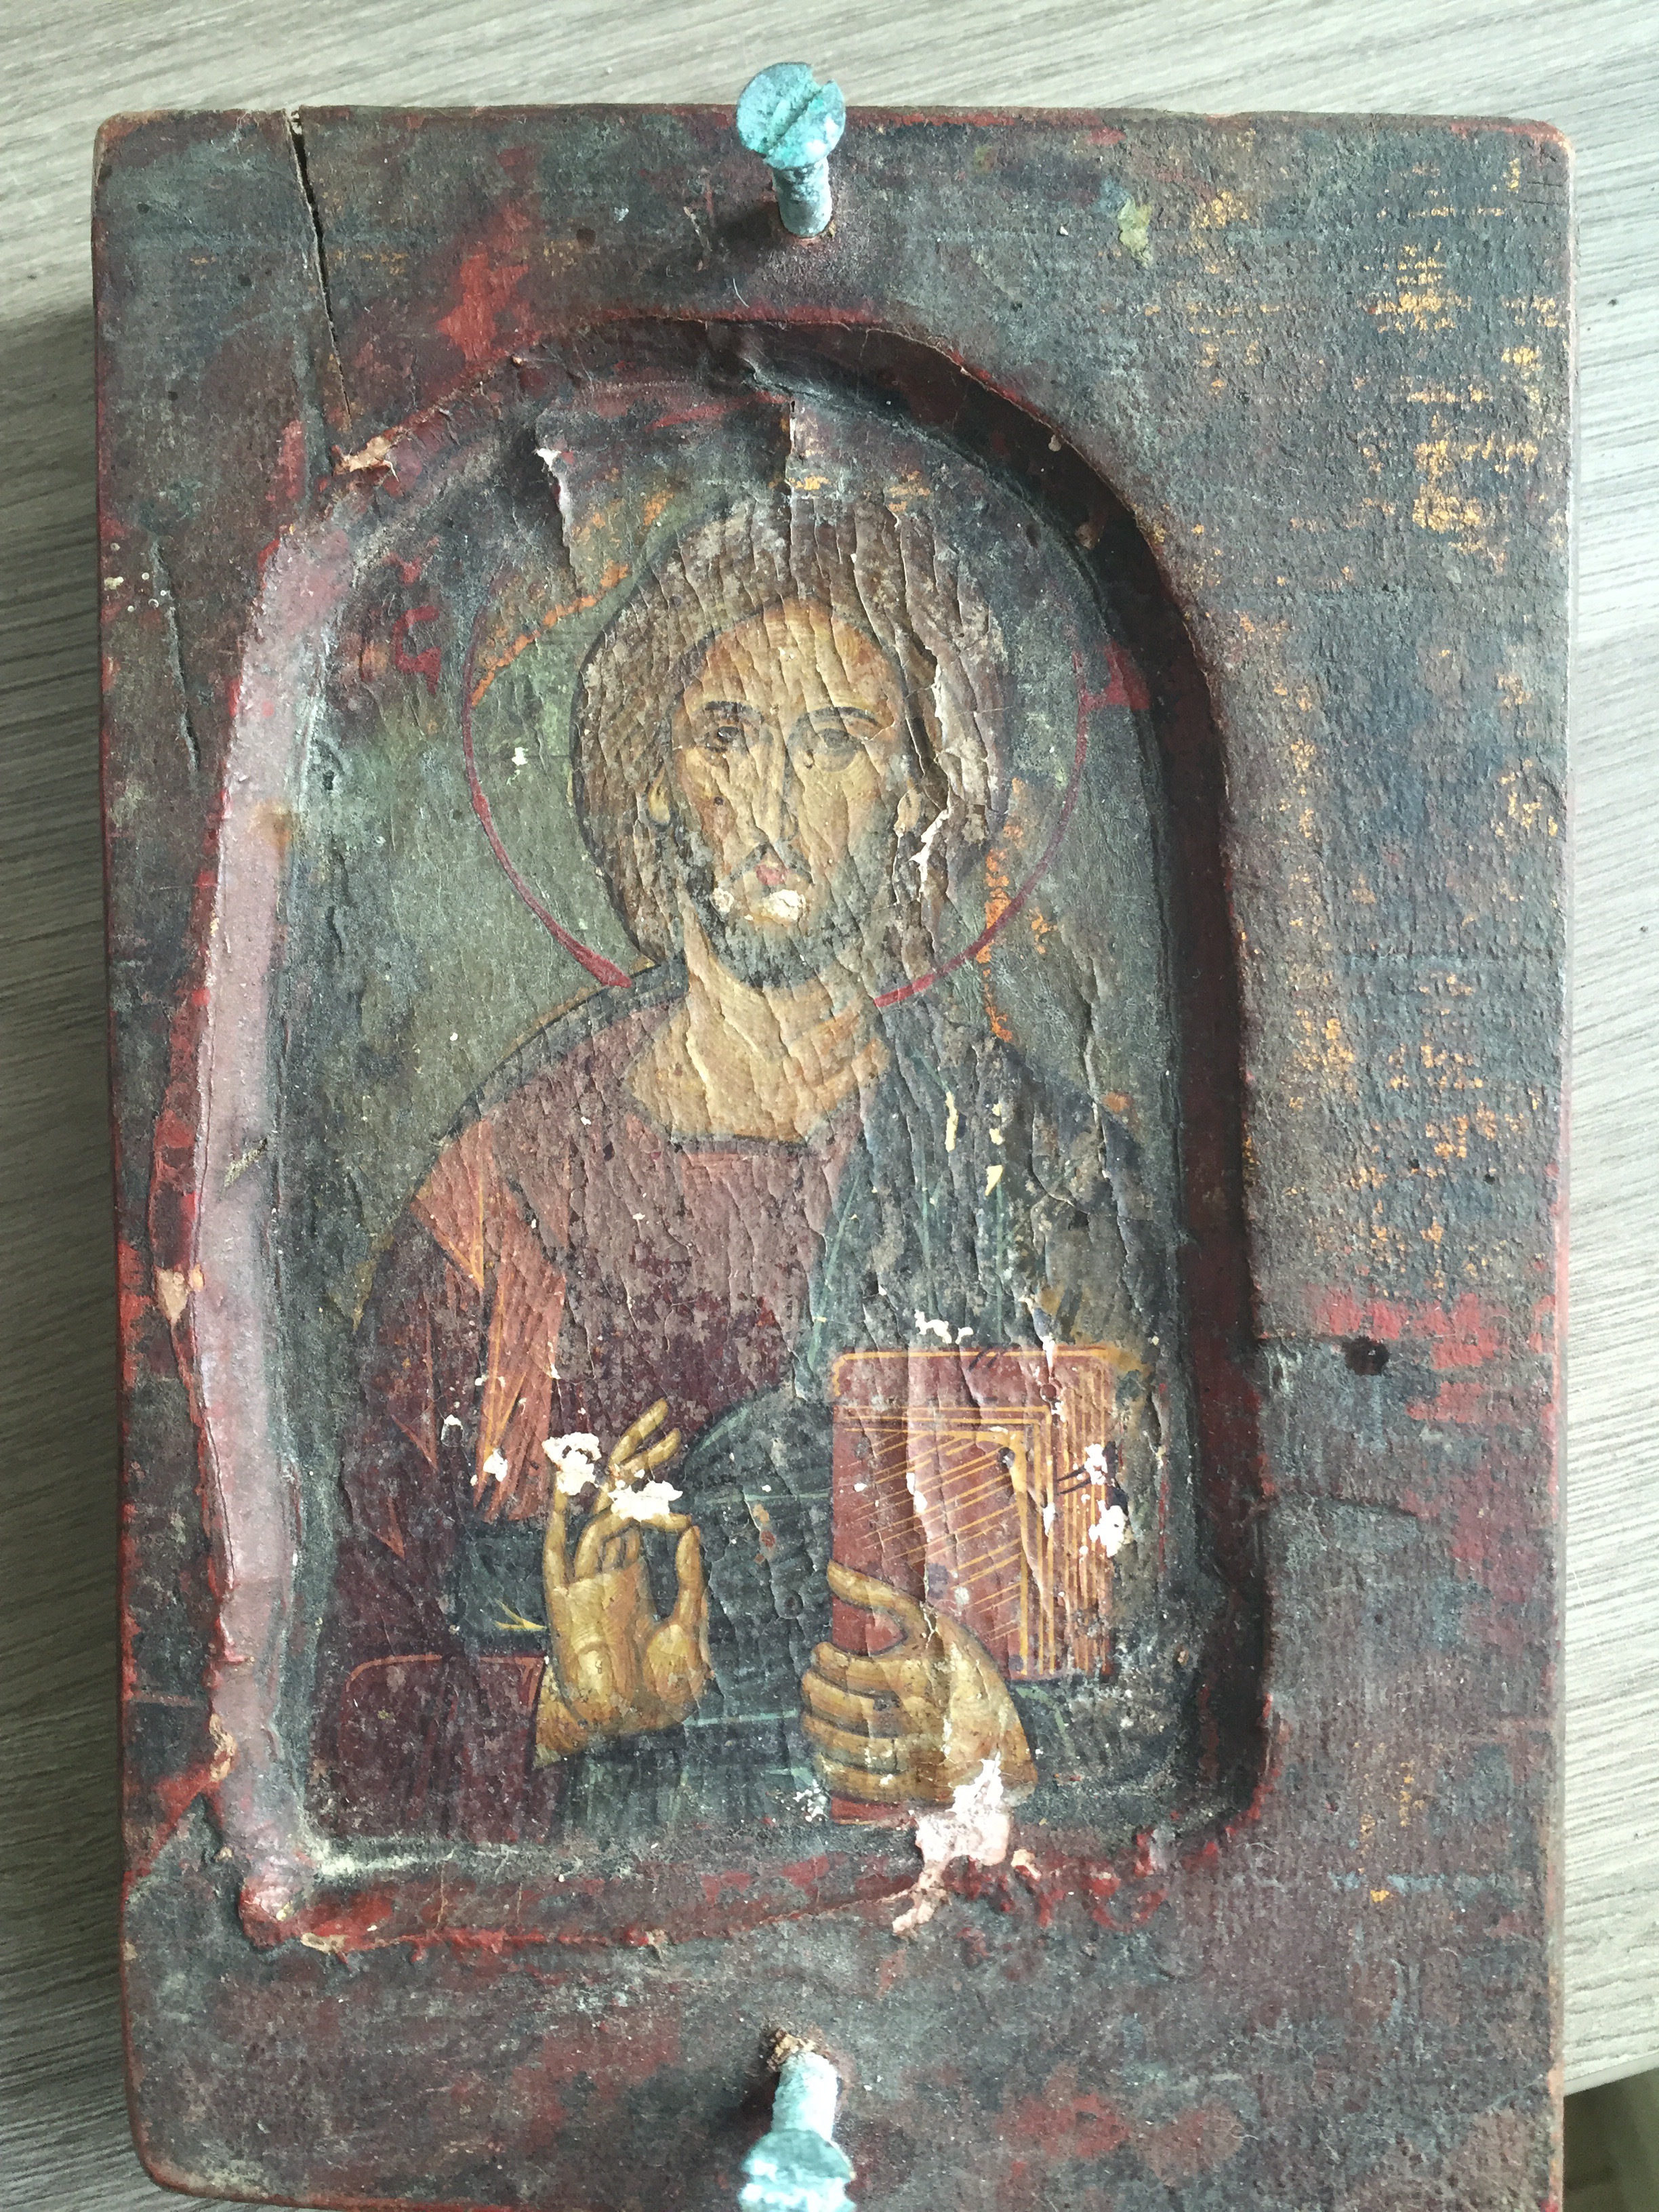
I found this on board and originally thought it was a soap dish. An unusual soap dish but a soap dish. A bit of a clean shows in fact that it is an icon of Jesus. On the back is a torn piece of paper (below).

It says something like ” this icon is painted by hand …..”
Anyway as soon as possible it will go back on board to continue it’s job of watching over Anne Marie and all who sail in her!

Upright at last (Oct 2015)
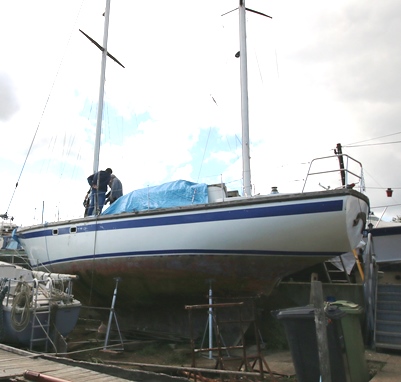
Before the masts are down we need to straighten the boat up so it’s no longer leaning at a jaunty angle against the sea wall. I have purchased six boat stands from Boat-stands UK (www.boat-stands.com) and slowly cranked the boat level using a spirit level across the cockpit combings. Although not necessary we have linked the stands together with chains to prevent any movement. As the boat is sitting on the banks of the River Rother I think it’s a sensible precaution. I also tied the main halyard back to a secure fixing on land to minimise the risk of the boat falling outward which would have been an embarrassment.
Boat-stands UK helped with selection of the stands and delivered them in double-quick time so great job thanks.


Preparing for mast removal
Well so far we are concentrating on getting the boat ready to have the masts down. We tried to get up the mast to remove the triatic stay (between the top of the two masts – see photo with starlings!) but the bottom sheave of the topping lift shattered due to excess weight! Note to self…. I have now had a new sheave made by Versatile Marine (www.versatilemarine.co.uk ) which I will fit later

. It’s the second sheave they have made for me – the first being for an outhaul on the mizzen boom and jolly good it is too.
The triatic will have to wait for the crane to provide the lift when we remove the masts on 22nd October 2015. The main mast is going to act as the ridge pole to the over-boat full length cover.
Access (Oct 2015)

If you read Practical Boat Owner you will see that I got a mention in the October 2015 issue. Fed-up with climbing ladders I found an old wooden staircase in my local architectural salvage yard, Symonds Salvage (www.symondssalvage.co.uk) in Bethersden, Kent. A bit of sawing, trimming, hammering, screwing and stuff and I now have the most elegant access arrangements I could wish for. Again a great service from a really interesting and friendly business.

As we found her March 2015 – leaning on a sea wall


Looks great – doesn’t she?
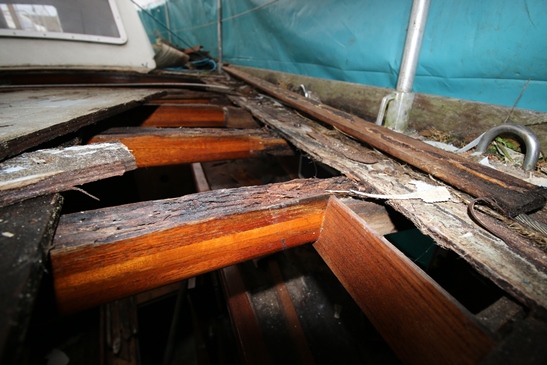
Fore-deck removal stage 2
29th February 2016
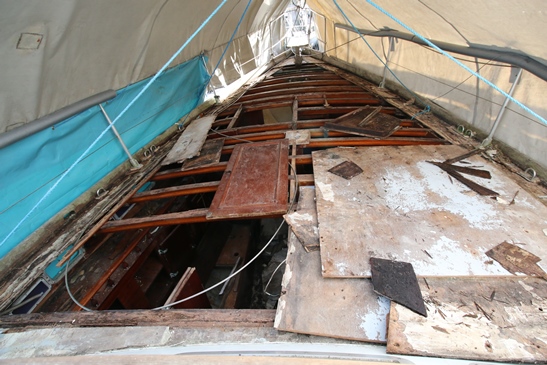
This weekend (and last) has seen the fore-deck removed from the Samson post to the main cabin bulkhead. There is one part at the very bow which I have not done as to get to it requires removal of the bowsprit and all fixings. It will come off later.
This has confirmed, as we had expected, that twelve of the eighteen need to be replaced through wet rot. The outer edge of each had rotted through where they are fixed to the inside glassfibre ledge/shelf which runs around the entire yacht. I was hoping to be able to use parts of the longer ones to replace the shorter ones but only a handful are usable and I am more interested in aesthetics than cost. I want all the beams to look the same.
That said the beams forward of the fore cabin bulkhead appear to be in reasonable condition so I may be able to save some work. They don’t get seen by anyone/thing except the sails in the sail locker so aesthetics don’t matter so much.
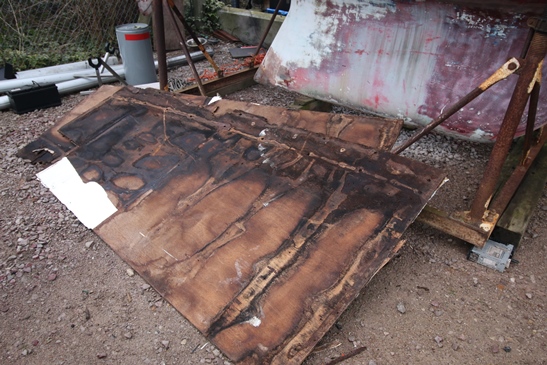
The plywood deck was in a terrible state with the wood so soft I could put my finger through it. The trouble was that the fake teak decking had come away long ago and was flapping around in the breeze. It was allowing water through and the melamine sheet headlining was preventing it escaping. A recipe for disaster. Hardly any of the deck was dry or free from rot.
I have measured each beam and created a plan of the layout. I have taken beam number 3 out to use as a template and will be laminating new beams over the coming weeks.

Foredeck removal phase 1
February 2016
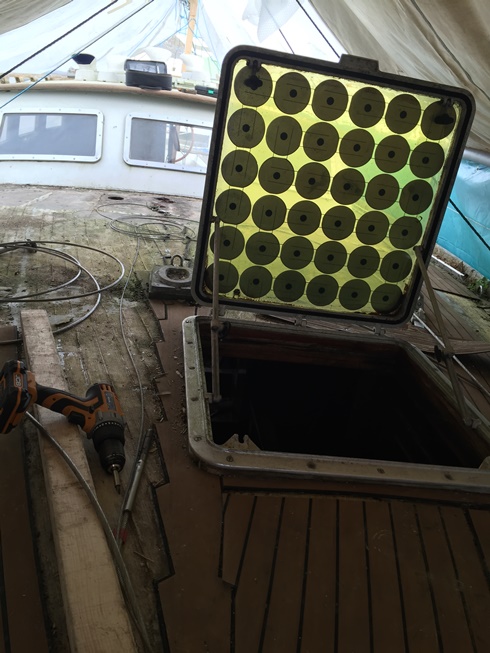
Although I haven’t yet finished taking all the deck fittings off I am also removing the screws which hold the deck down. This is actually very simple as the deck is pretty soft due to the time it has been leaking and un-maintained.
There is one genoa track and two cleats to remove as well as the fore-hatch before the deck can come off. Then we will see how many of the deck beams we can salvage. My expectation is that most have gone rotten along the outer ends but some seem very soft so it may be that we will have more deck beams to replace and I had hoped.
My plan is to remove all the deck beams. Cut the largest down to size and reuse those further forward towards the bow. It is the outer 150mm that seems most soft/rotten.
As we progress it becomes more clear that the boat is in serious need of timber replacement and the extent of the work grows as you would expect. Dealing with the front of the boat first will allow me to practice my skills so that I can deal with a major job of rebuilding the cabin which is seriously in need of overhaul.
The coach roof to the cabin has failed and so that needs to be replaced too.
At least with the cover on now the boat is protected from the worst of the weather and we can work in relative comfort although crawling about on one’s hands and knees is a little tedious.
Anyway my plan is to have the deck off by the end of February and be on a long way into the interior the end of March. That may be a little ambitious.
