After two holidays a bad back and some broken ribs, the first coat of primer has at last gone onto the new timber frames and we are able to see a little of how the new white interior will look like.
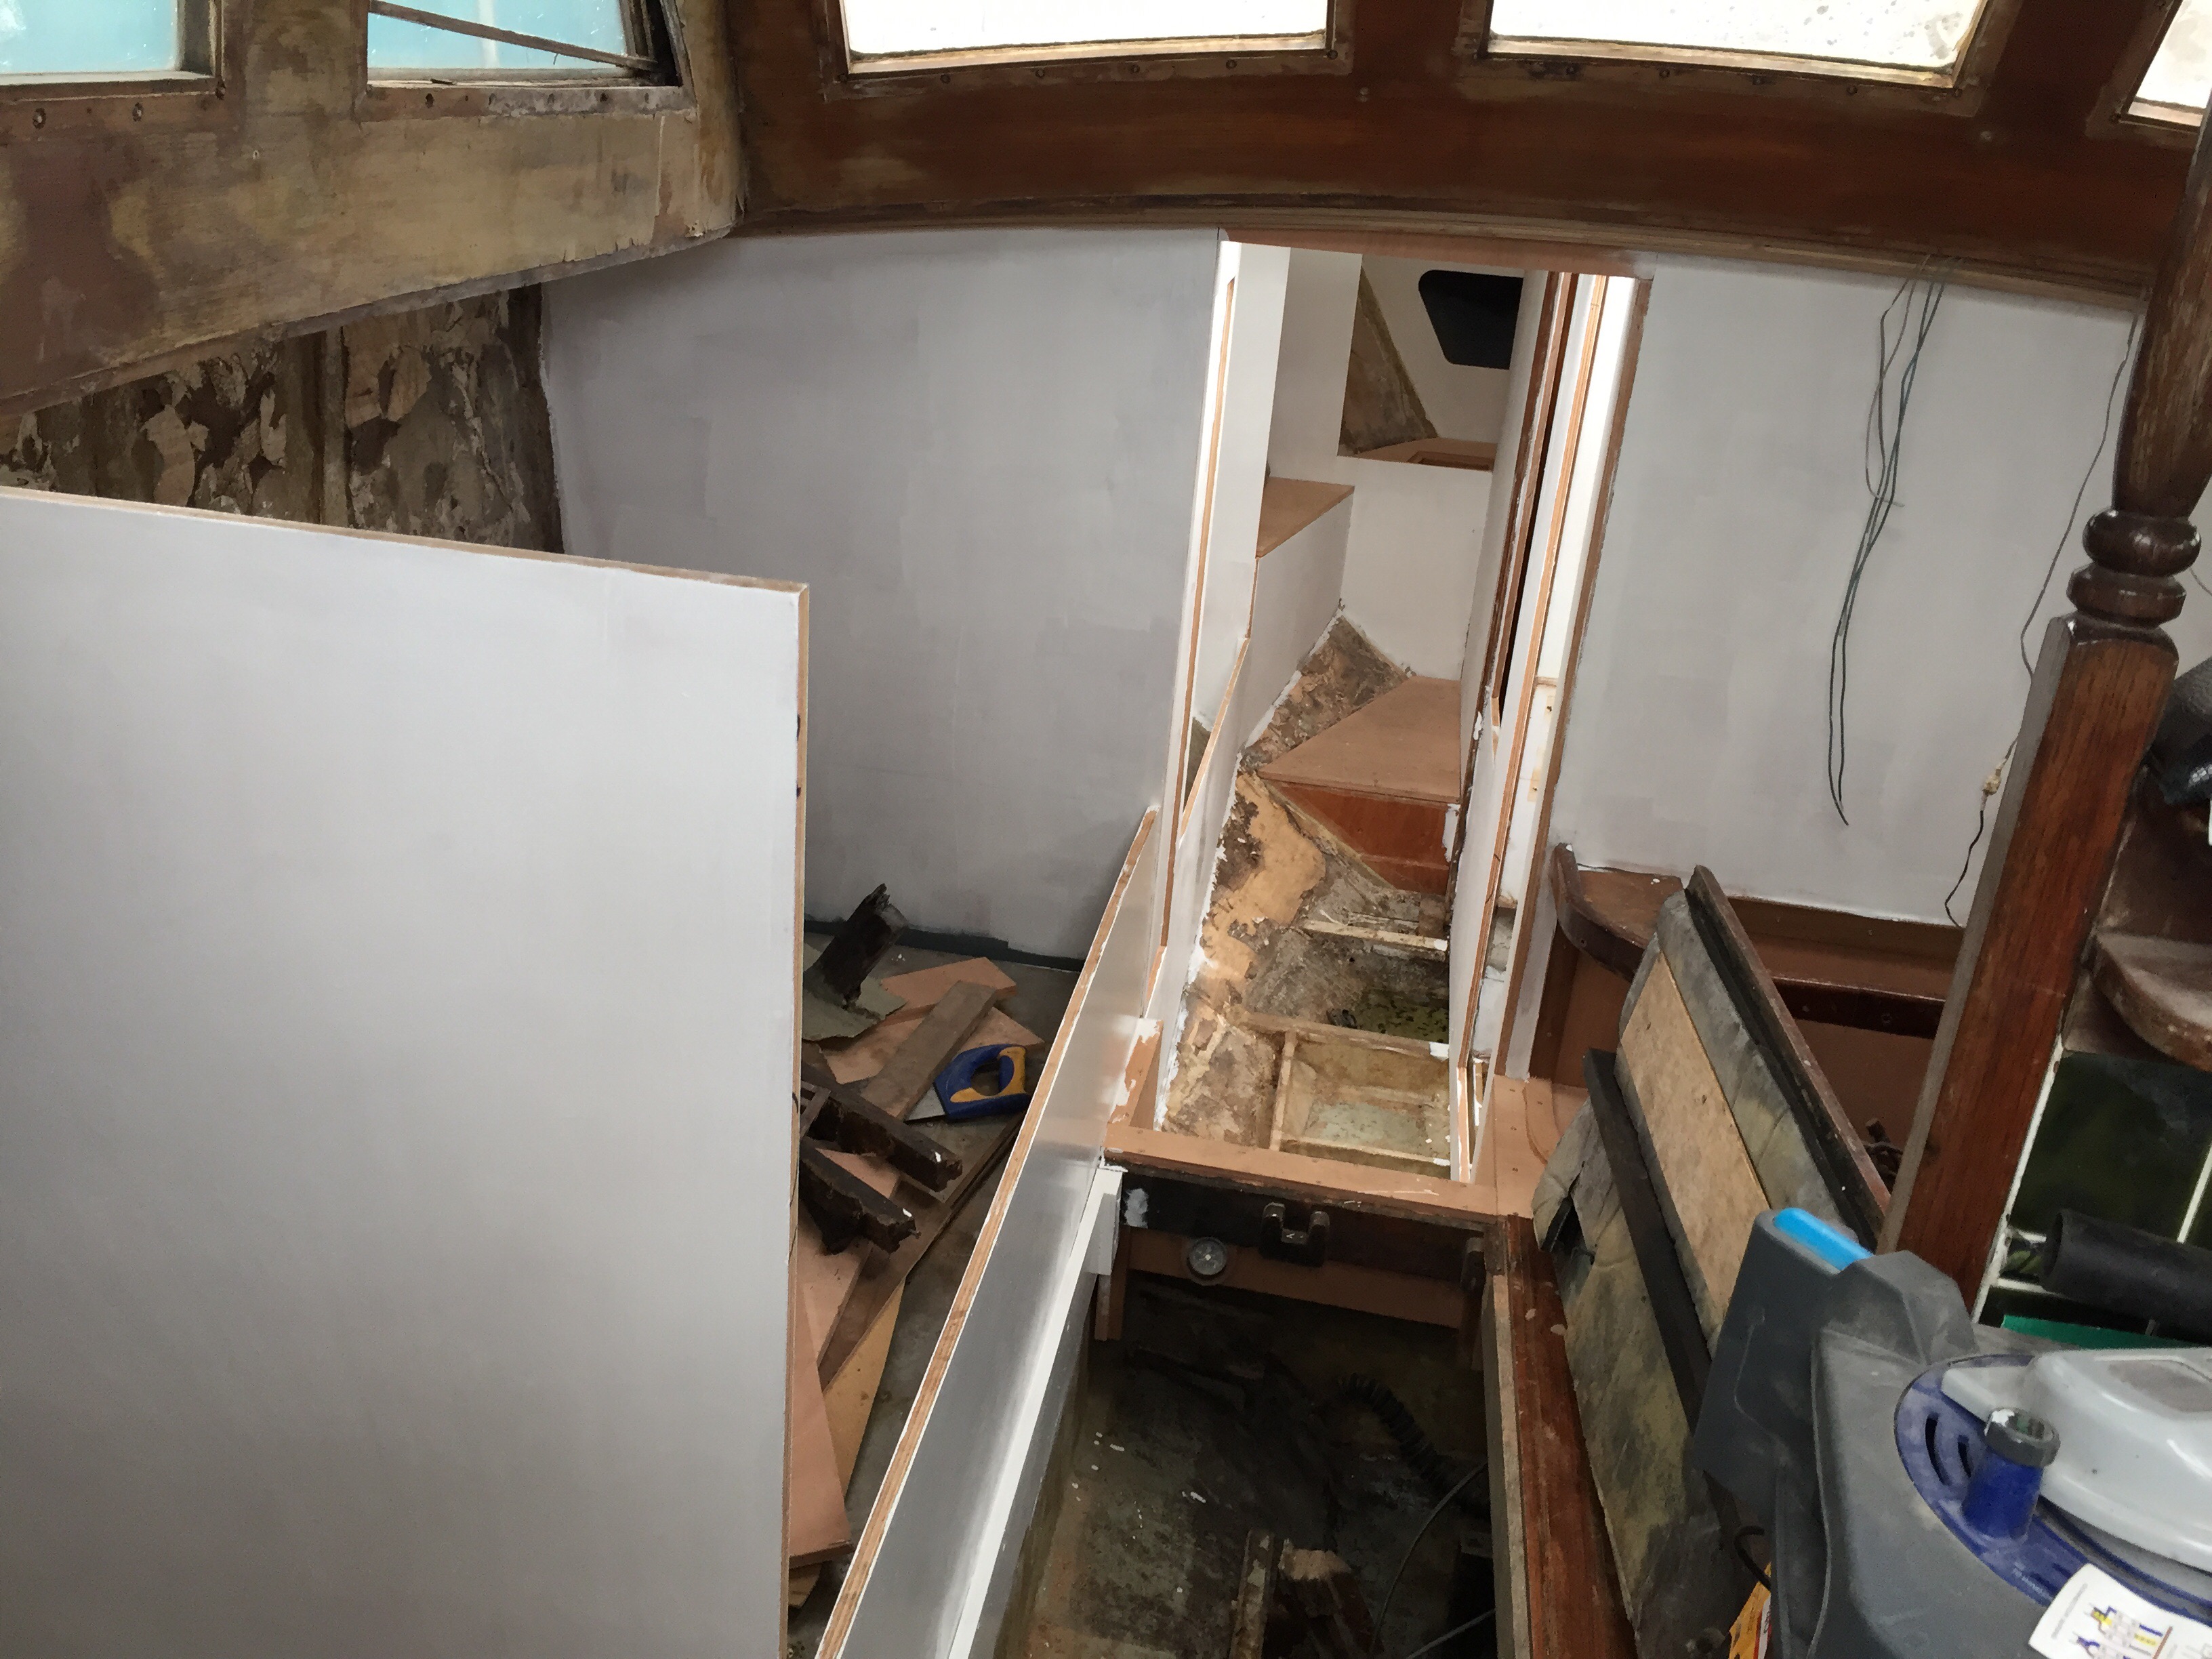
After two holidays a bad back and some broken ribs, the first coat of primer has at last gone onto the new timber frames and we are able to see a little of how the new white interior will look like.
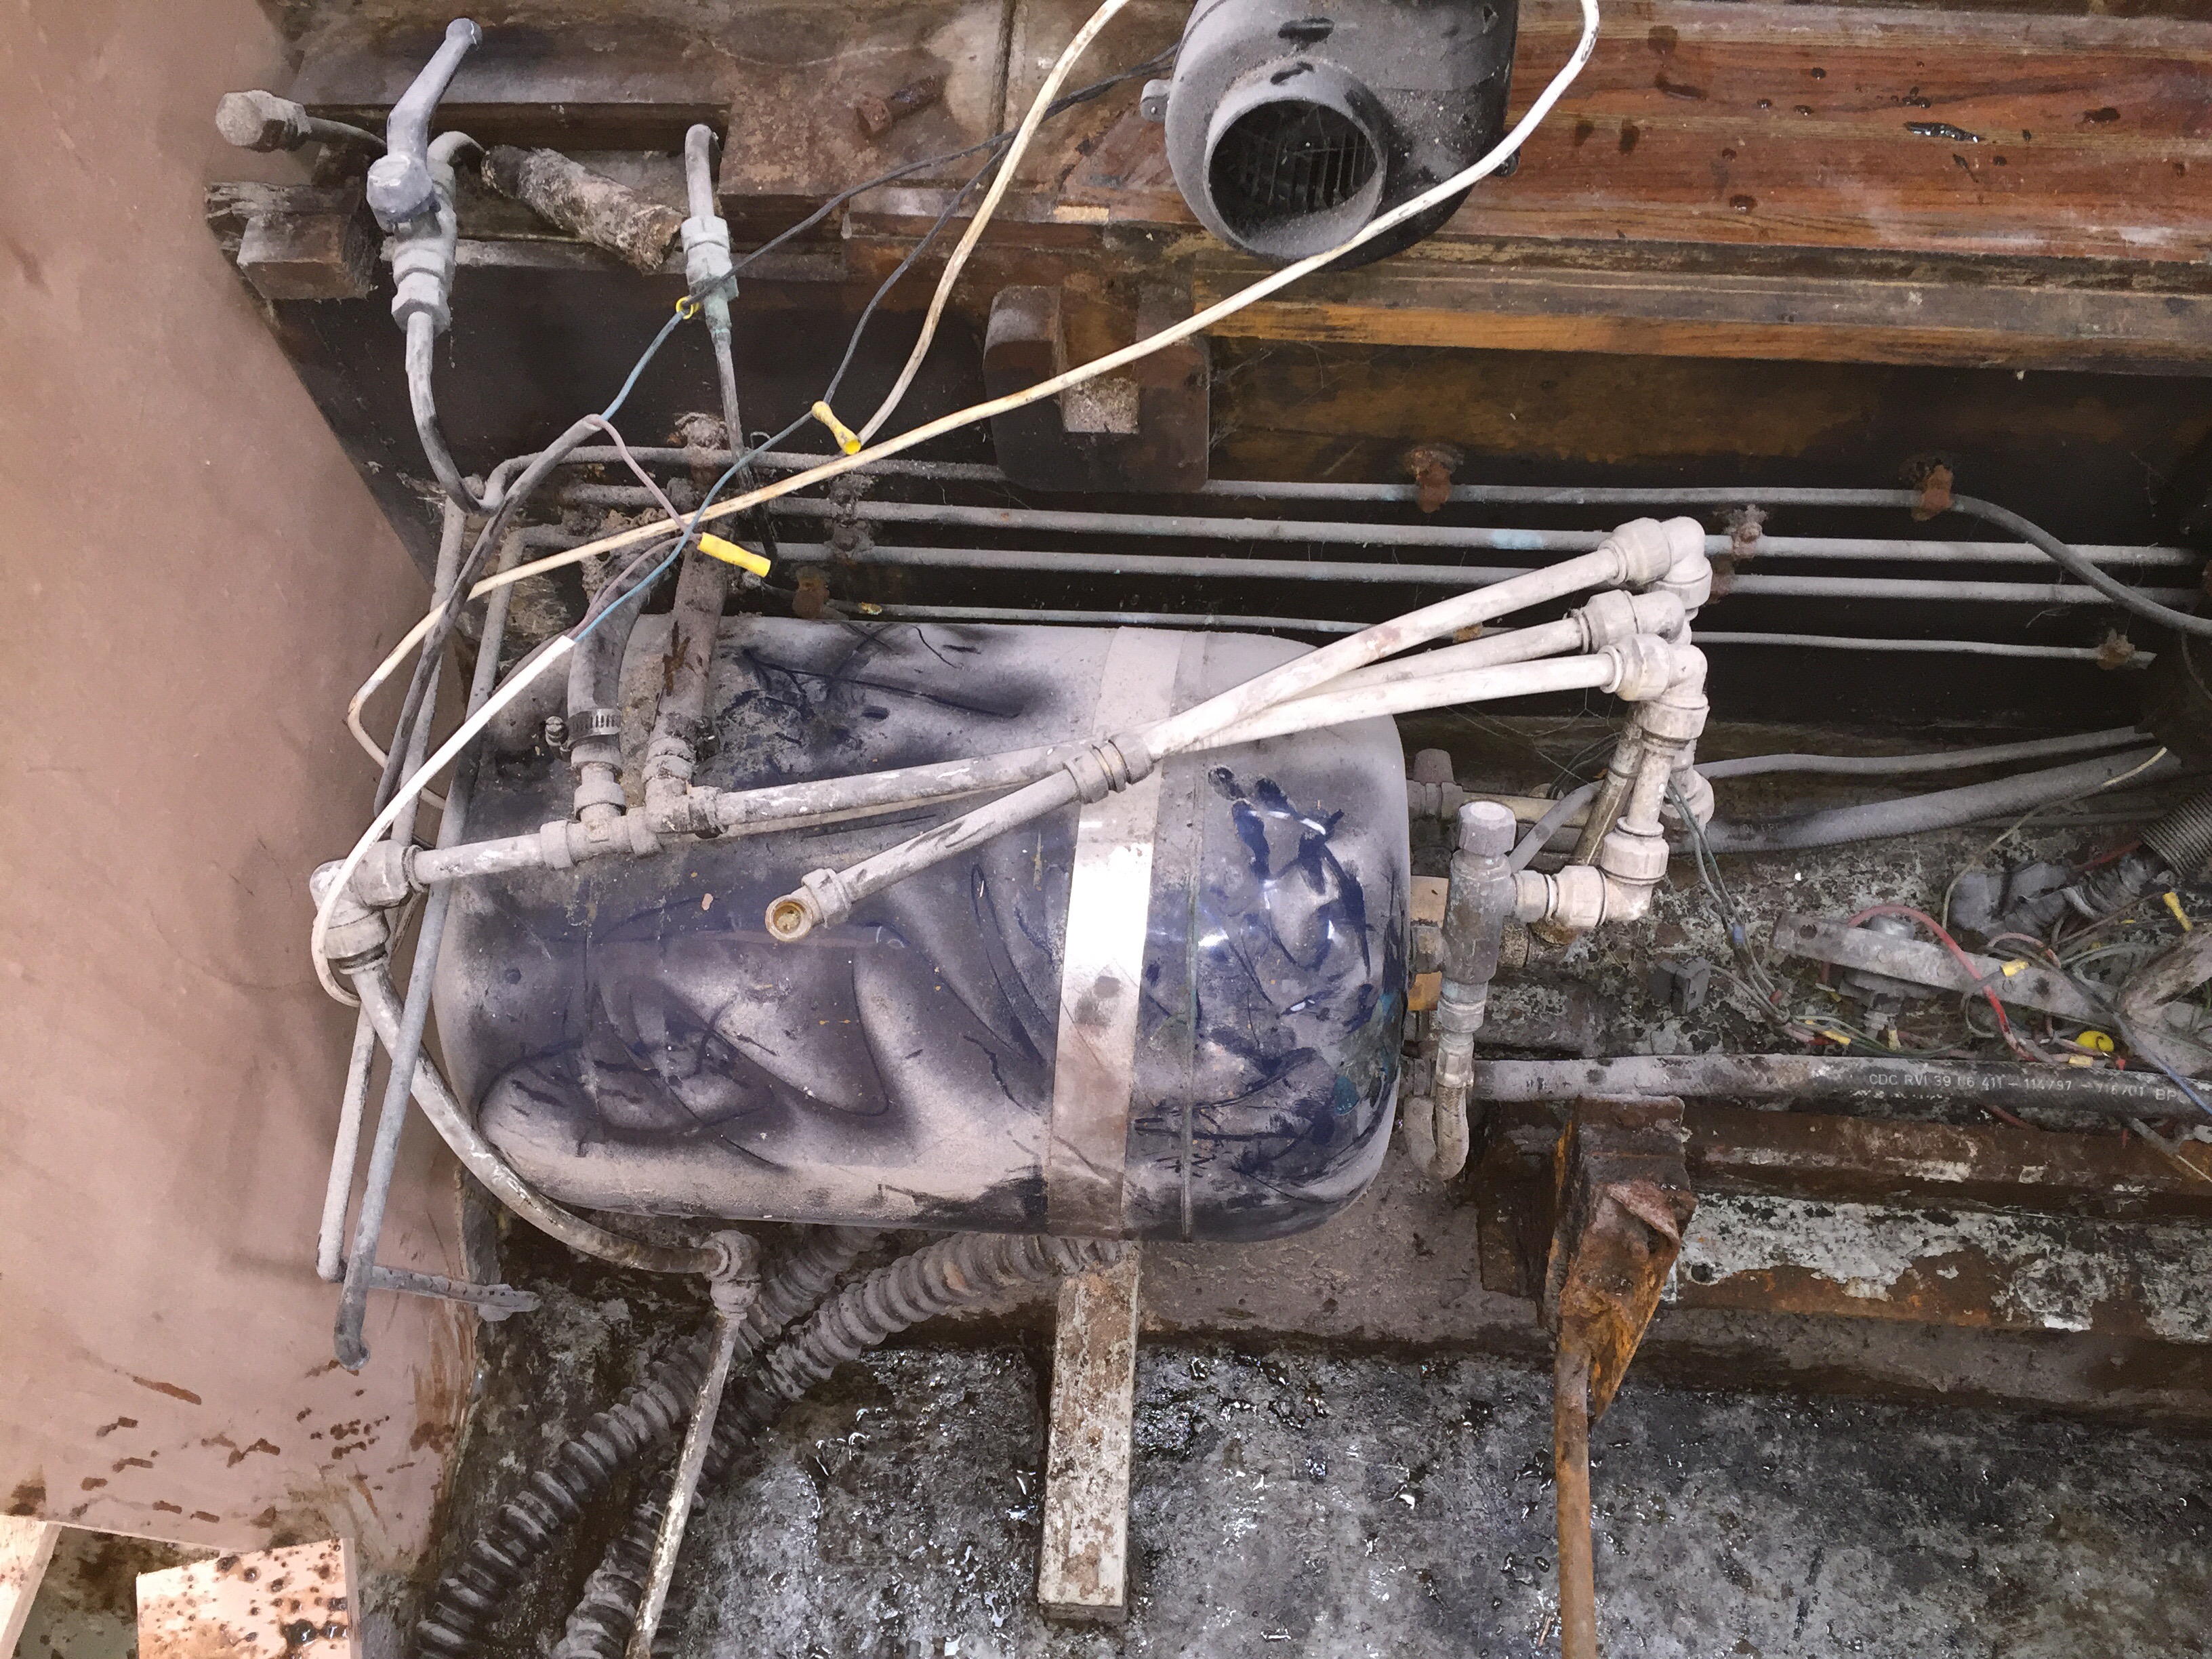
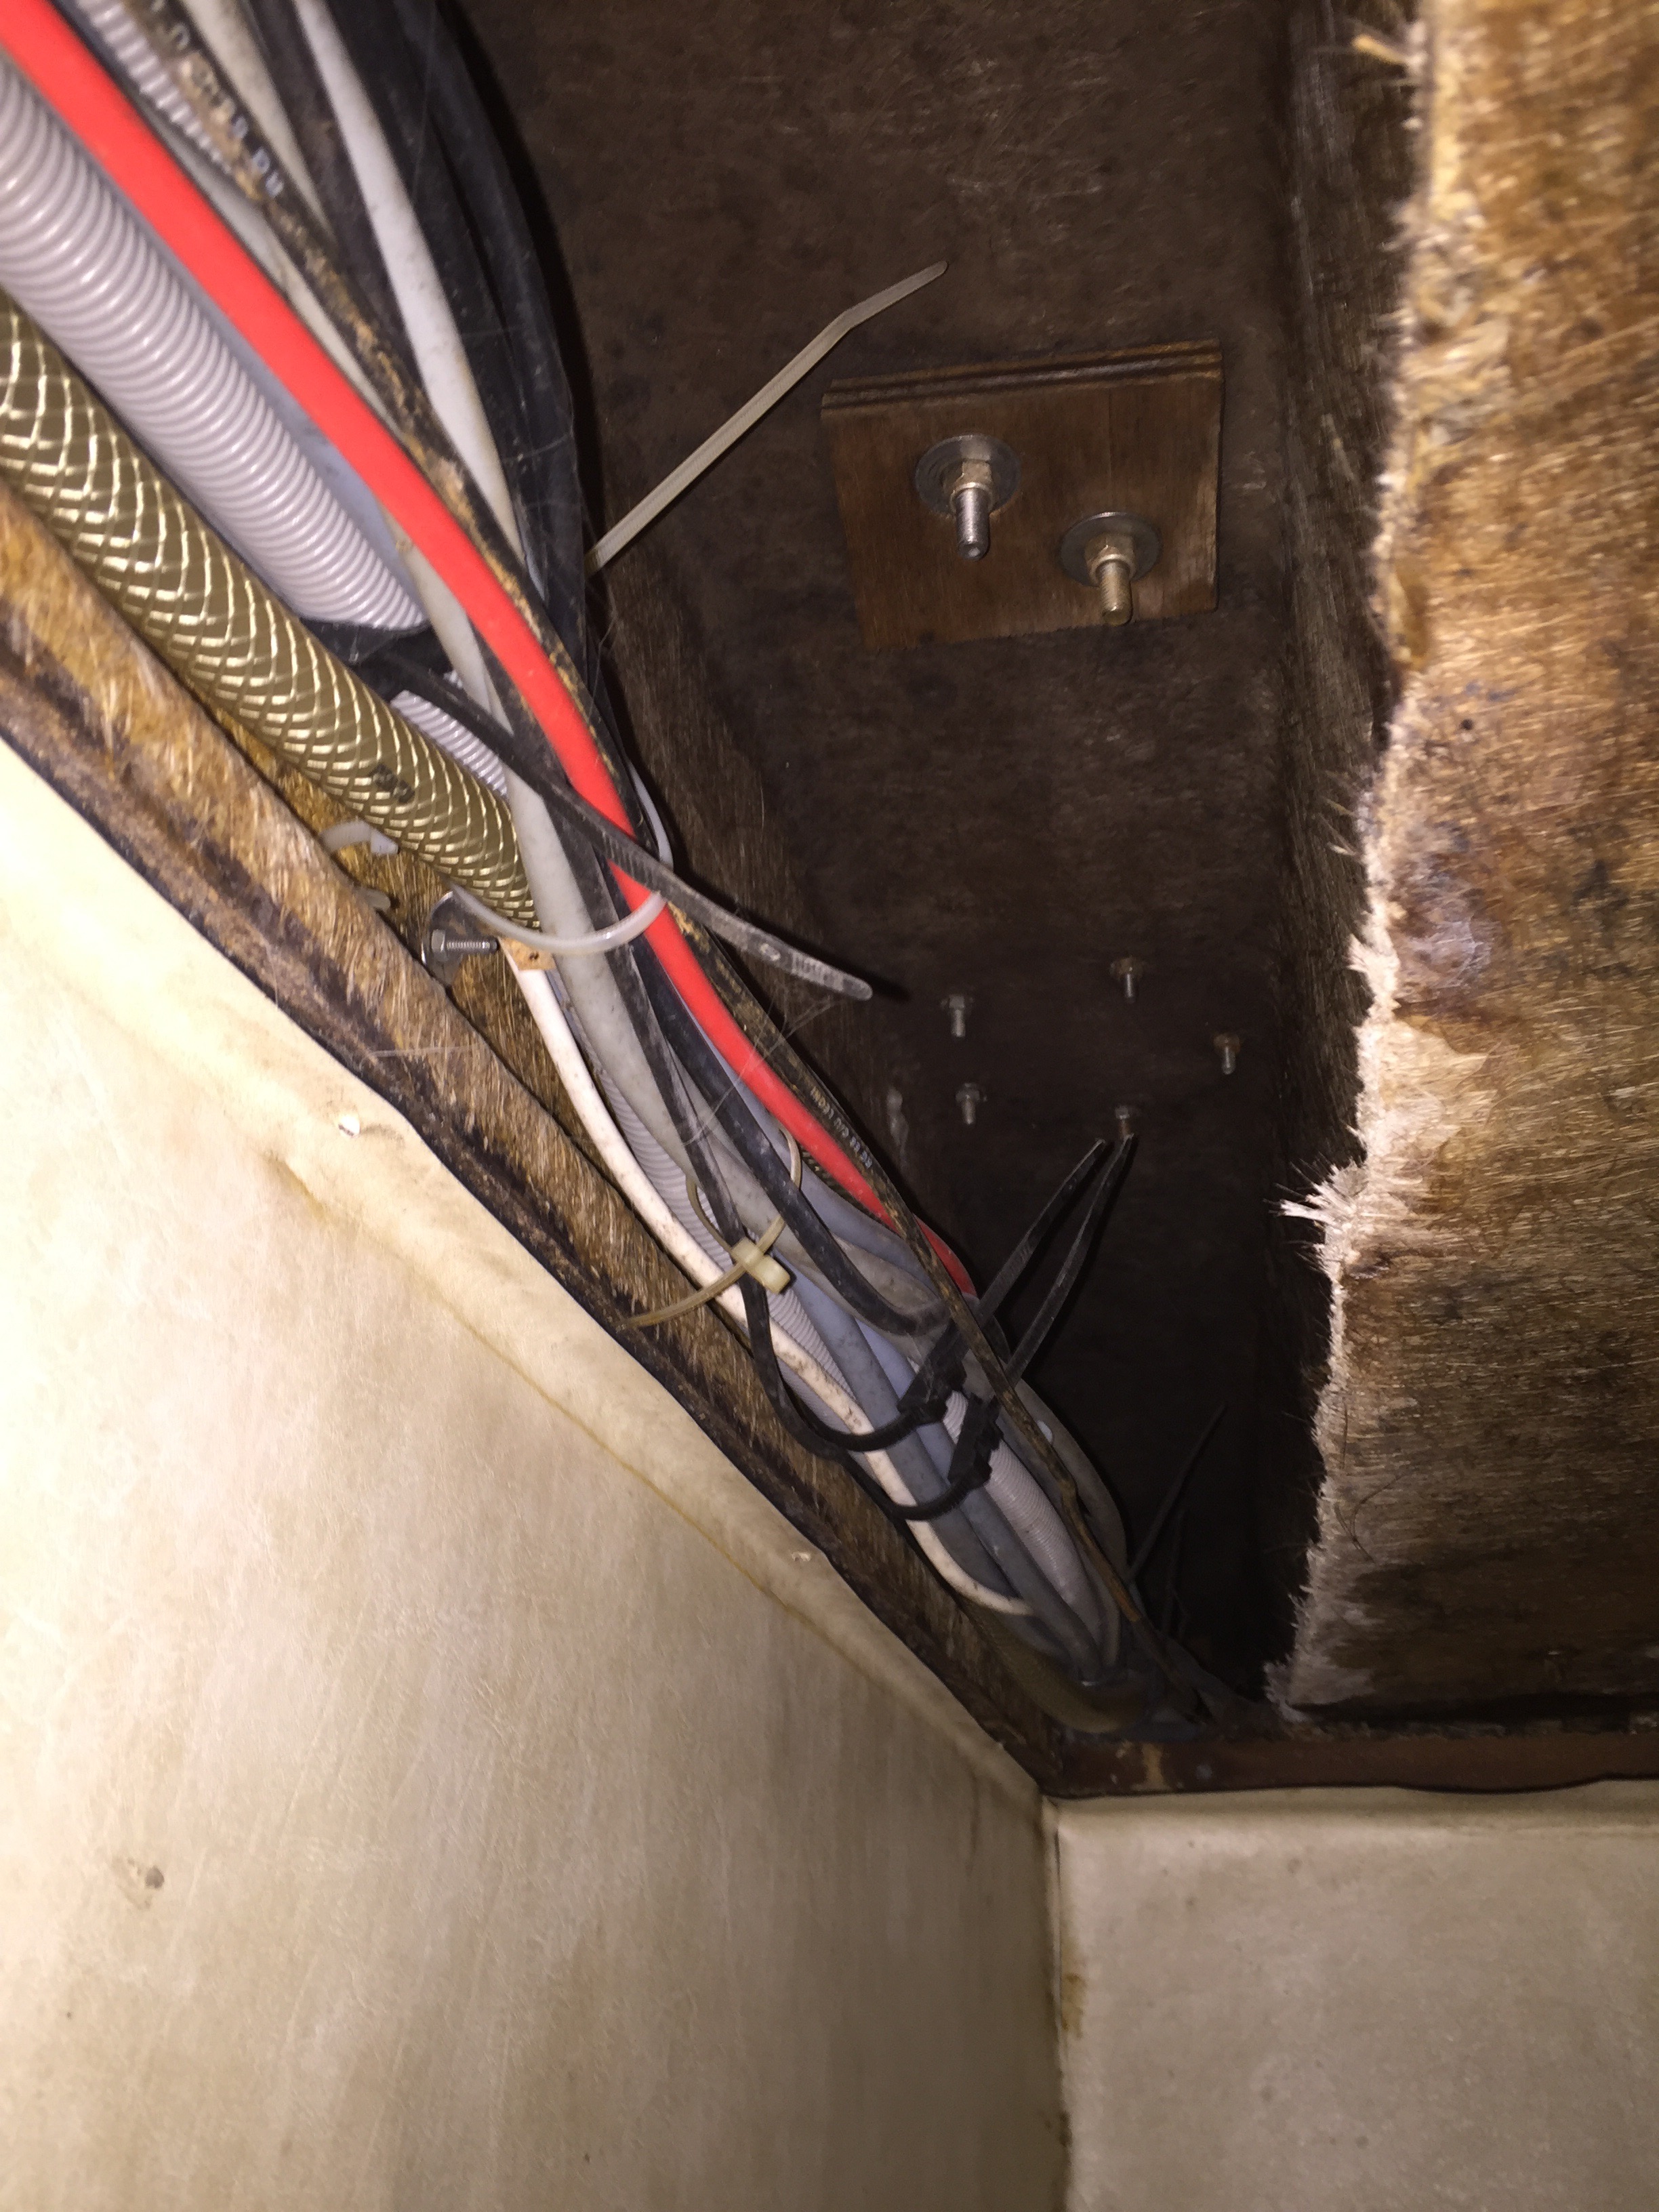
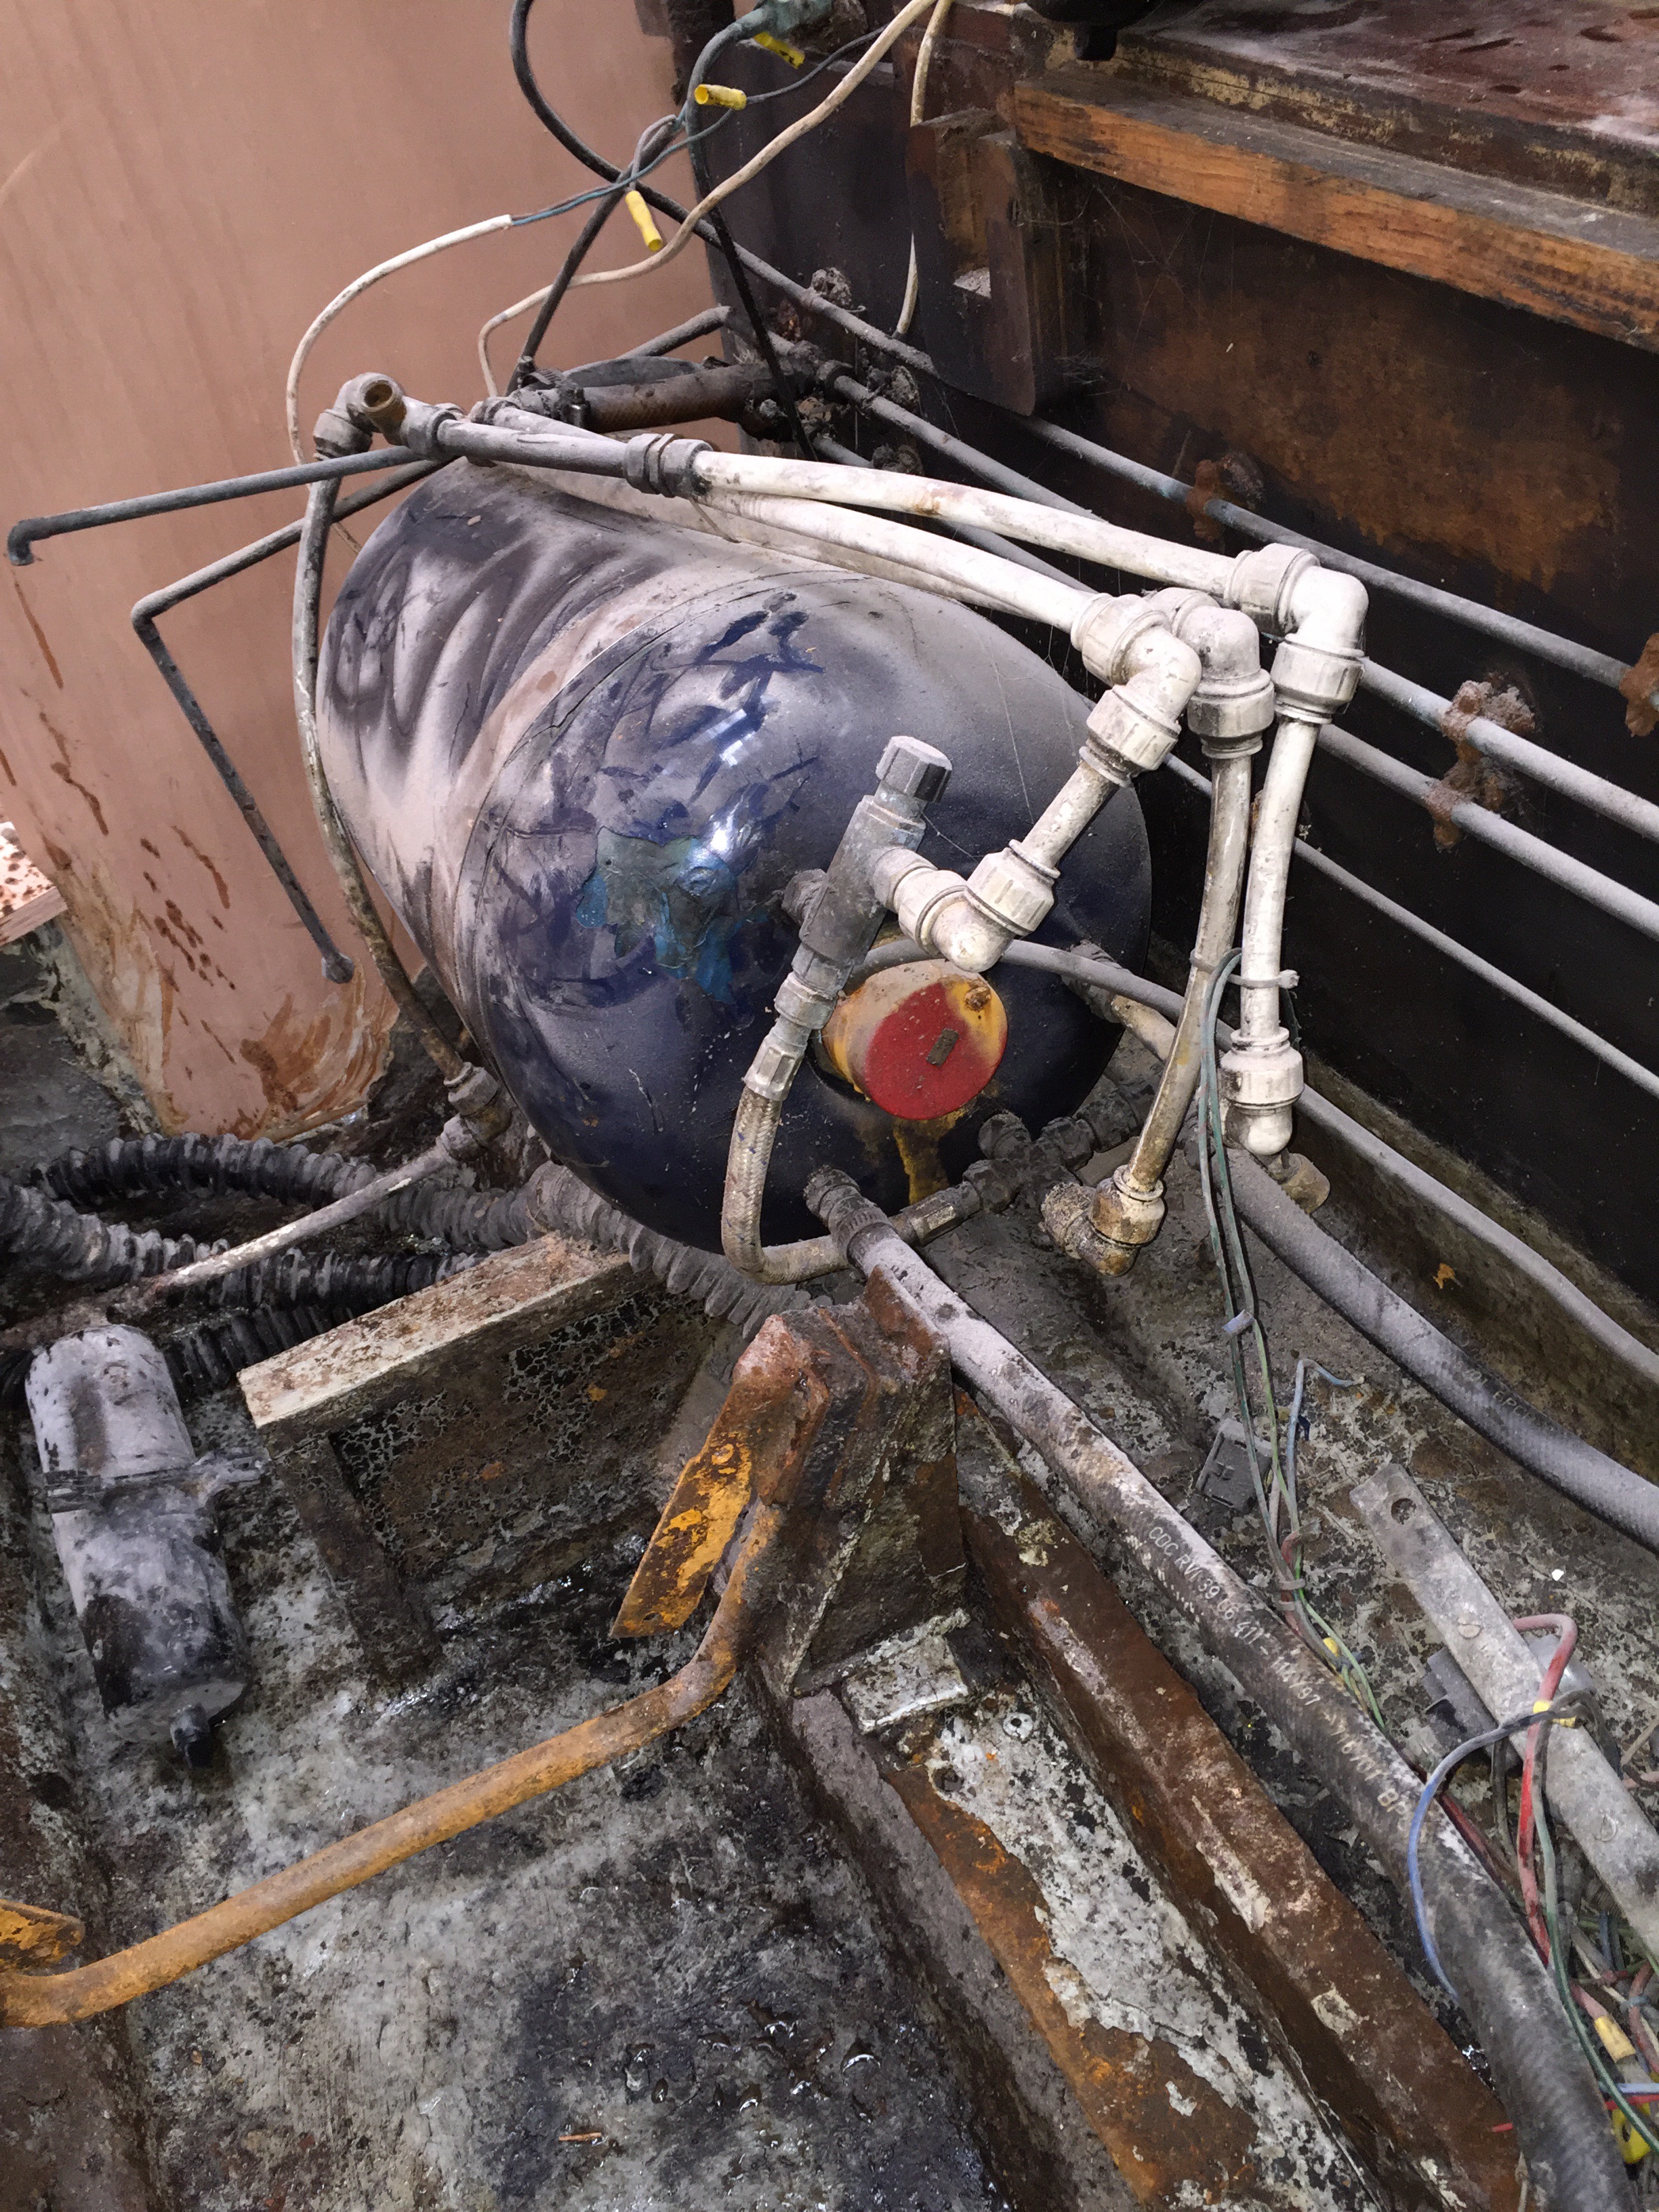
One important thing to be able to do is to put things back together when they have been taken apart. It’s too late for the engine as that is already out but here is the calorifier – water heater to you and me. Also here is some of the electrics. Er HELP.


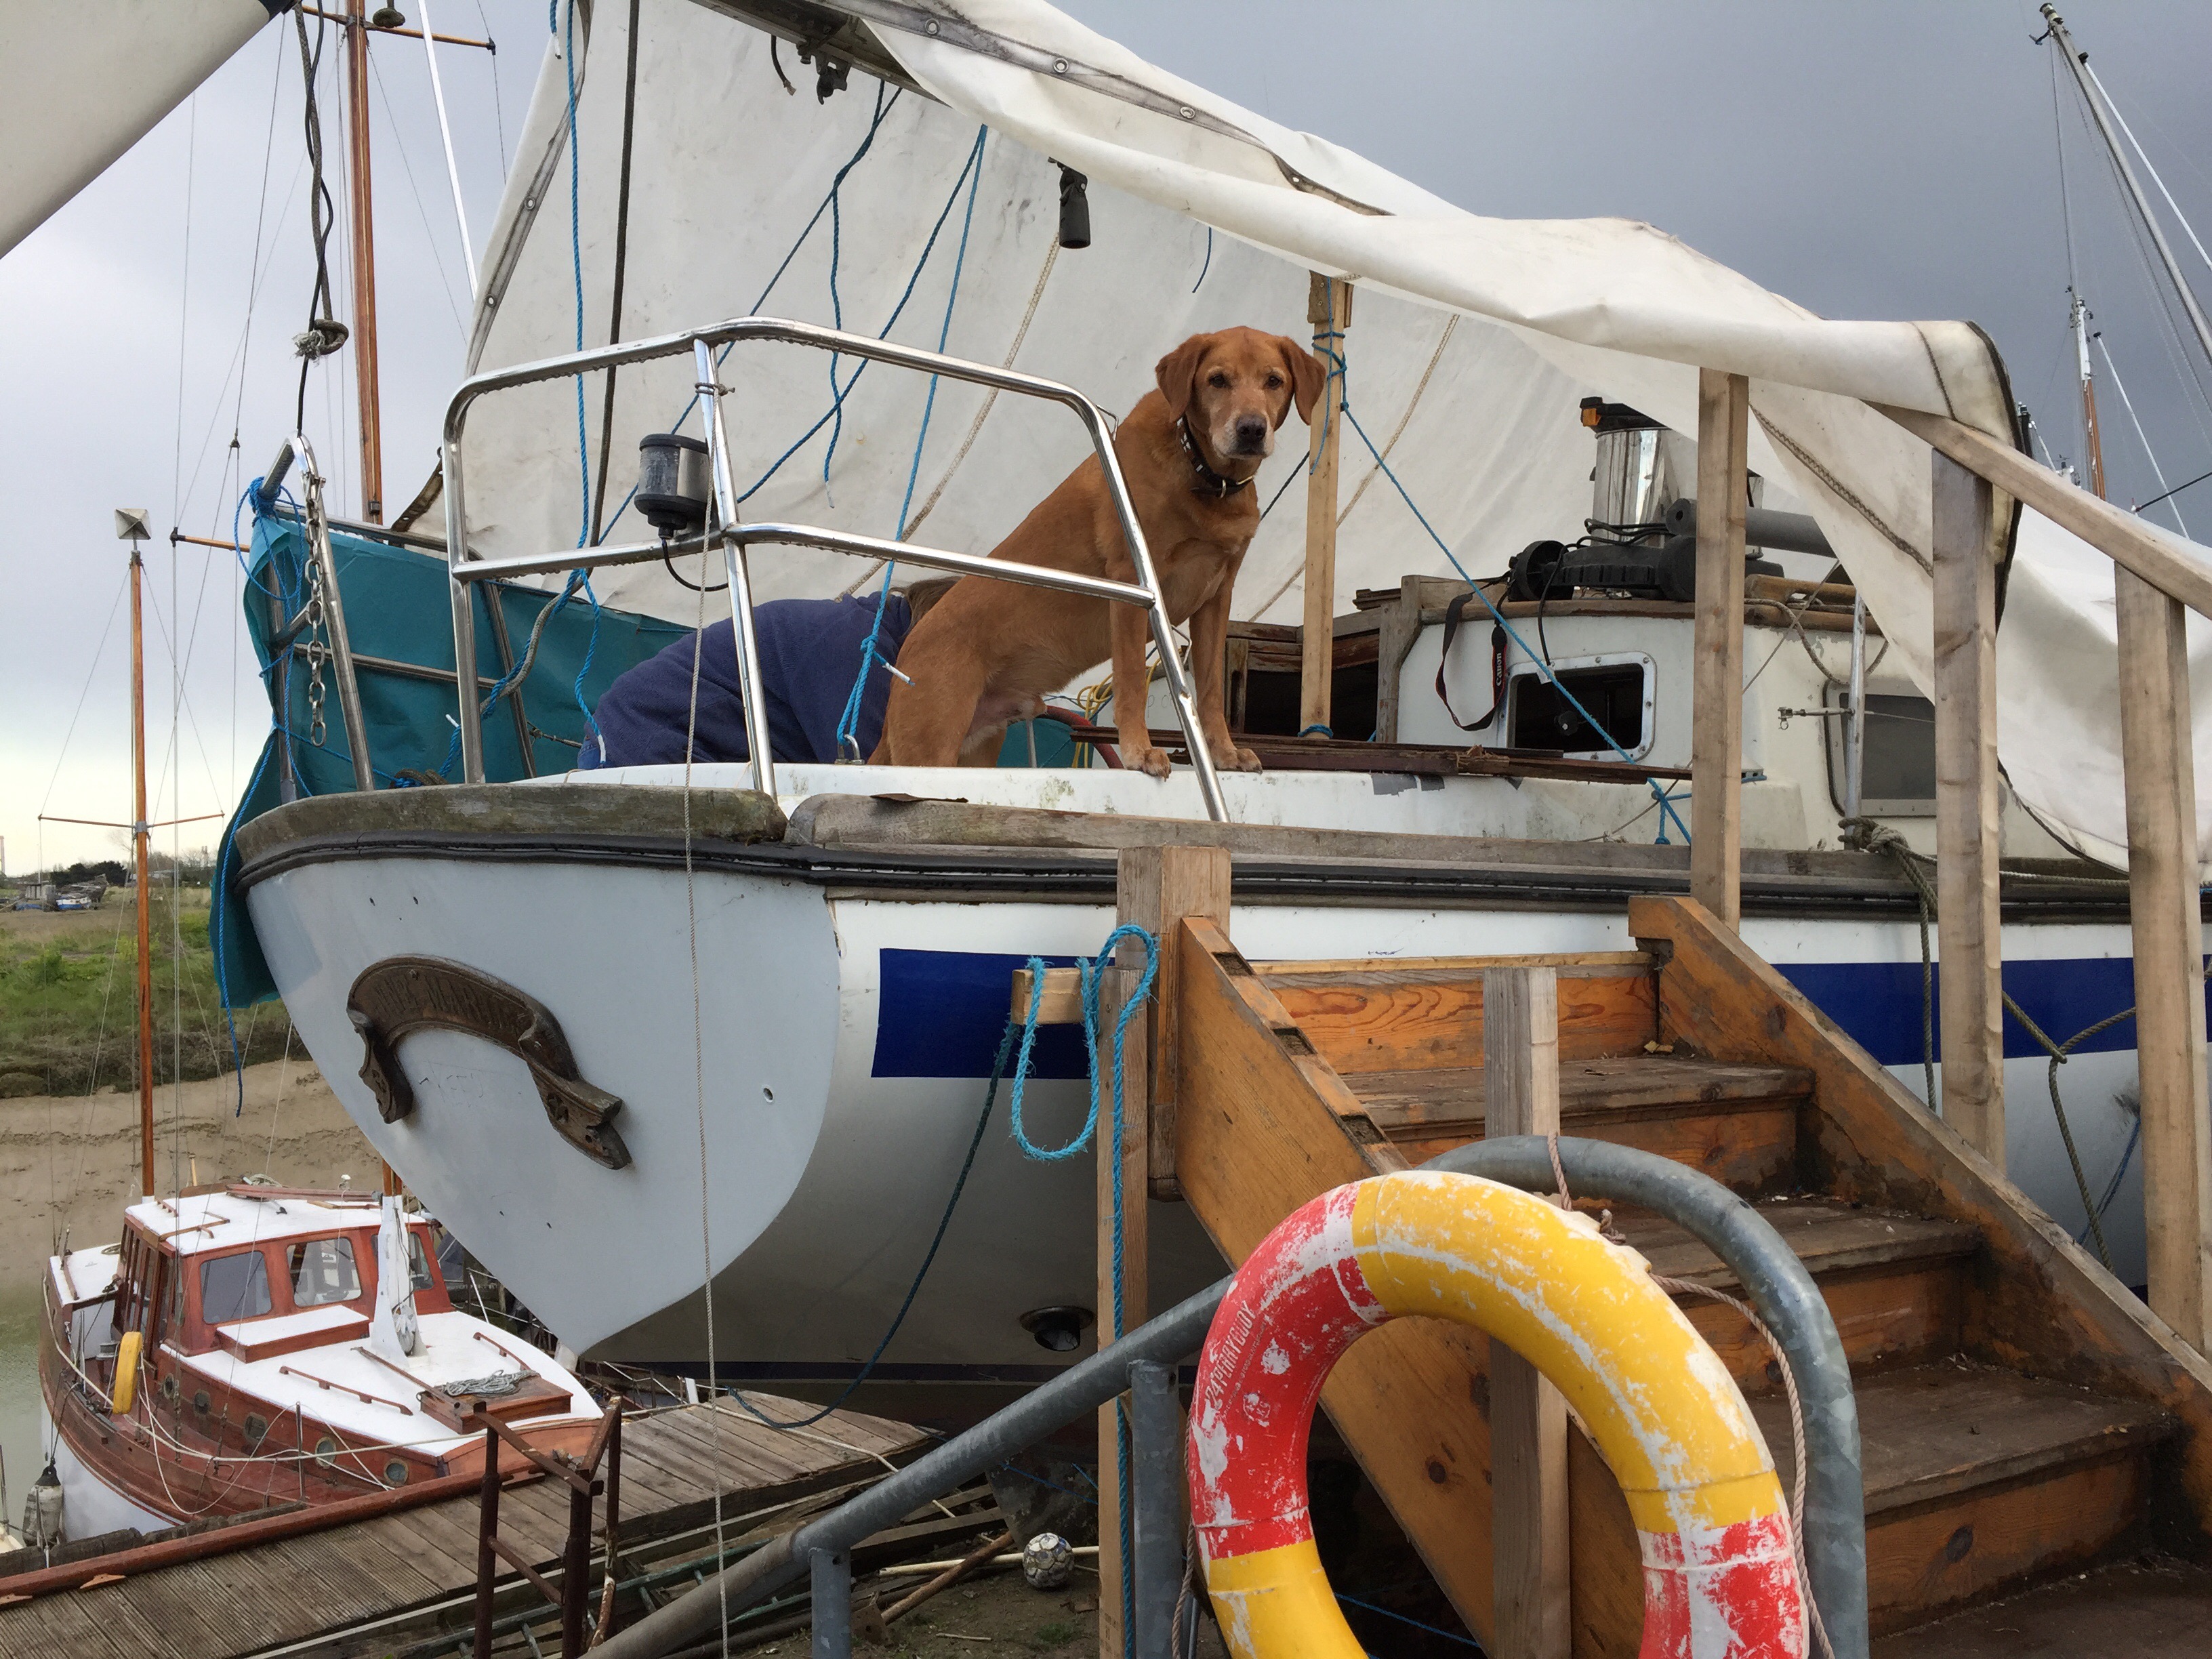
Here’s Rusty doing his bit to repel boarders. Note how he blends in with the stairs.
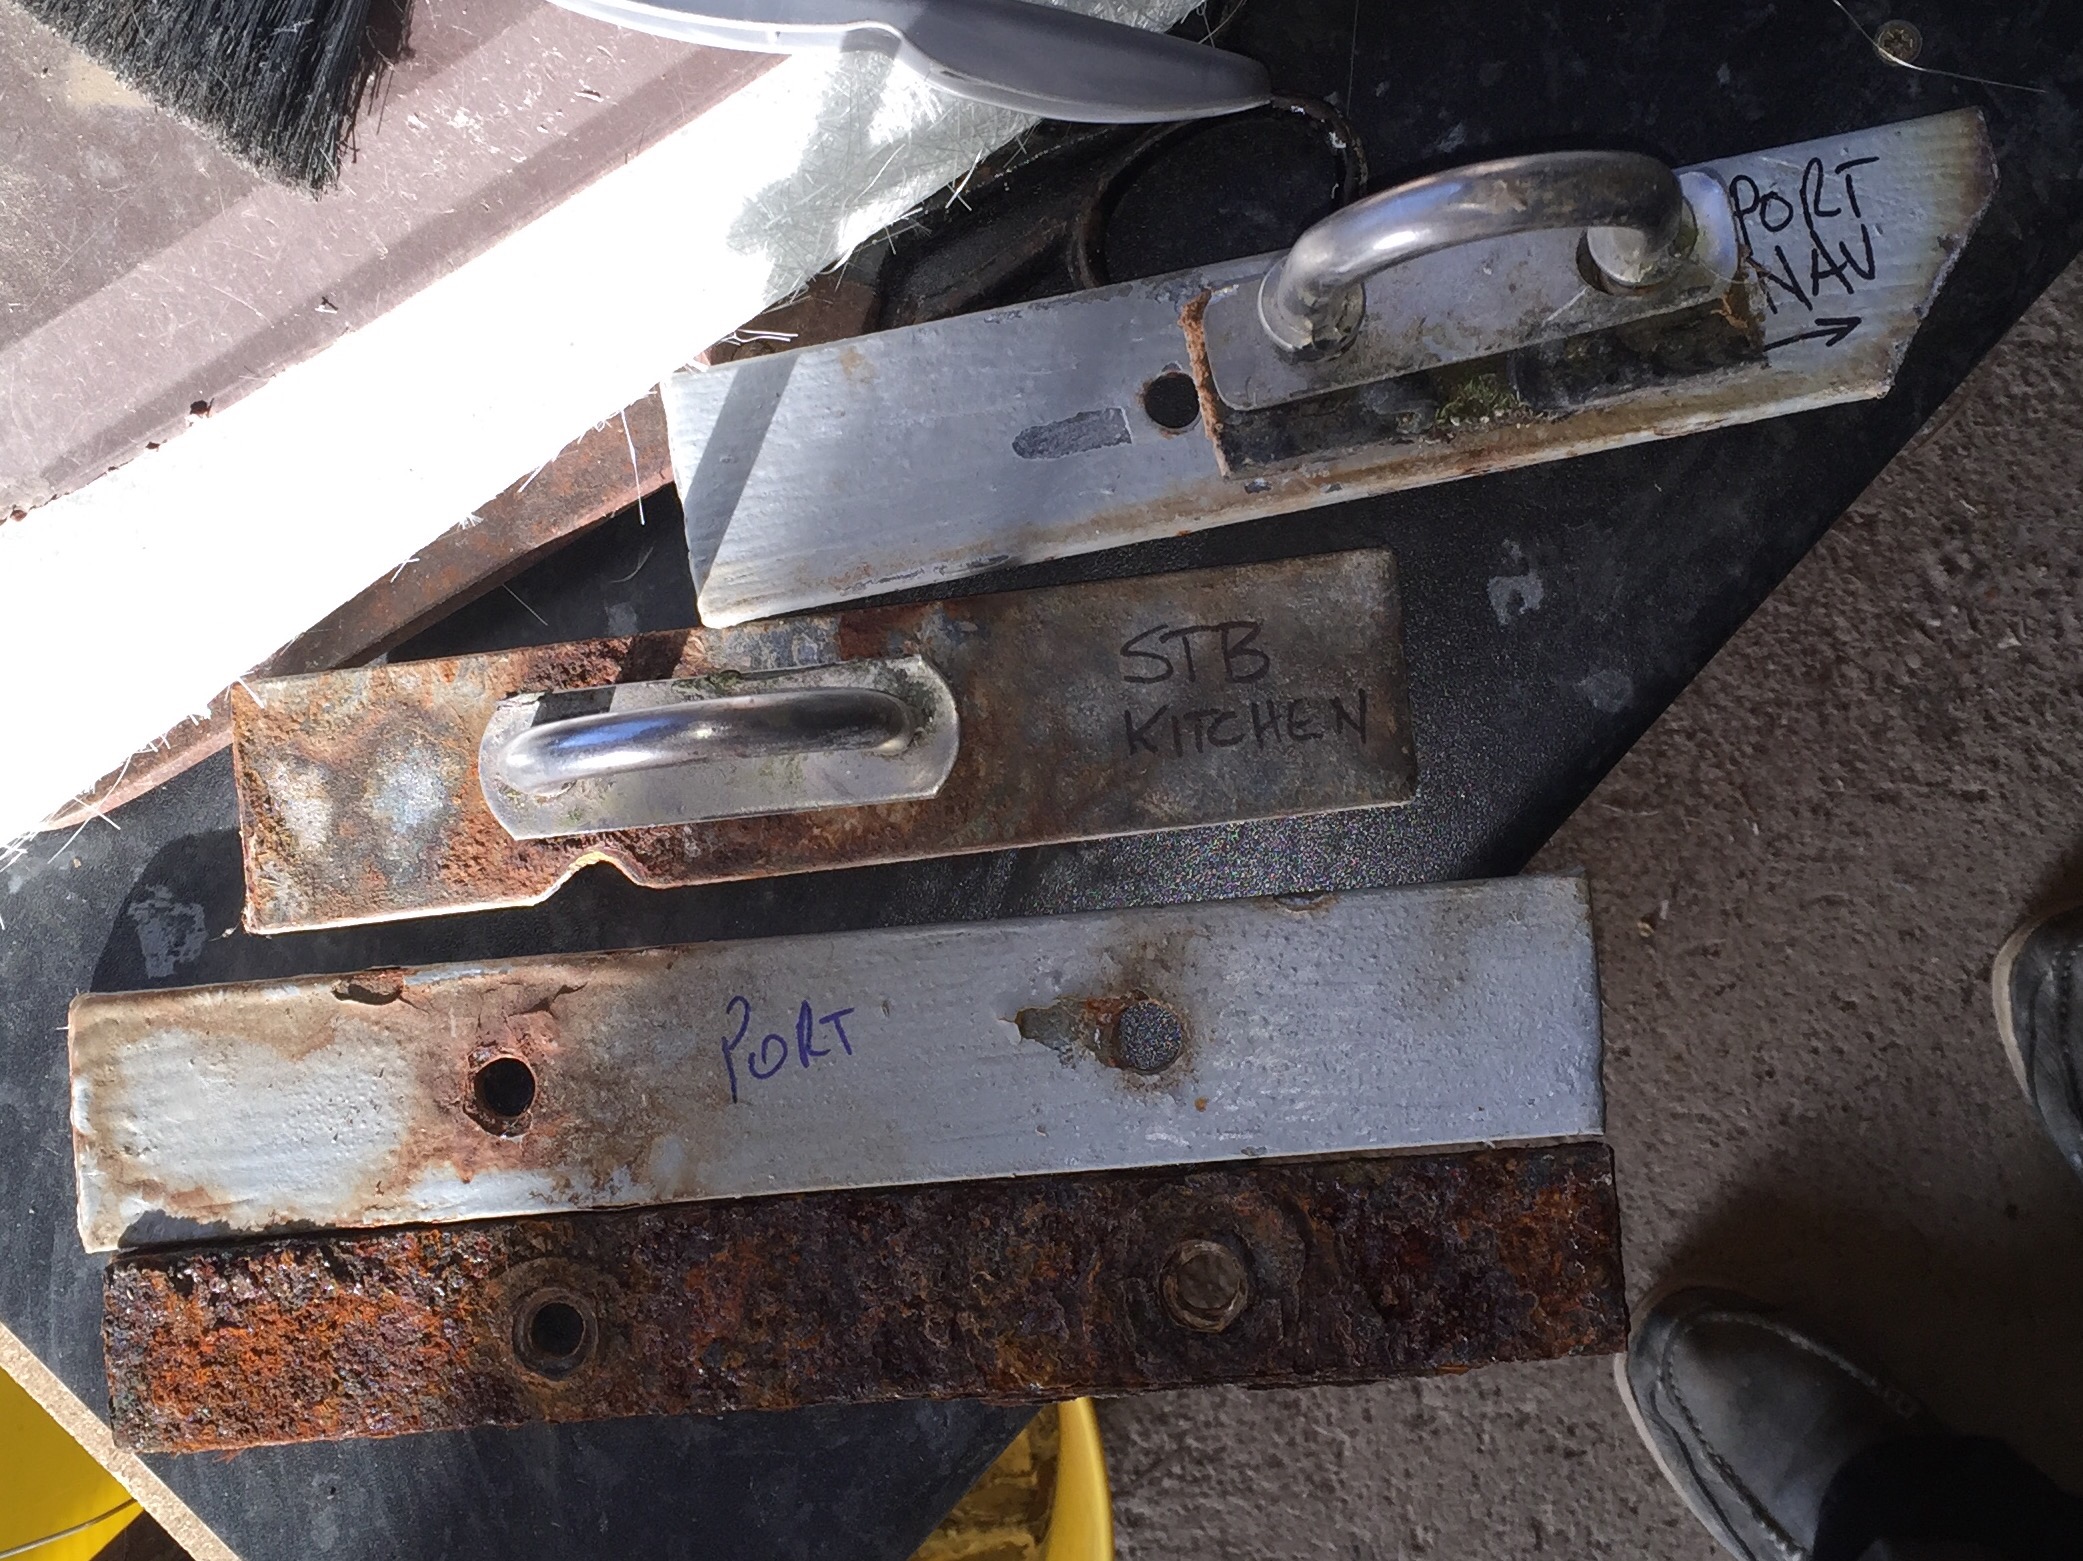
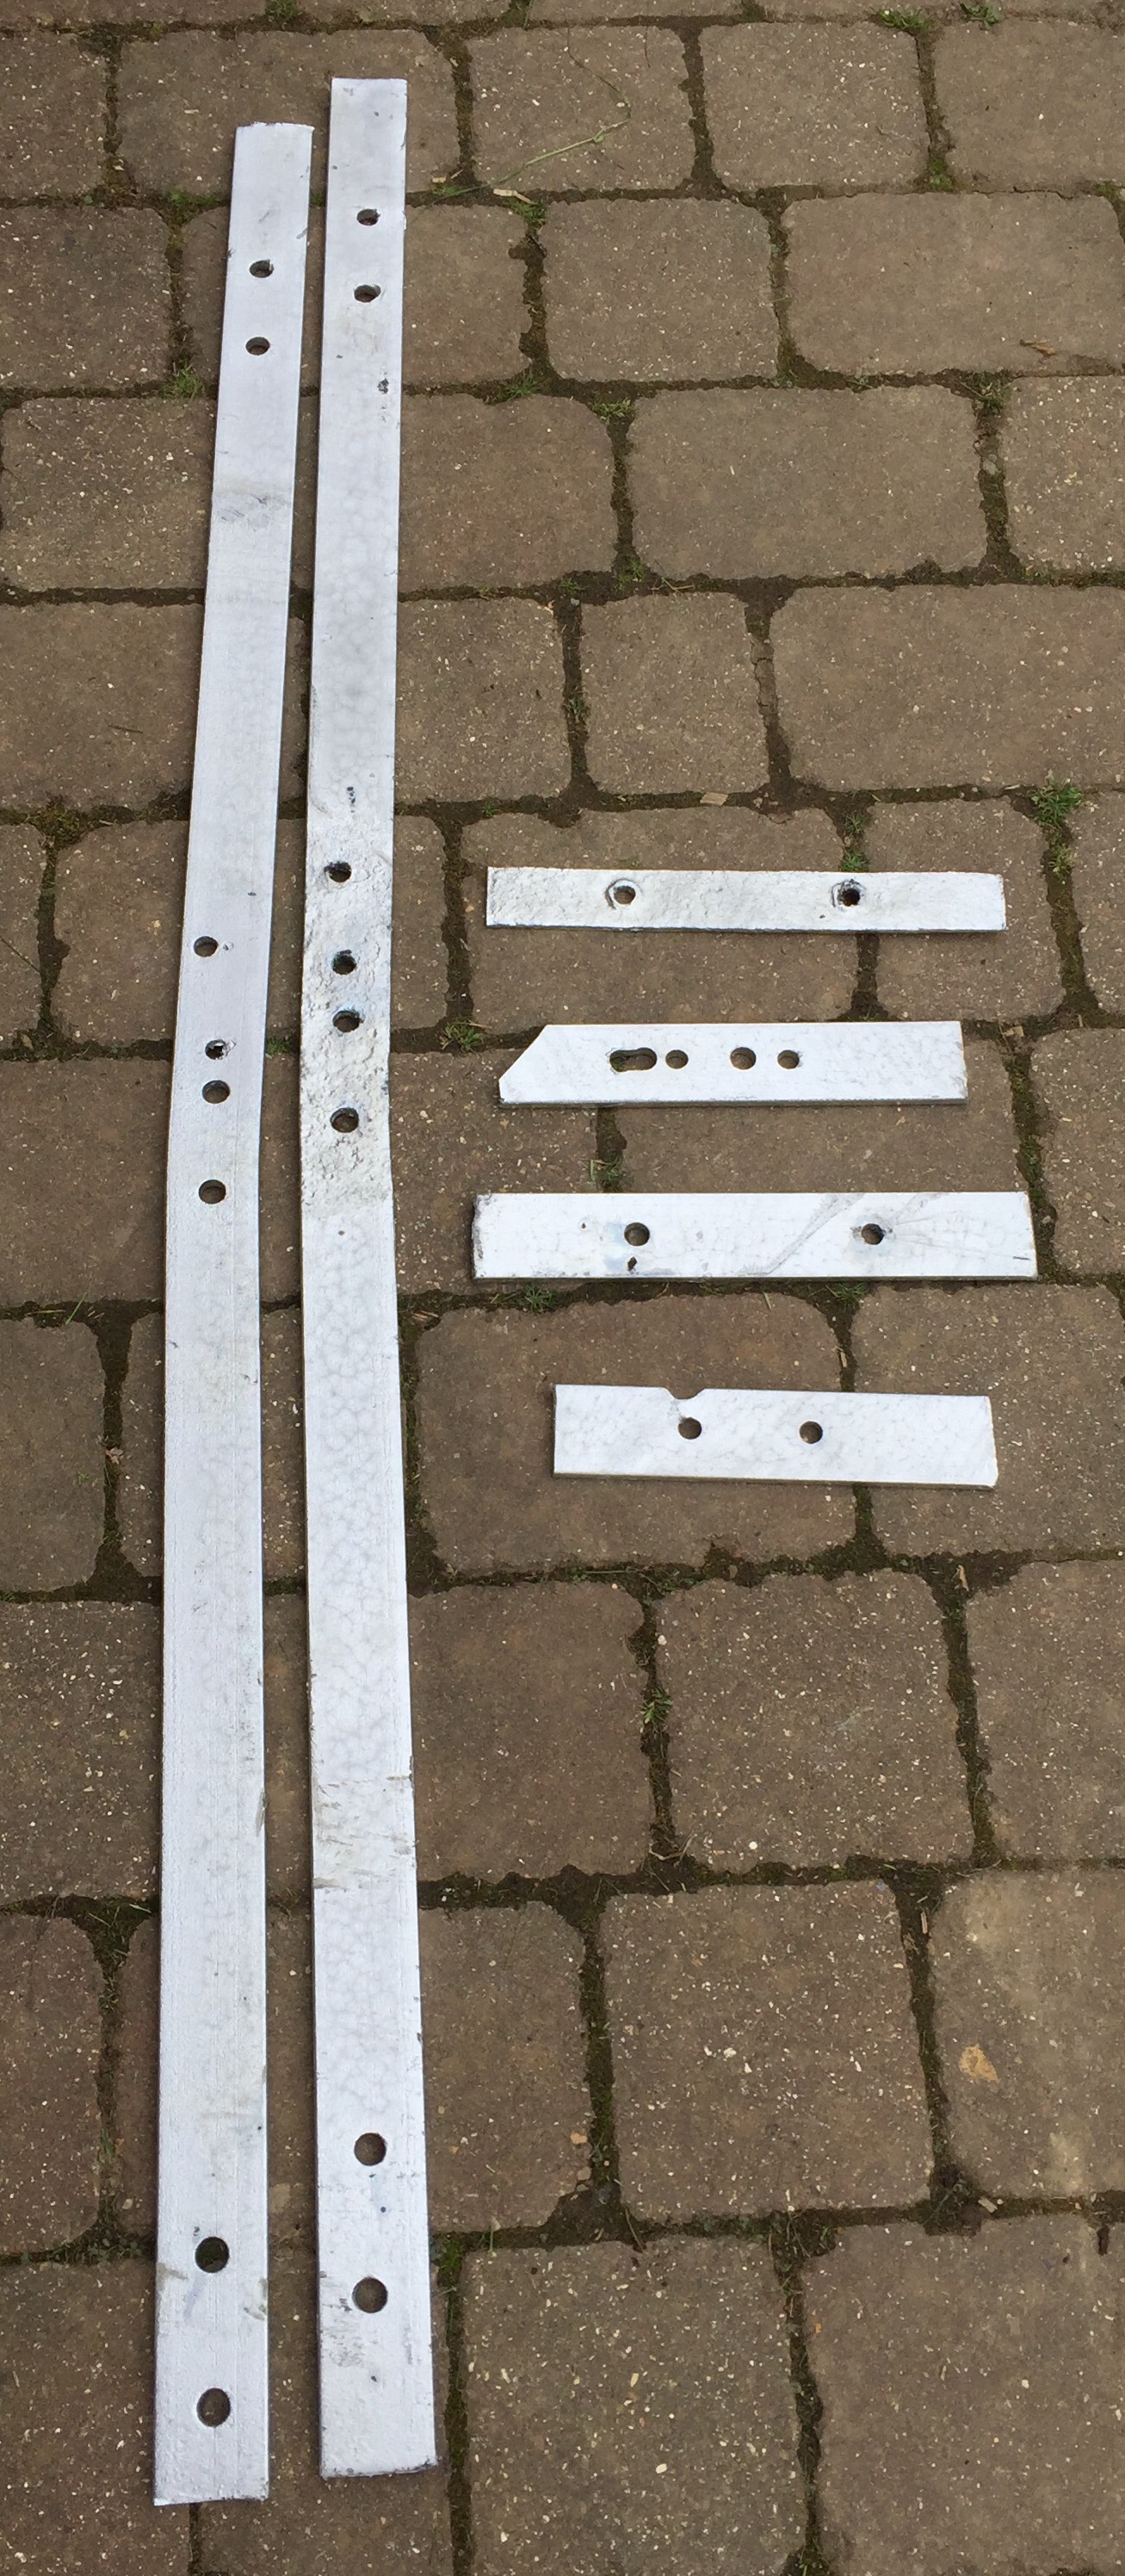
Strictly speaking chain plates are fixed to the hull vertically and the shrouds are attached to them at deck level. In Anne Marie’s case the chain plates are fixed under the deck spreading the load from the shrouds to the deck and hull.
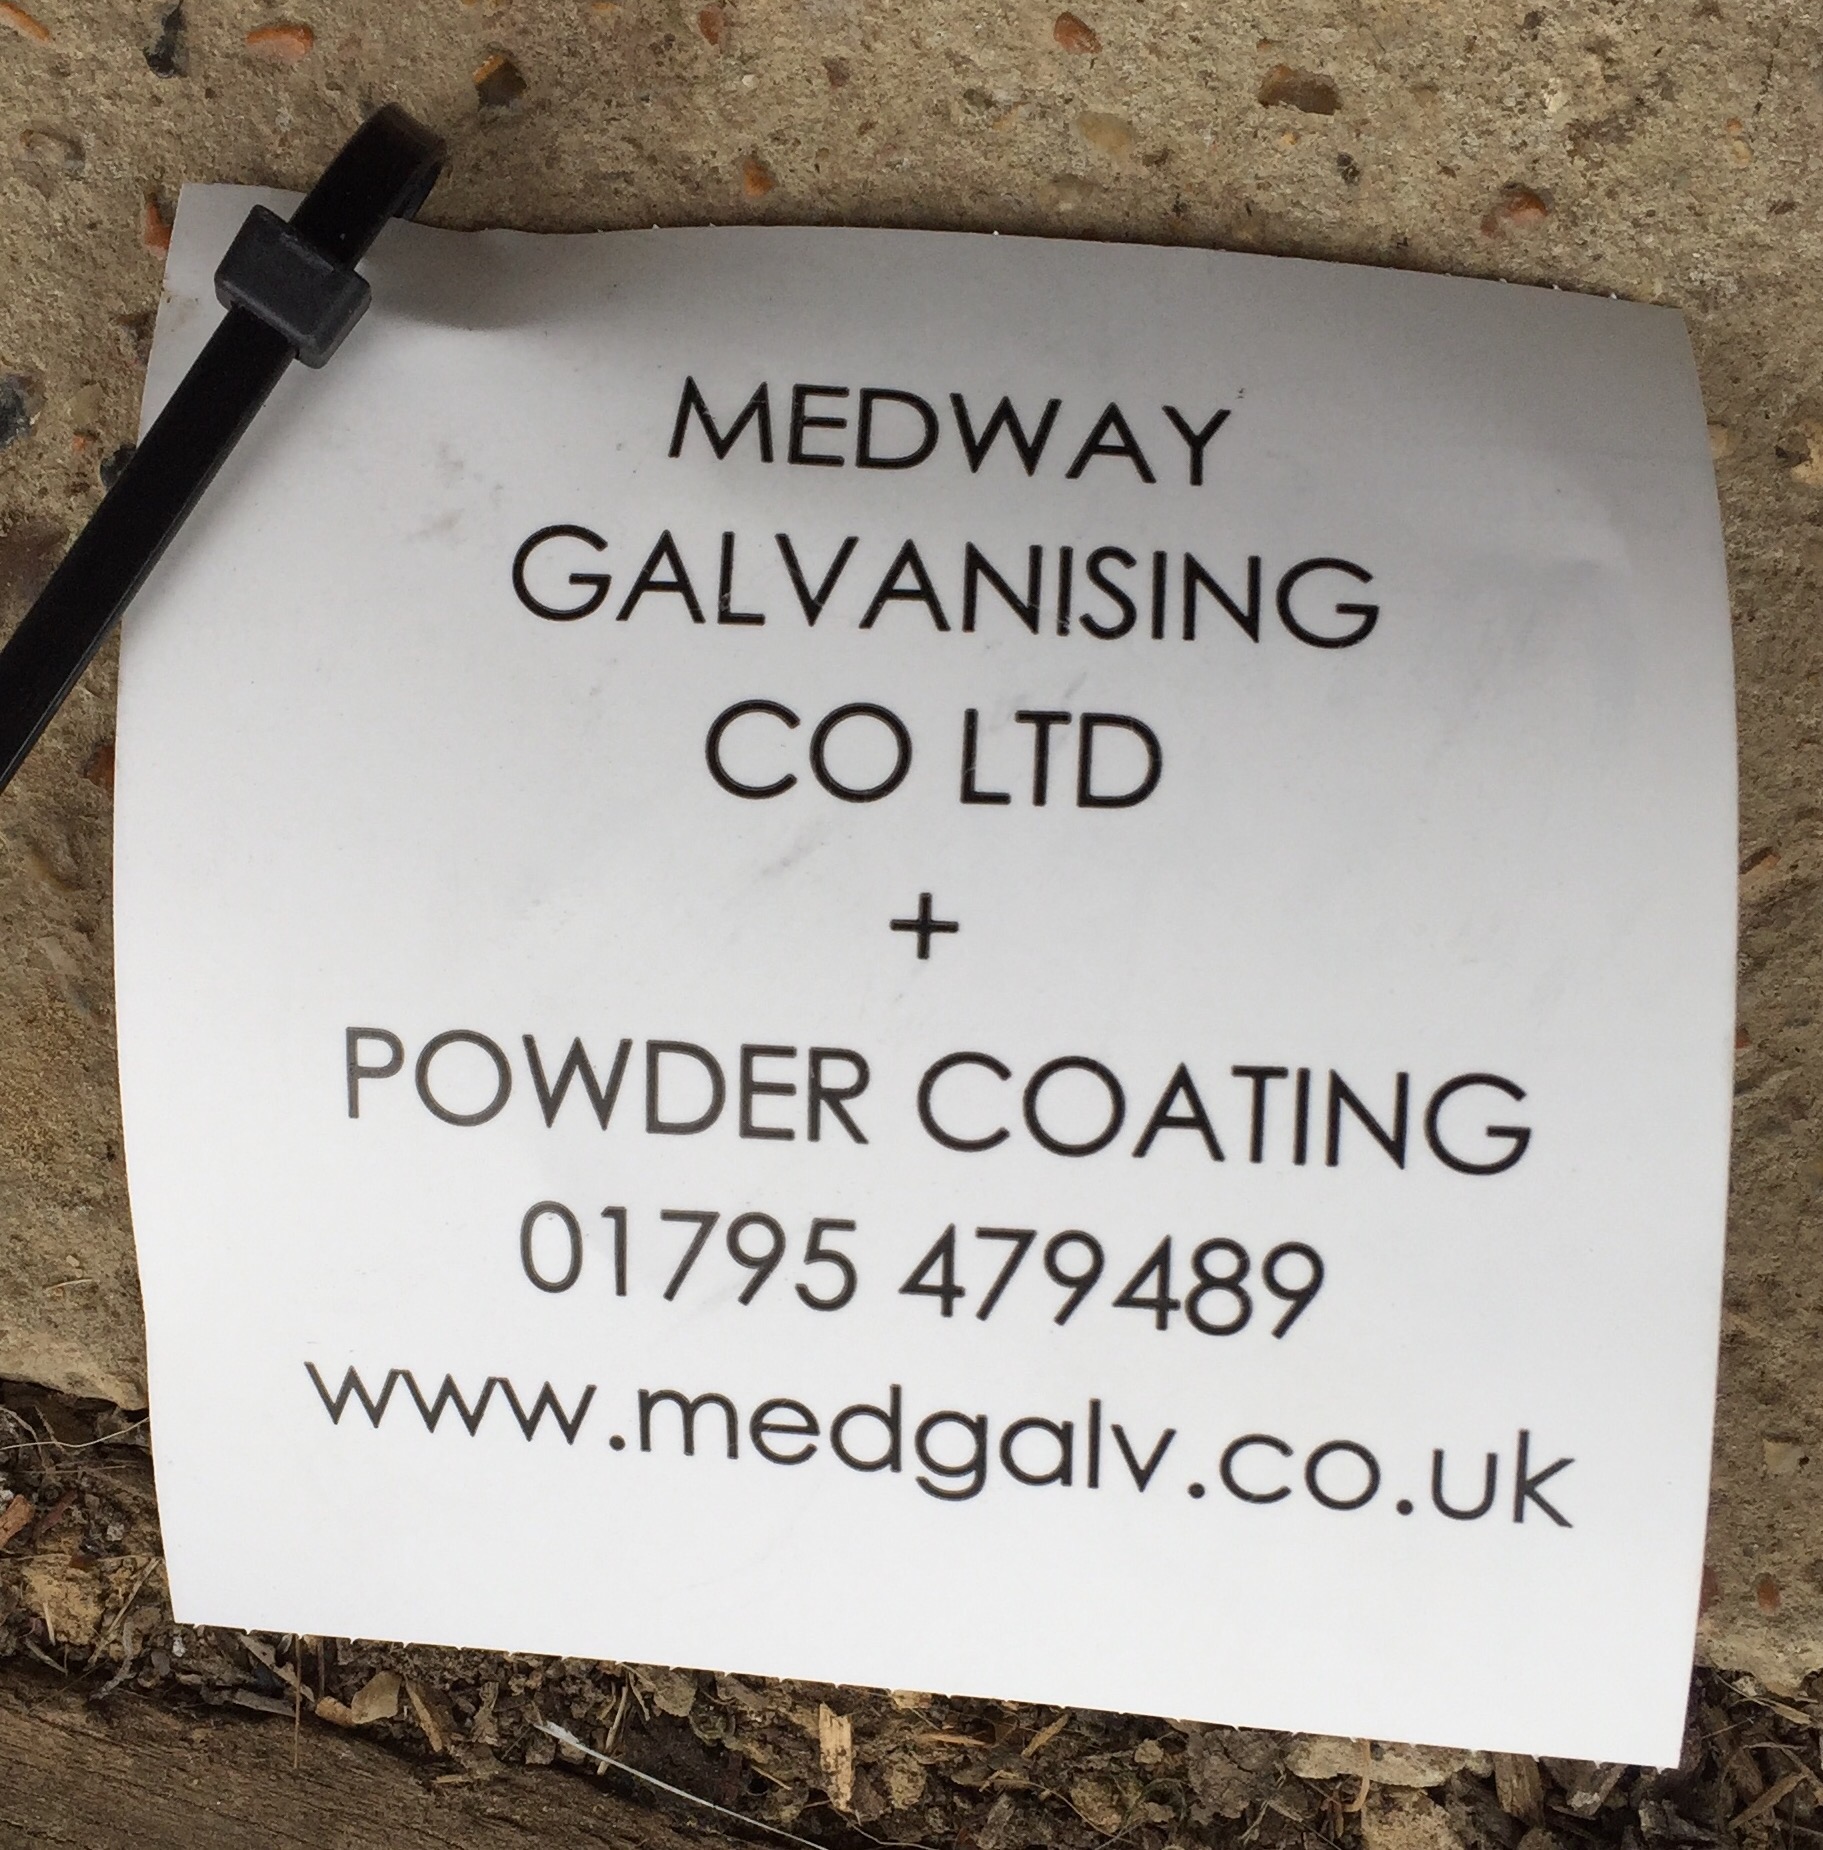
Like most things in this boat time has caused damage. In this case rust. The two photos show what a bit of shot blasting followed by hot dip galvanising does. These will support the mast for another 40 years no trouble. Thank you Medway Galvanising
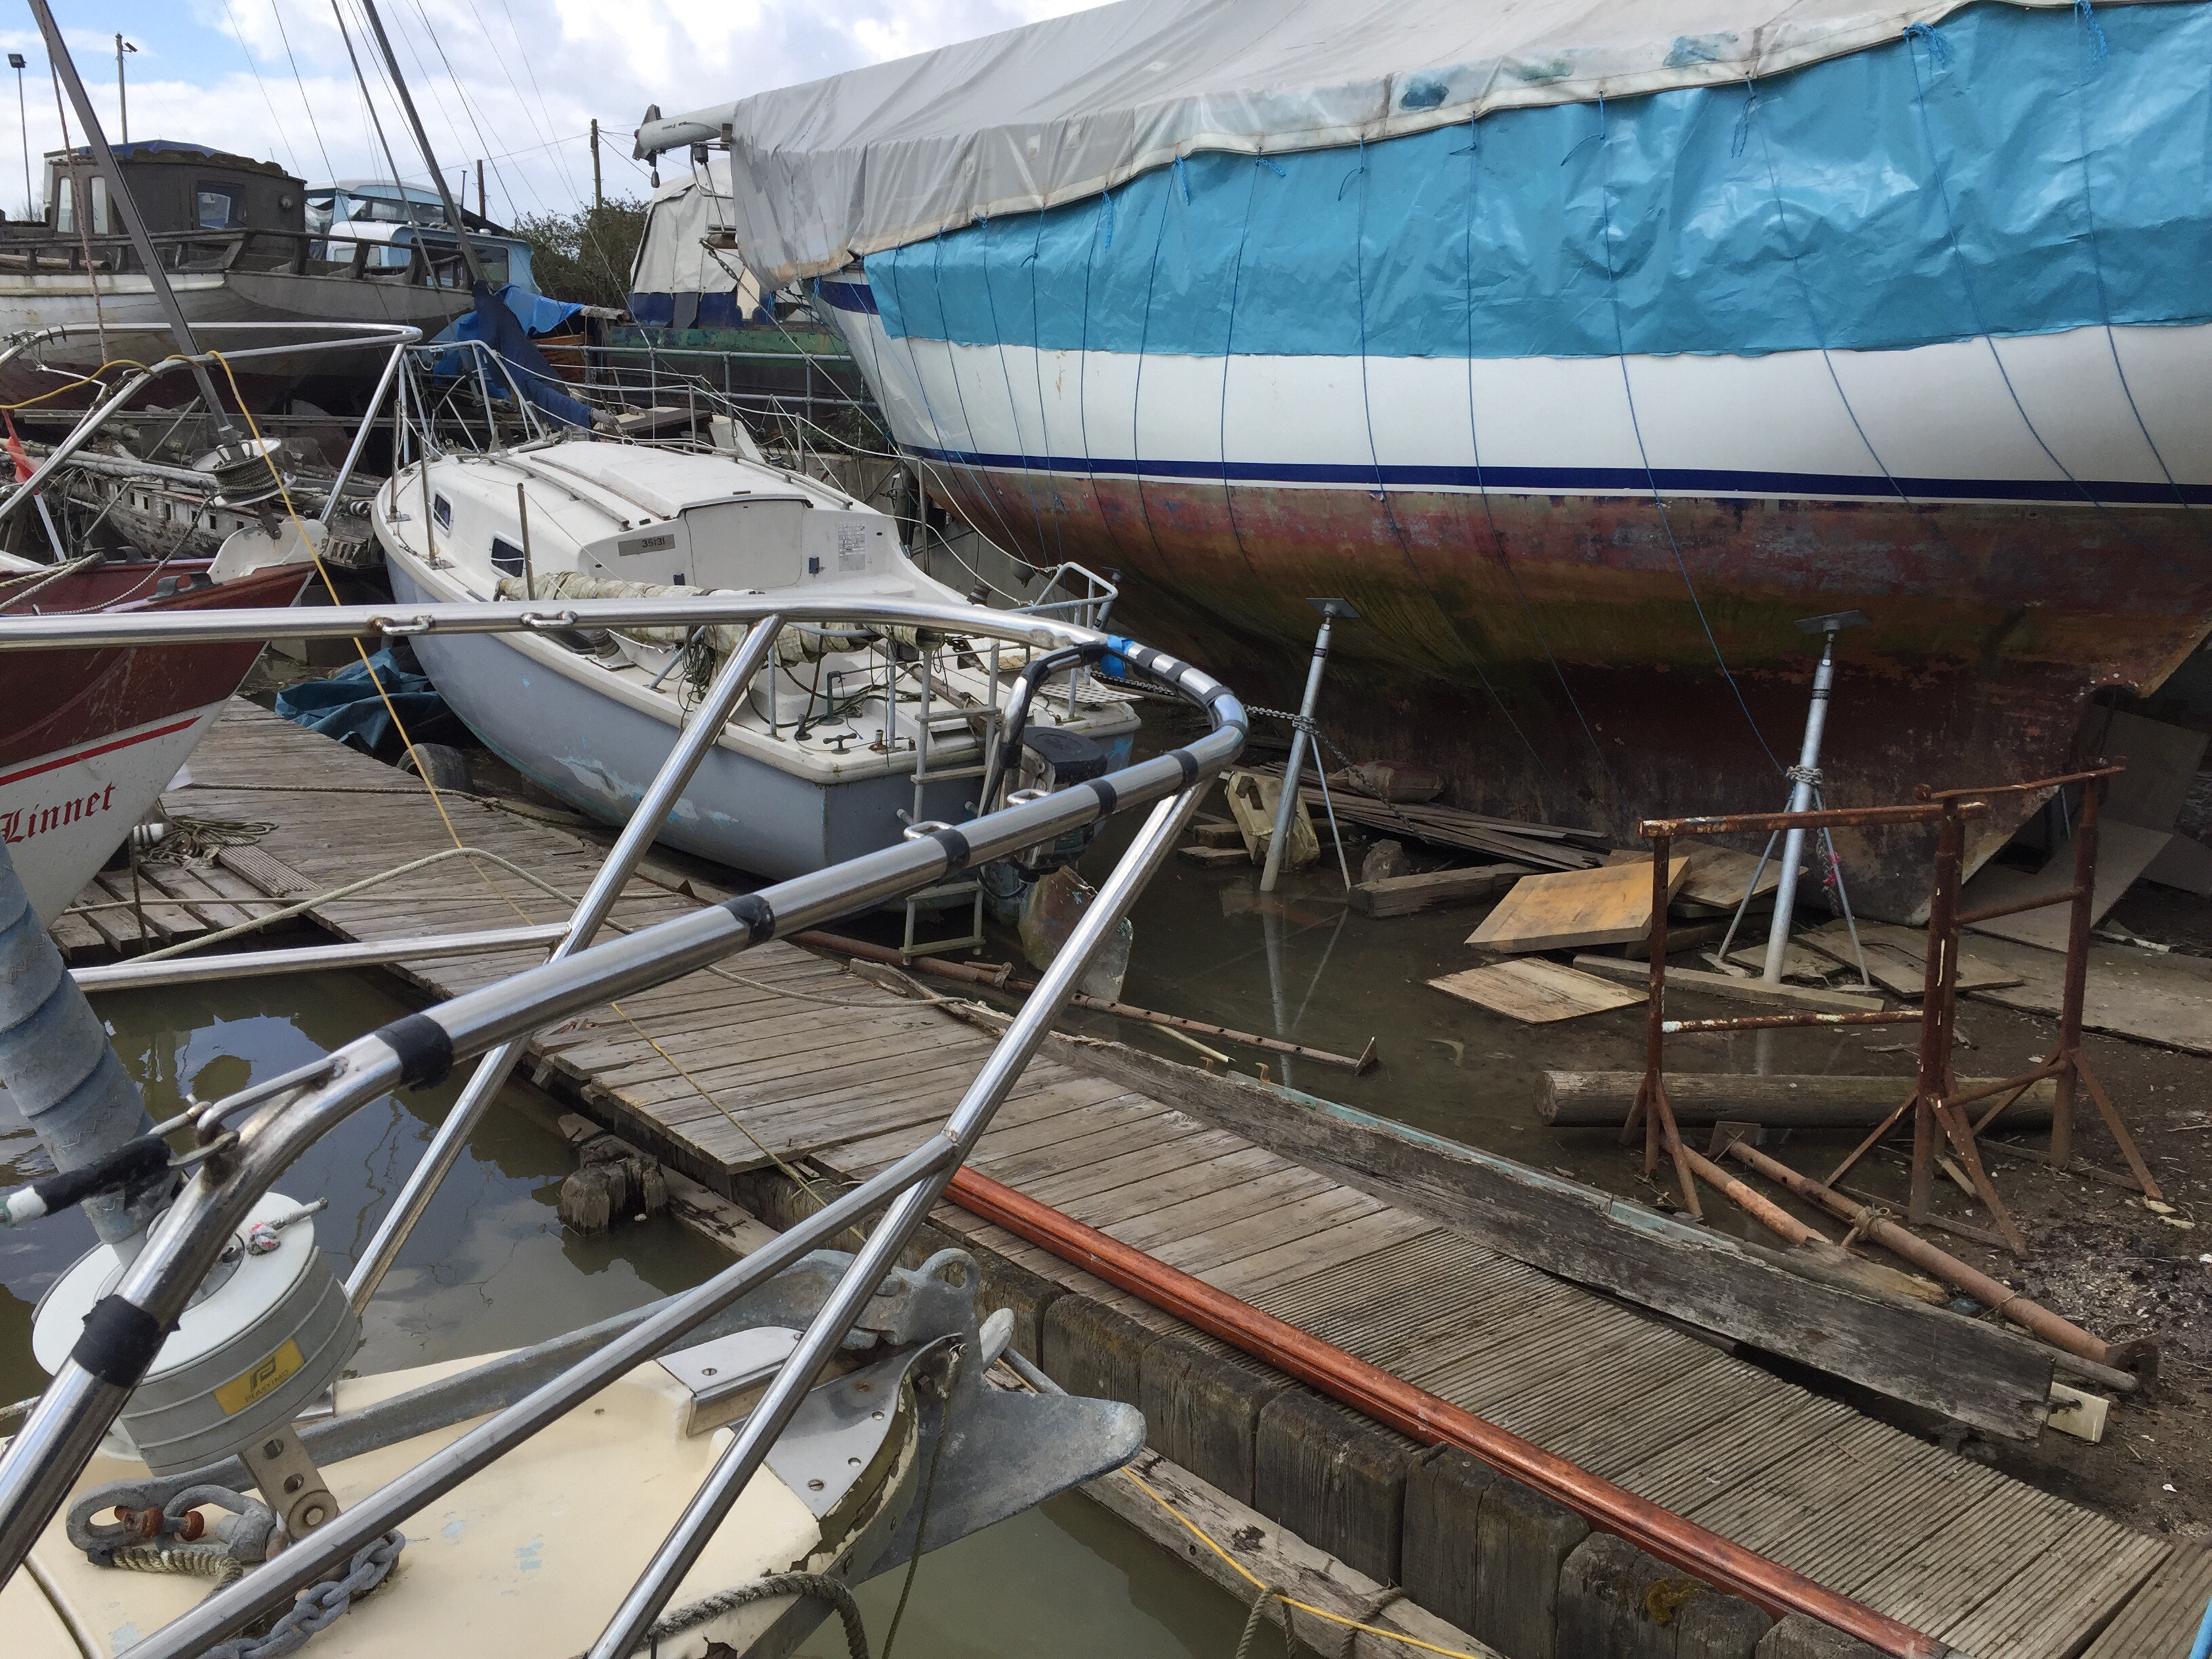
Now most yachts have sails. Lovely white, clean and crisp. Not Anne Marie. Her sails have lost their beauty.
When we first bought her we found the sails all neatly folded and stored in the forward sail locker. Well thought through by the owners or so we thought. The trouble was that they were damp. Well not so much damp as wet. They had been sitting in water for 8 years!
The sail locker has one big disadvantage. It is above the chain locker. The water is not lovely and clean and fresh but rusty. There is no drain or limber hole and so all the water has accumulated and overflowed.
The sails are now rust coloured and mildewy. I have tried cleaning them with lots of water, soap and by steeping in Oxalic Acid. It helped but they remain stained.
New sails are on the agenda. £££££££!!


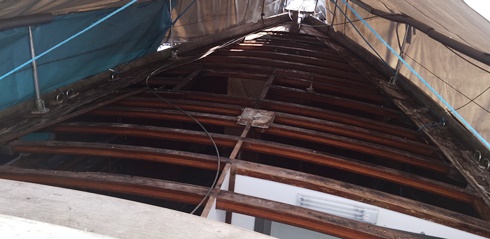
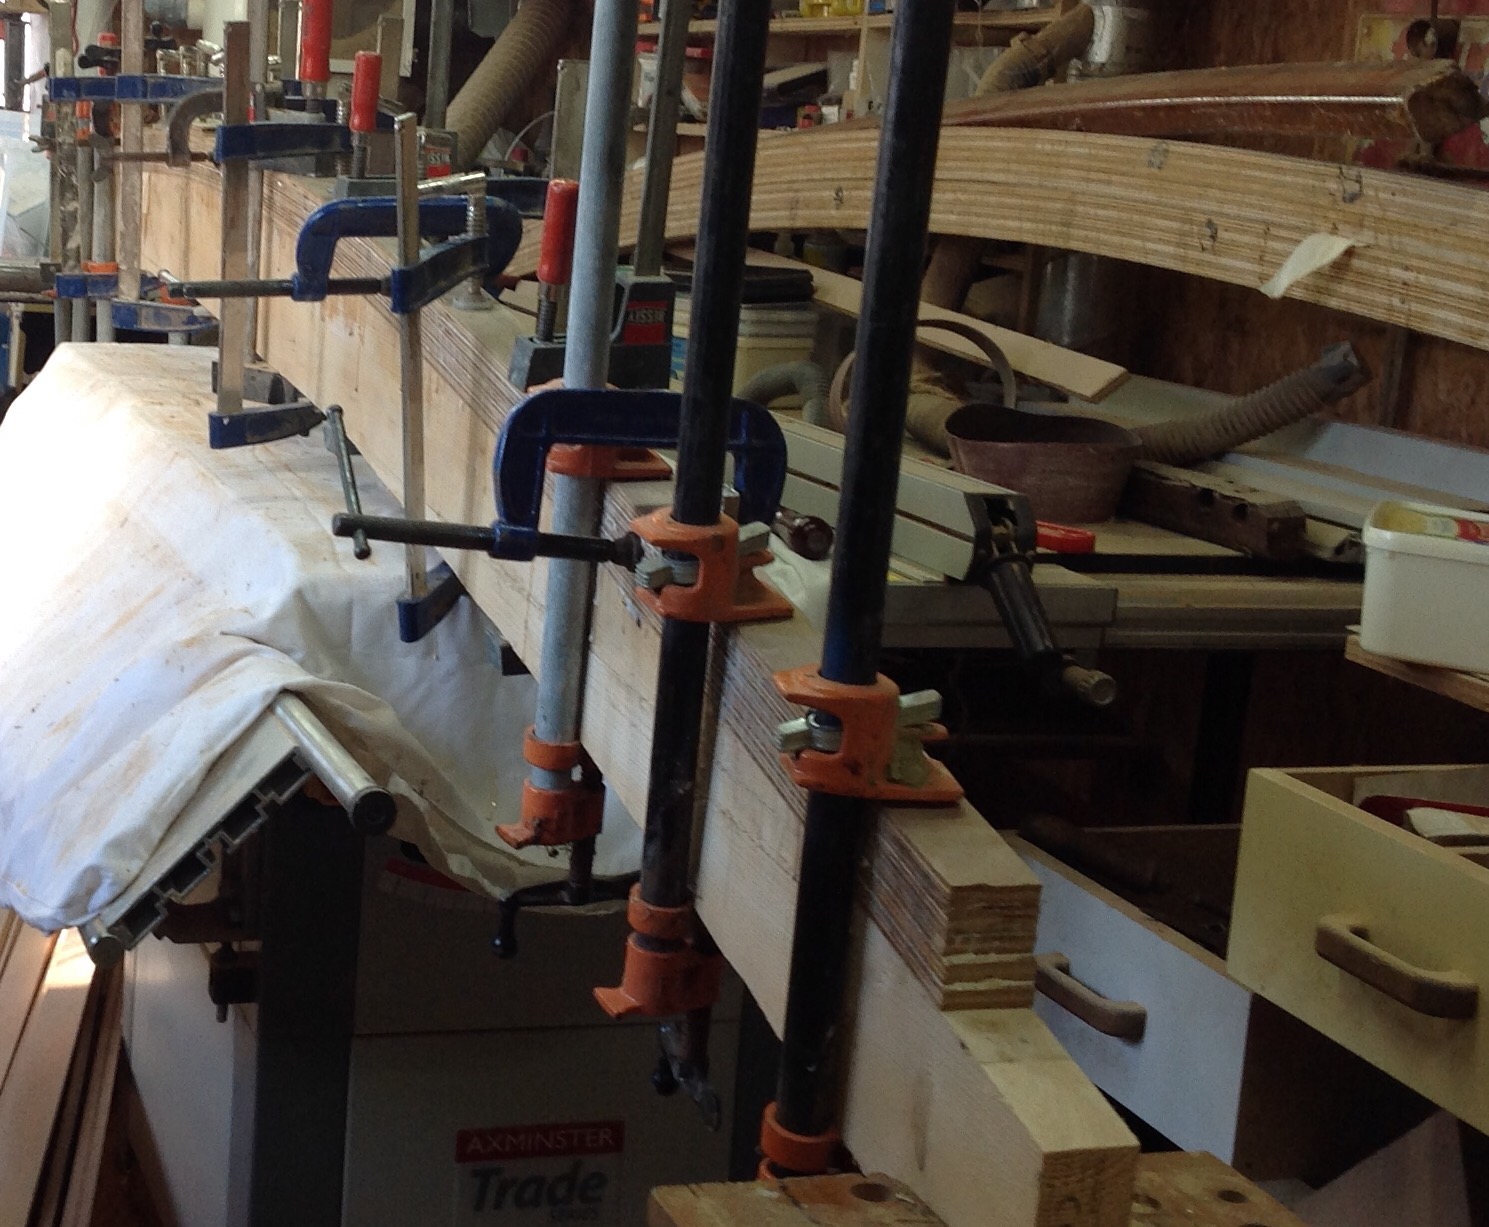
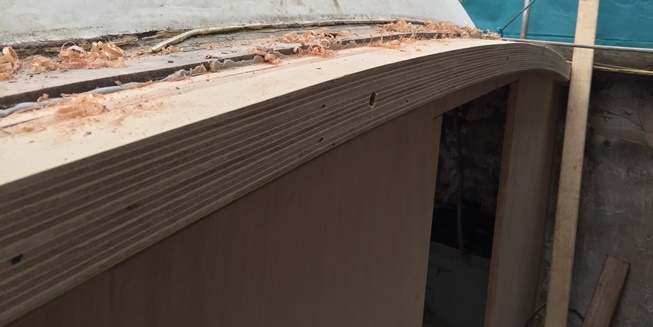
Twelve of the deck beams were so rotten that they had to be replaced. We chose to laminate new ones with marine ply using one of the longest ones as a pattern.
Alan made up a jig in his workshop and cut 50mm strips out of four 12mm sheets giving us plenty of 2.44 lengths. These would have to be glued and joined as the longest beams were up to 3.8m long.
The joints were staggered to ensure there were no weak spots and all were buiscuited together before gluing. You can look up ‘biscuit joints’ yourself.
Five strips were layered together to form a beam.
Alan made a pattern by using a 150×50 timber joist which had to be extended at both ends and then jigsawed and planed to shape.

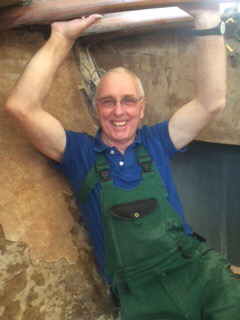
Then over the next few weeks he made up the beams and installed them as required. Each beam is bolted into place to the hull with two A4 grade stainless steel M10 screw-headed bolts. Much stronger than the original oddly-sized M9s.
To save my back I have just put together this engine hoist, bought off ebay from Bestdirectuk. Arrived in two days when I expected five so I was able to spend the afternoon of my birthday putting it together and moving the old engine into the shed.
Wow. My sixth best present (I got five others!) At my age you are easily pleased.


Looking better and much more up to the job of ship and crew protection.
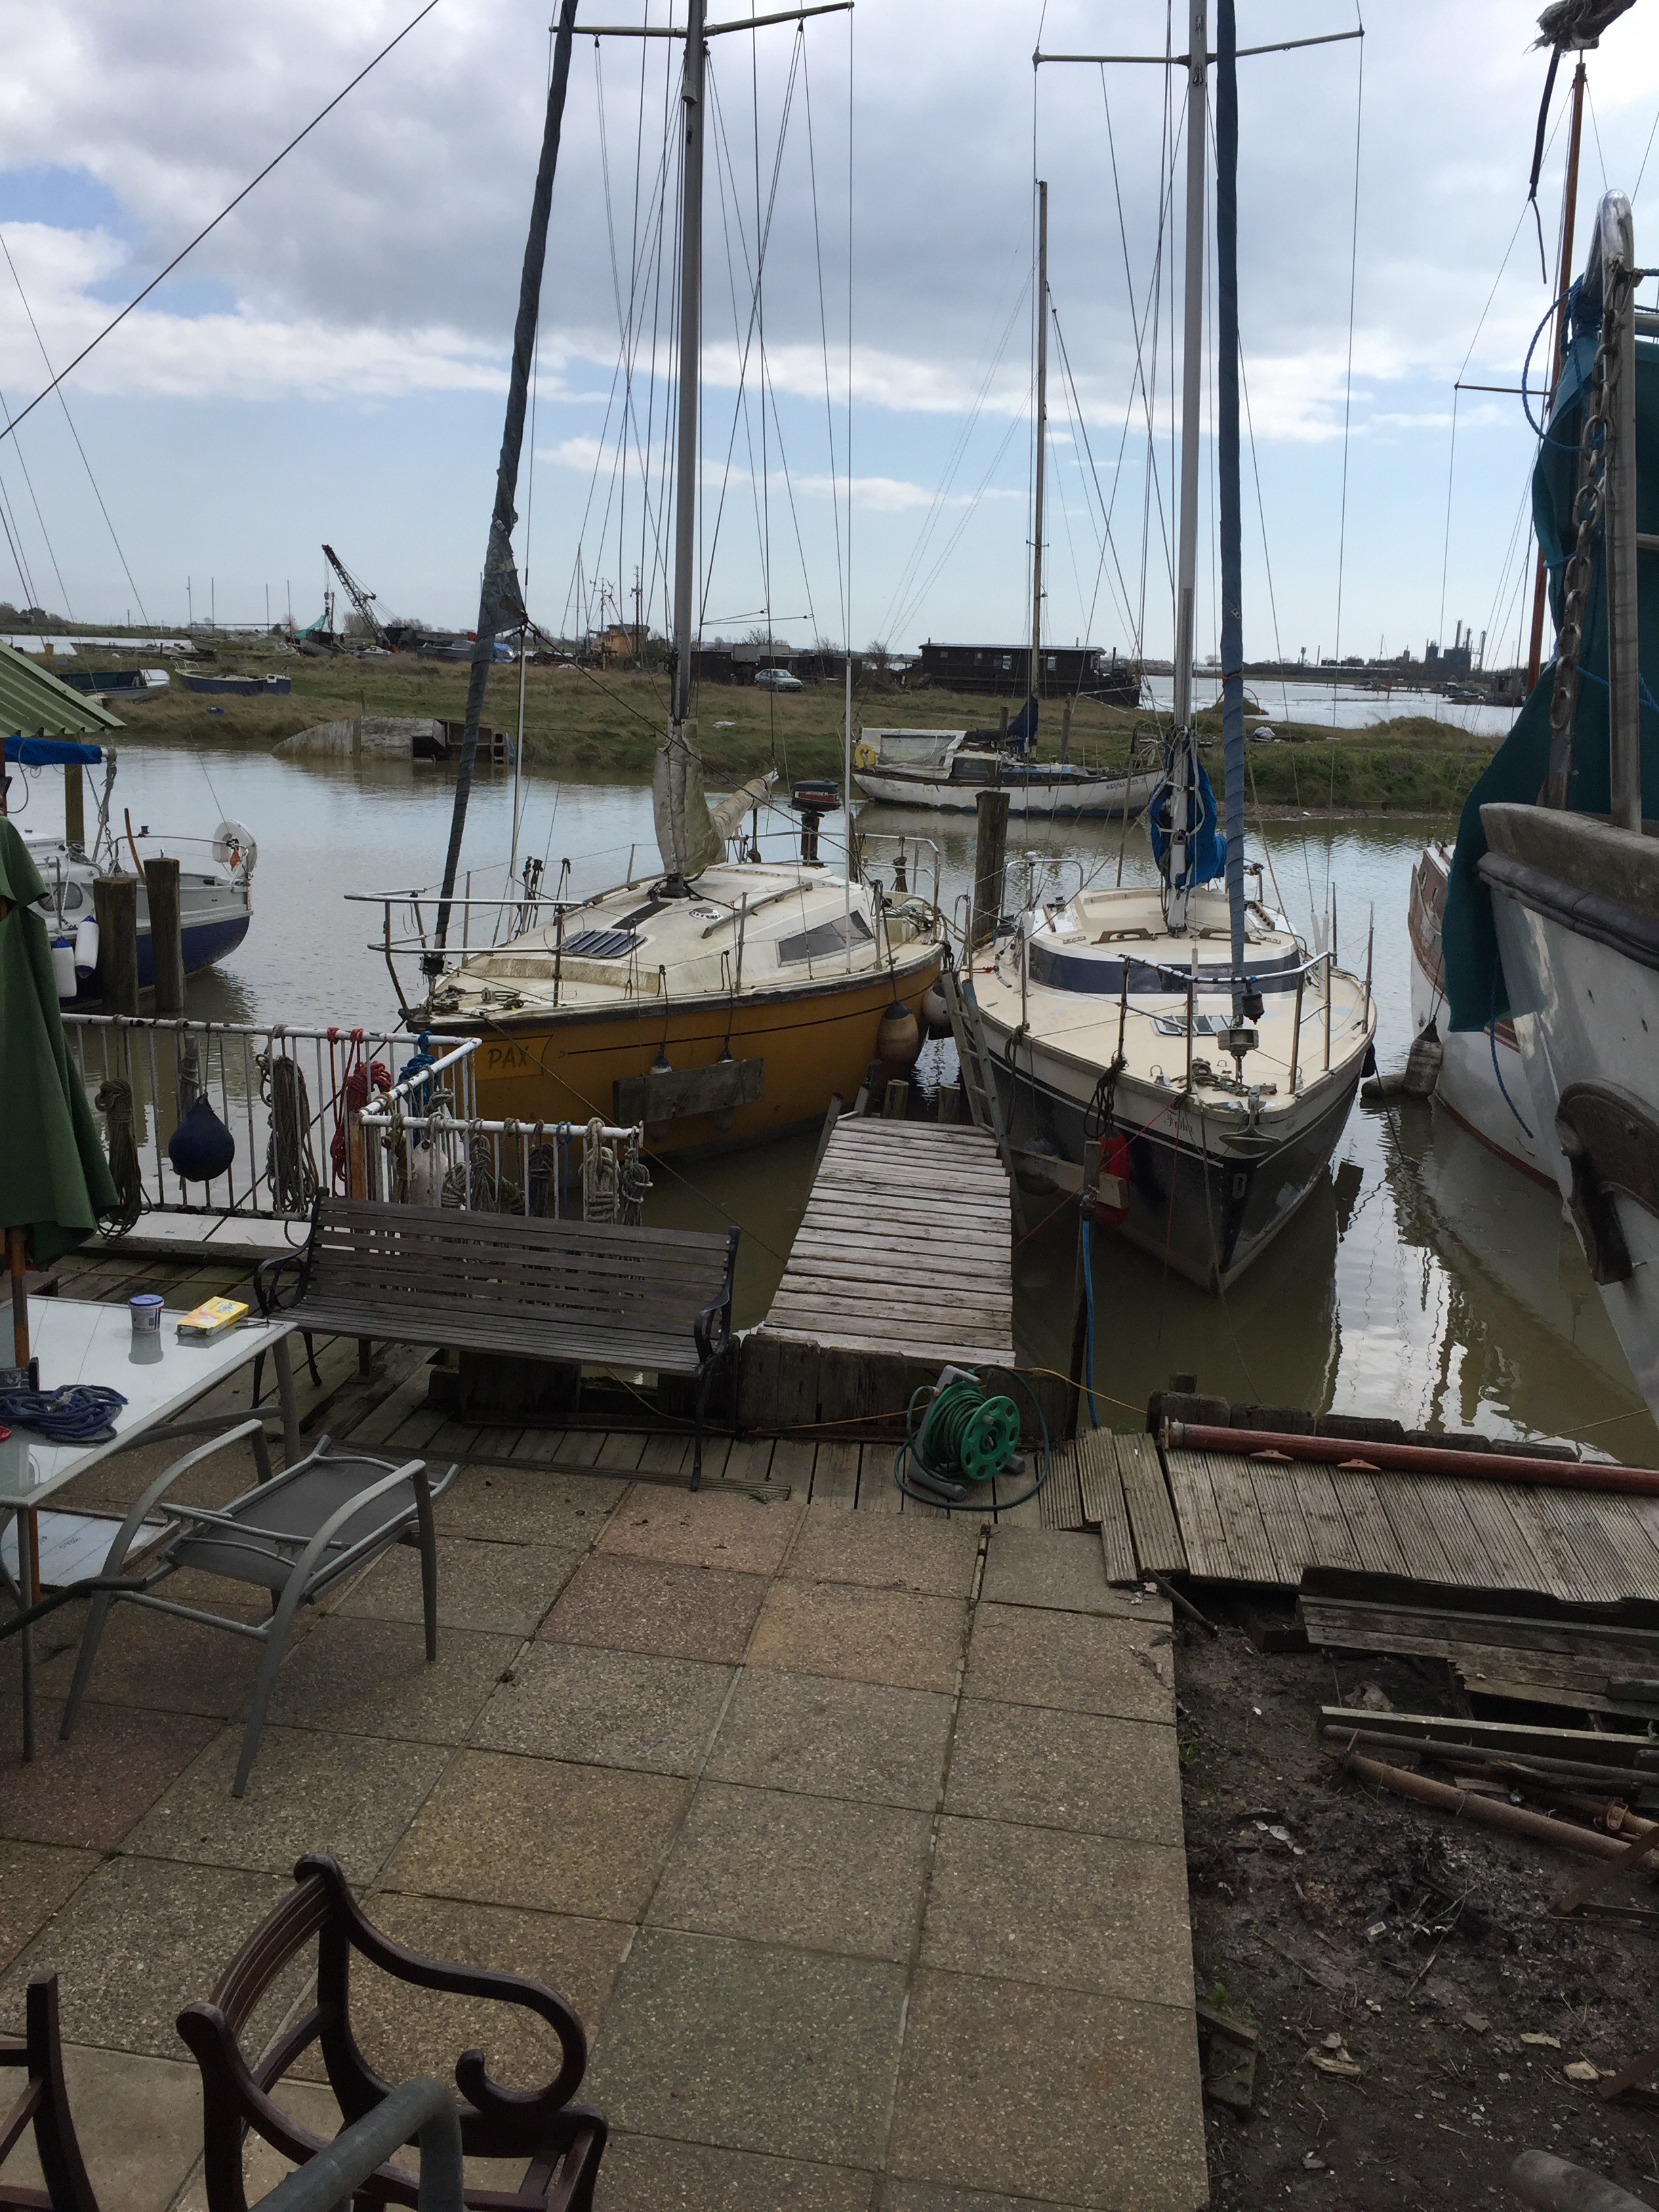
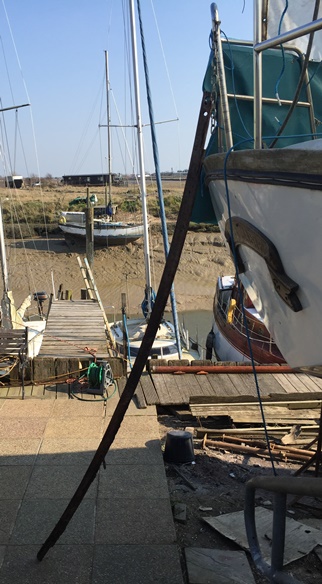
We aren’t quite ready for the launch yet so hopefully Canute will turn the tide for us.