There are six seacocks on the boat and I have just bought new ones. £770 ouch. But it’s worth it if we don’t sink.
Why does the boat leak?


That’s why. The joint between the cabin top and the hull is a) full of roots; b) full of holes from all those fittings, and c) lacking in essential sealant.
What to do?
Scrape it out. Squeeze in gunk. Bolt together. Fill all unnecessary holes. Fibreglass the joint properly. Spread more gunk. Place the new deck sections. Bolt them or screw them down. Put the Toe rail back ( after spreading more gunk). Put another layer of fibreglass resin over the whole thing. Get new posh “plastic teak planking” put on. Fix all the fittings all with lots of gunk.
Teak Toe Rail and Rubbing Strake
The Toe rail prevents people and things falling off the side of the boat. The rubbing strake helps to prevent damage to the boat when it is bumping up against other objects such as quay sides.
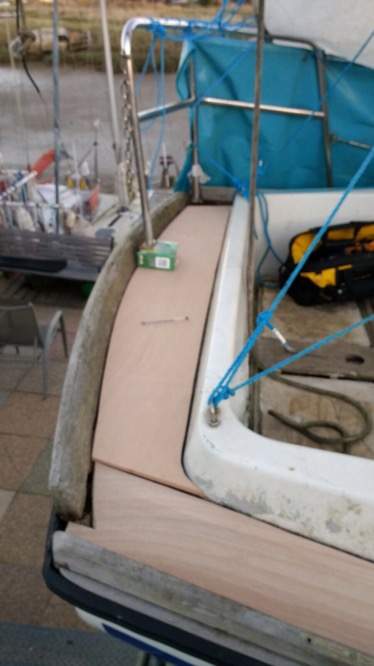
I need to gain access to the side decks to seal the hull-to-deck joint and that means removing the toe rail. Here we have the stern toe rail (with the new deck sheets being fitted).


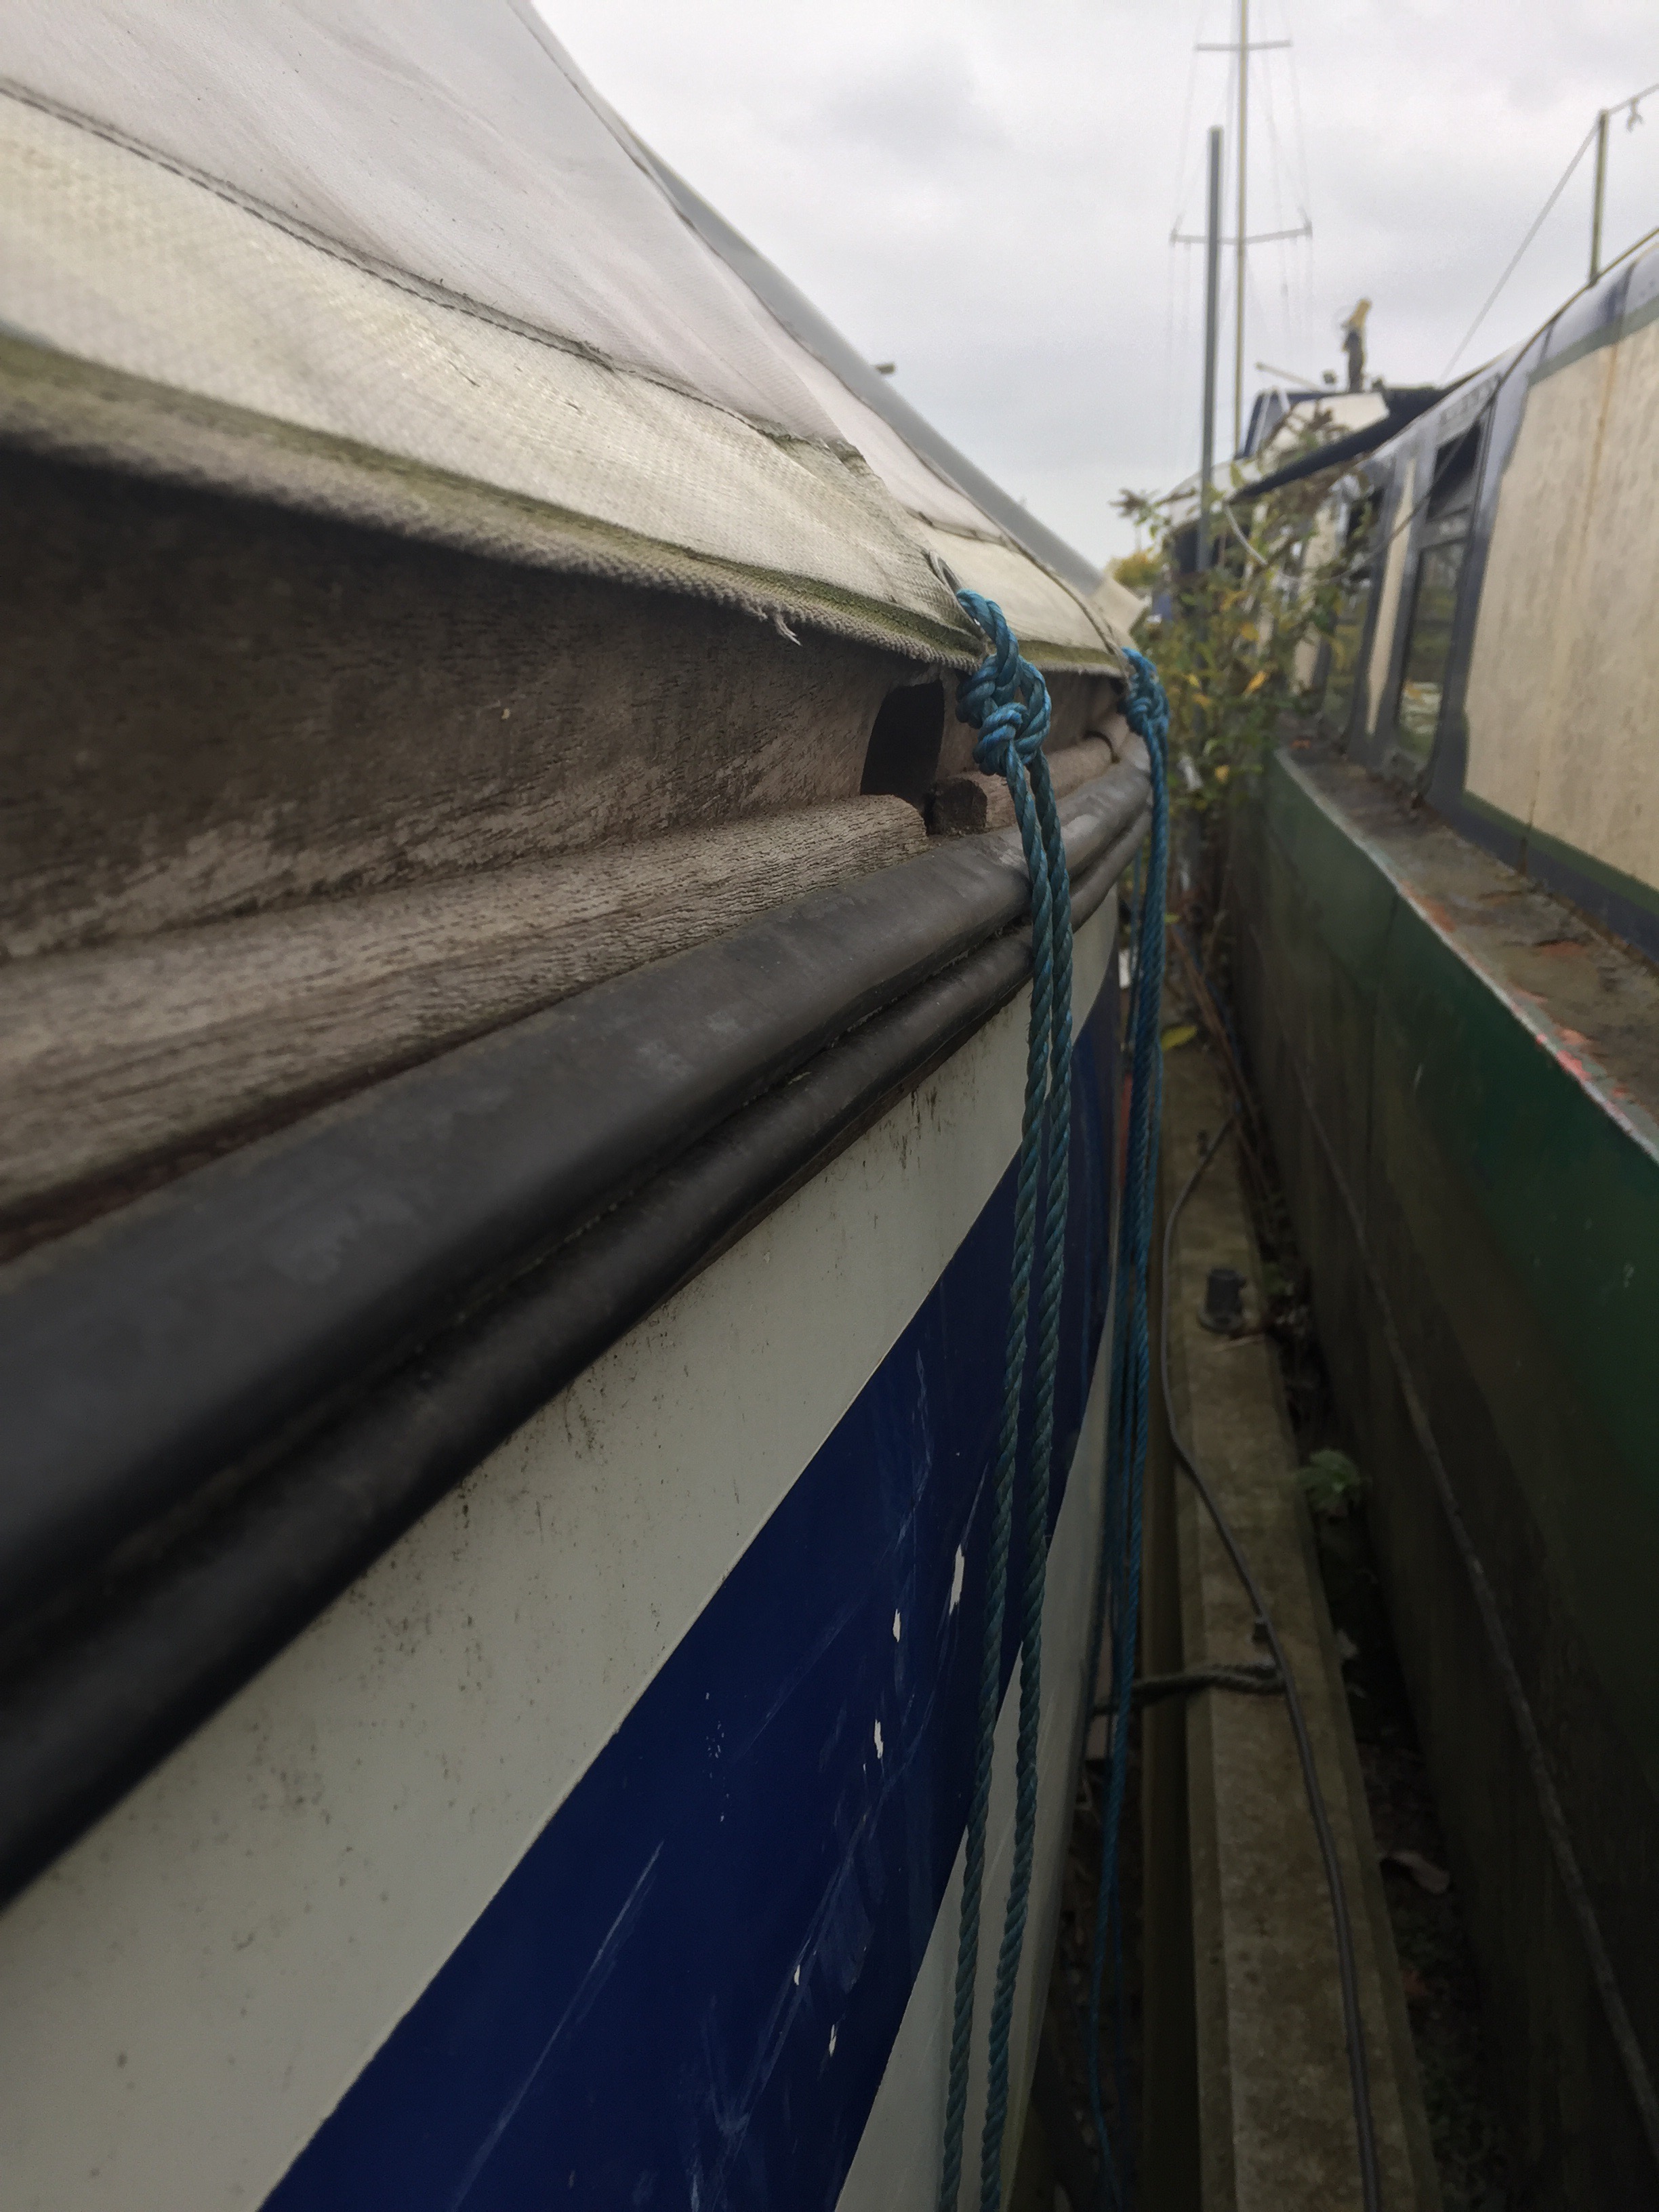
On the sides of the boat there is a second plank of teak rubbing strake beneath the black rubber one

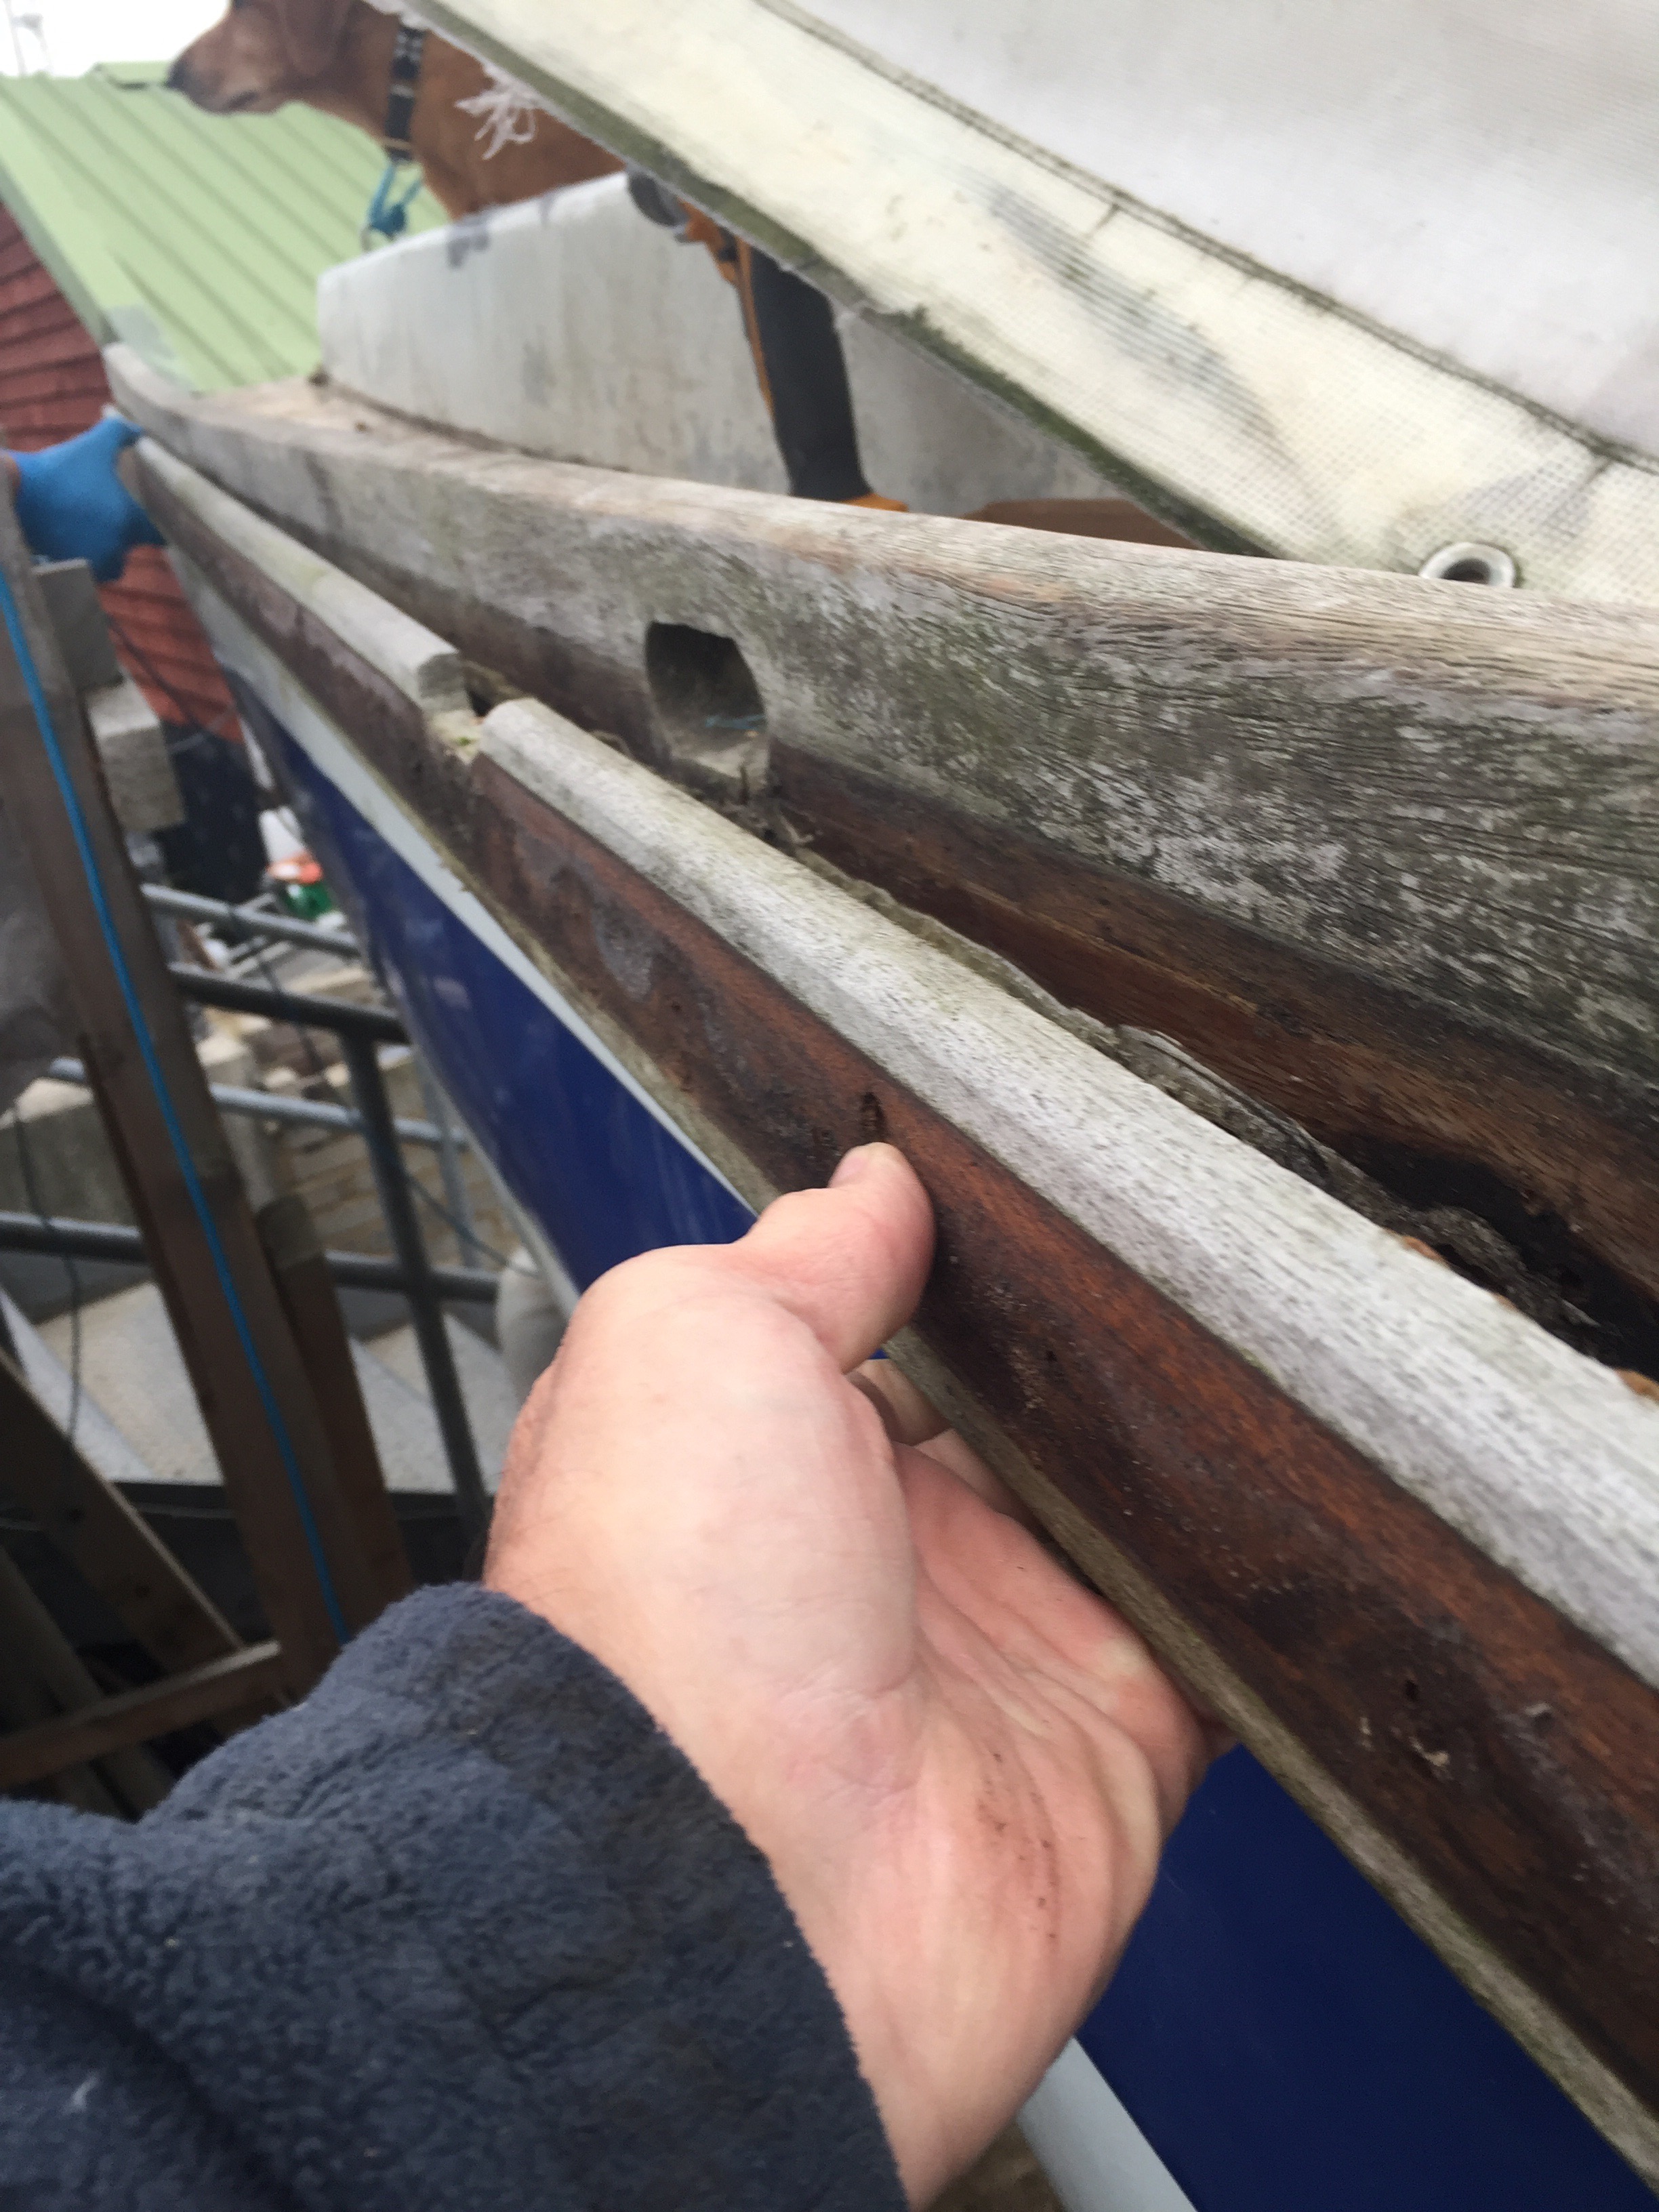
The toe rail is fixed by large bolts through the hull and supposedly sealed with marine sealant. The rubbing strakes are screwed to the toe rail.
You can see from the photograph that part of the toe rail is rotten . I will need to cut out the rotten section and glue in some new pieces. The Toe rail will also need to be sanded down and treated with teak oil or varnish.
I am taking all the Toe rails off except the very bow sections. They are coming off quite easily which is worrying. I will explain the way to seal the joints between deck and hull in the future.
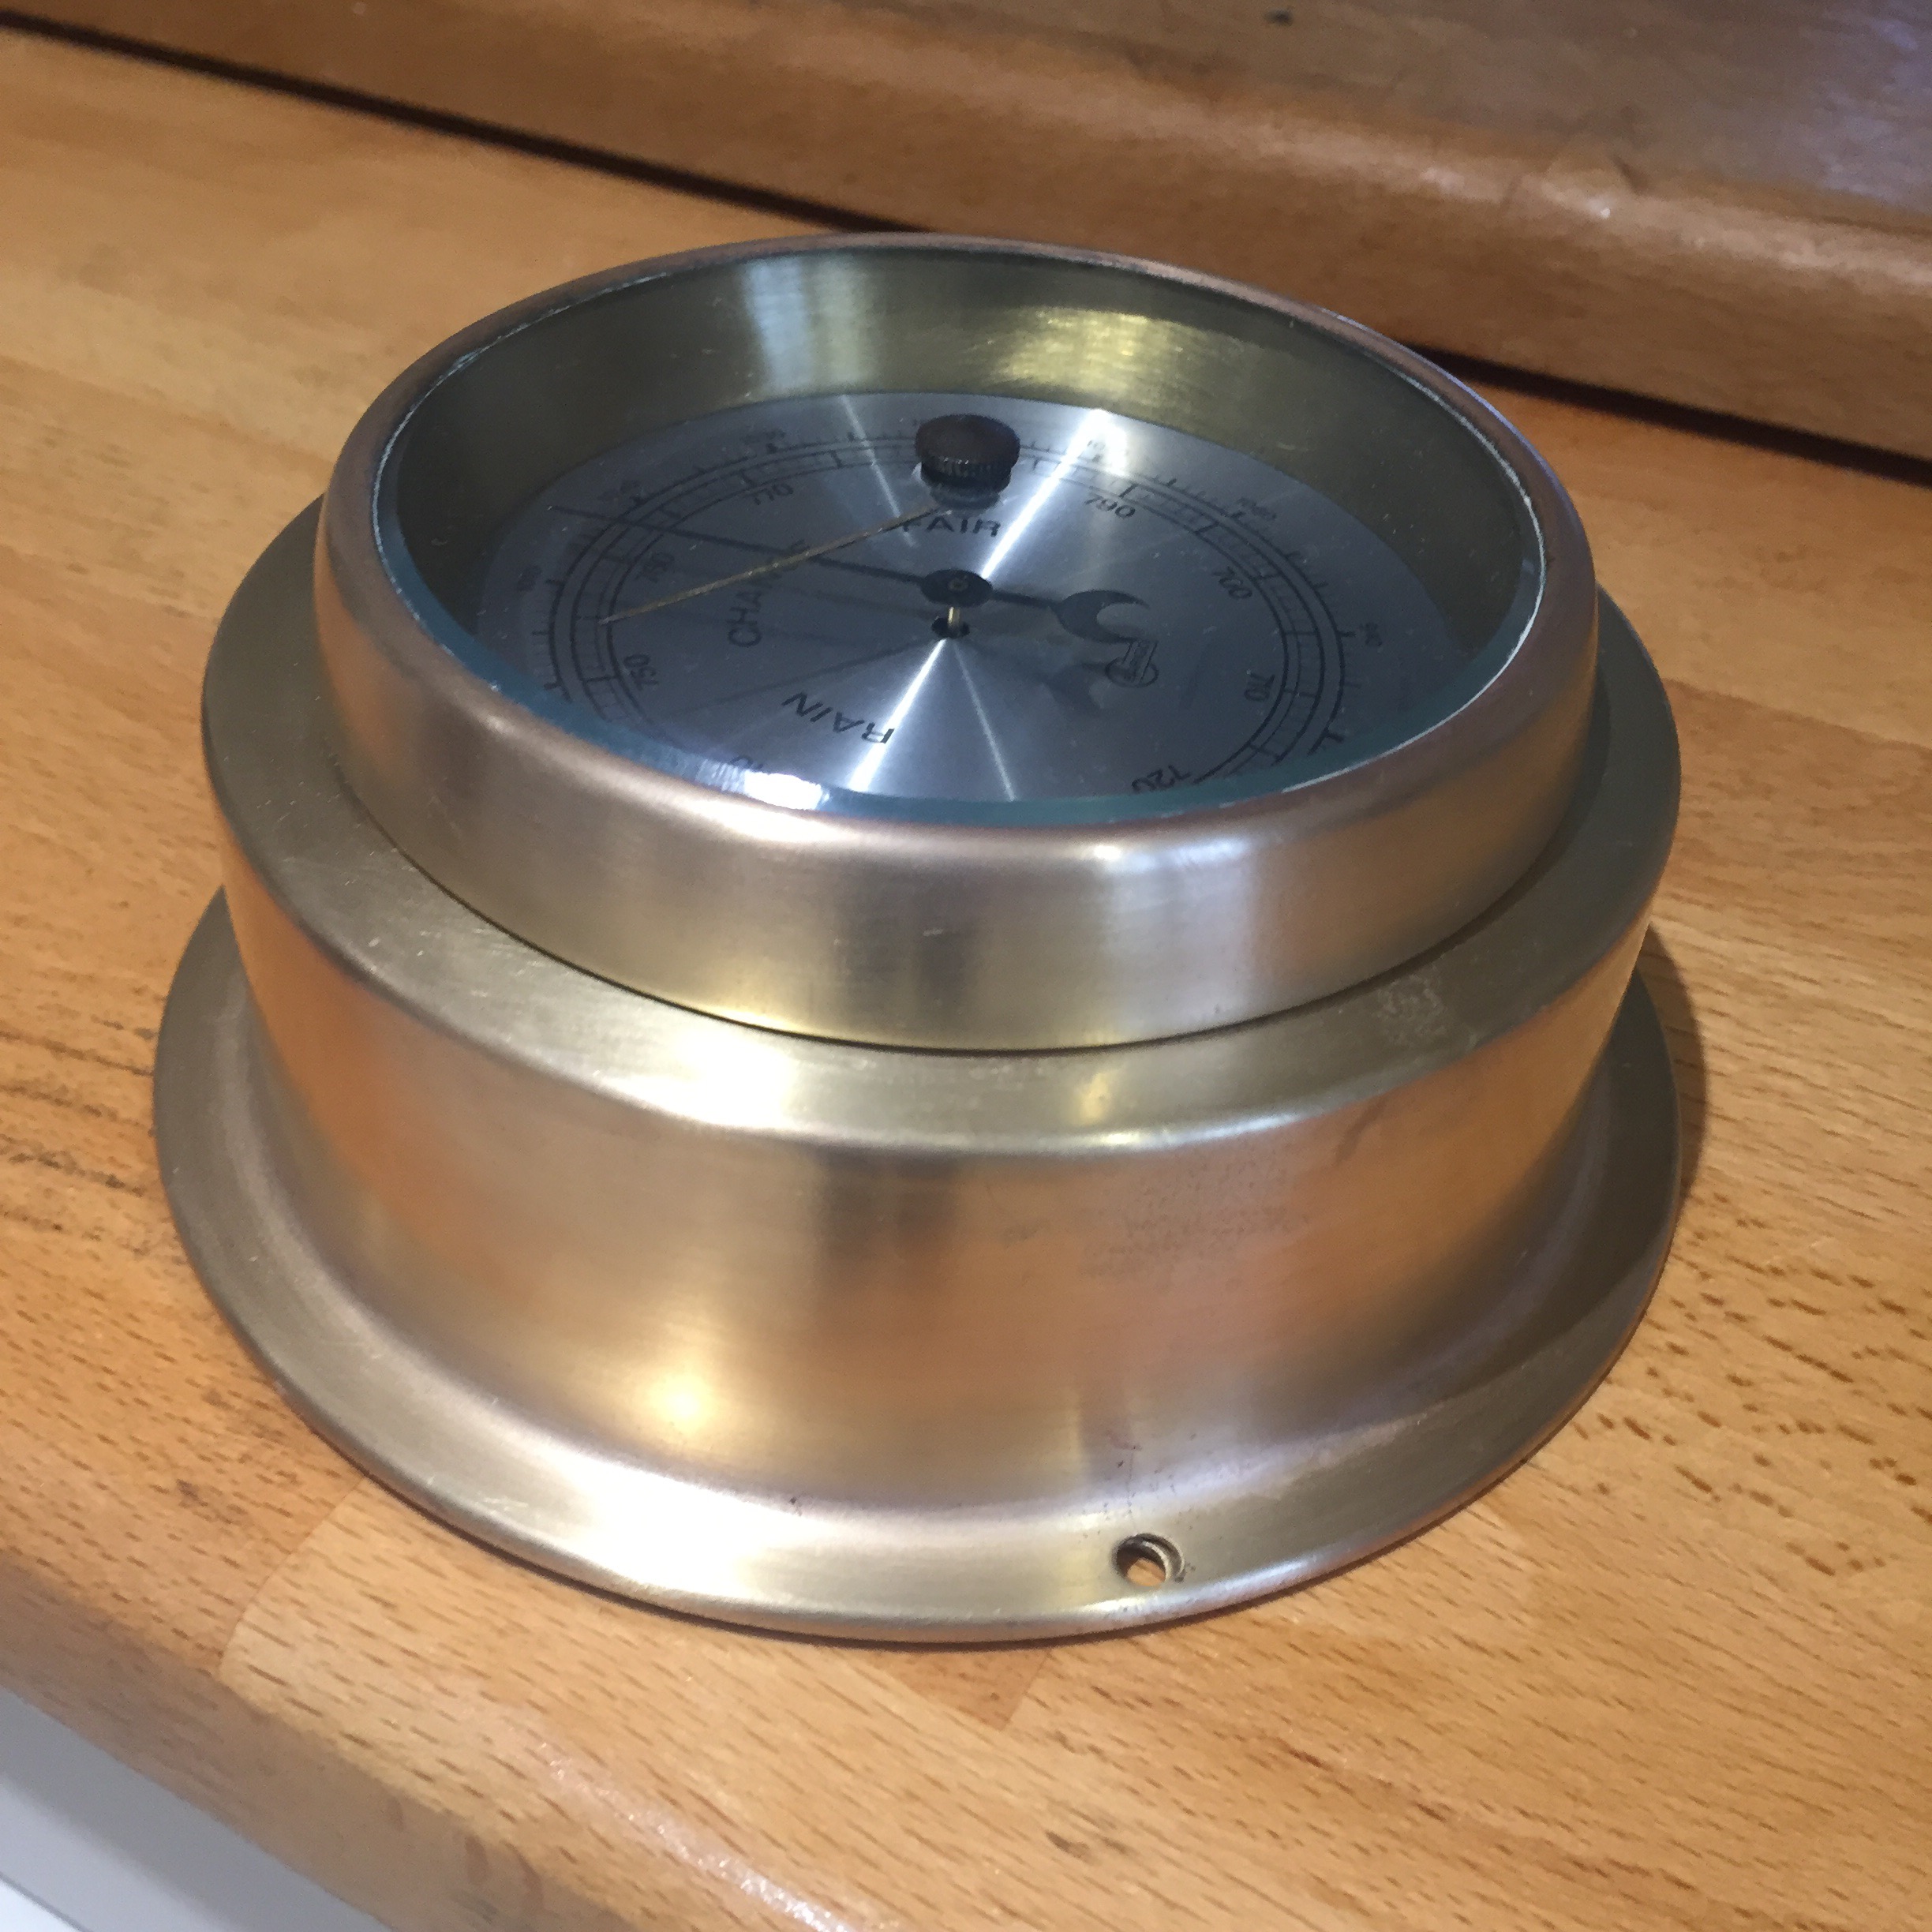
Ship’s barometer gets a polish
Shame I didn’t take a photograph before I started. However this was really corroded and tarnished. You can see that the Top has been left uncleaned in the first photograph so you can see the comparison between clean and dirty.
I am not sure it tells the correct pressure but it does look pretty good.


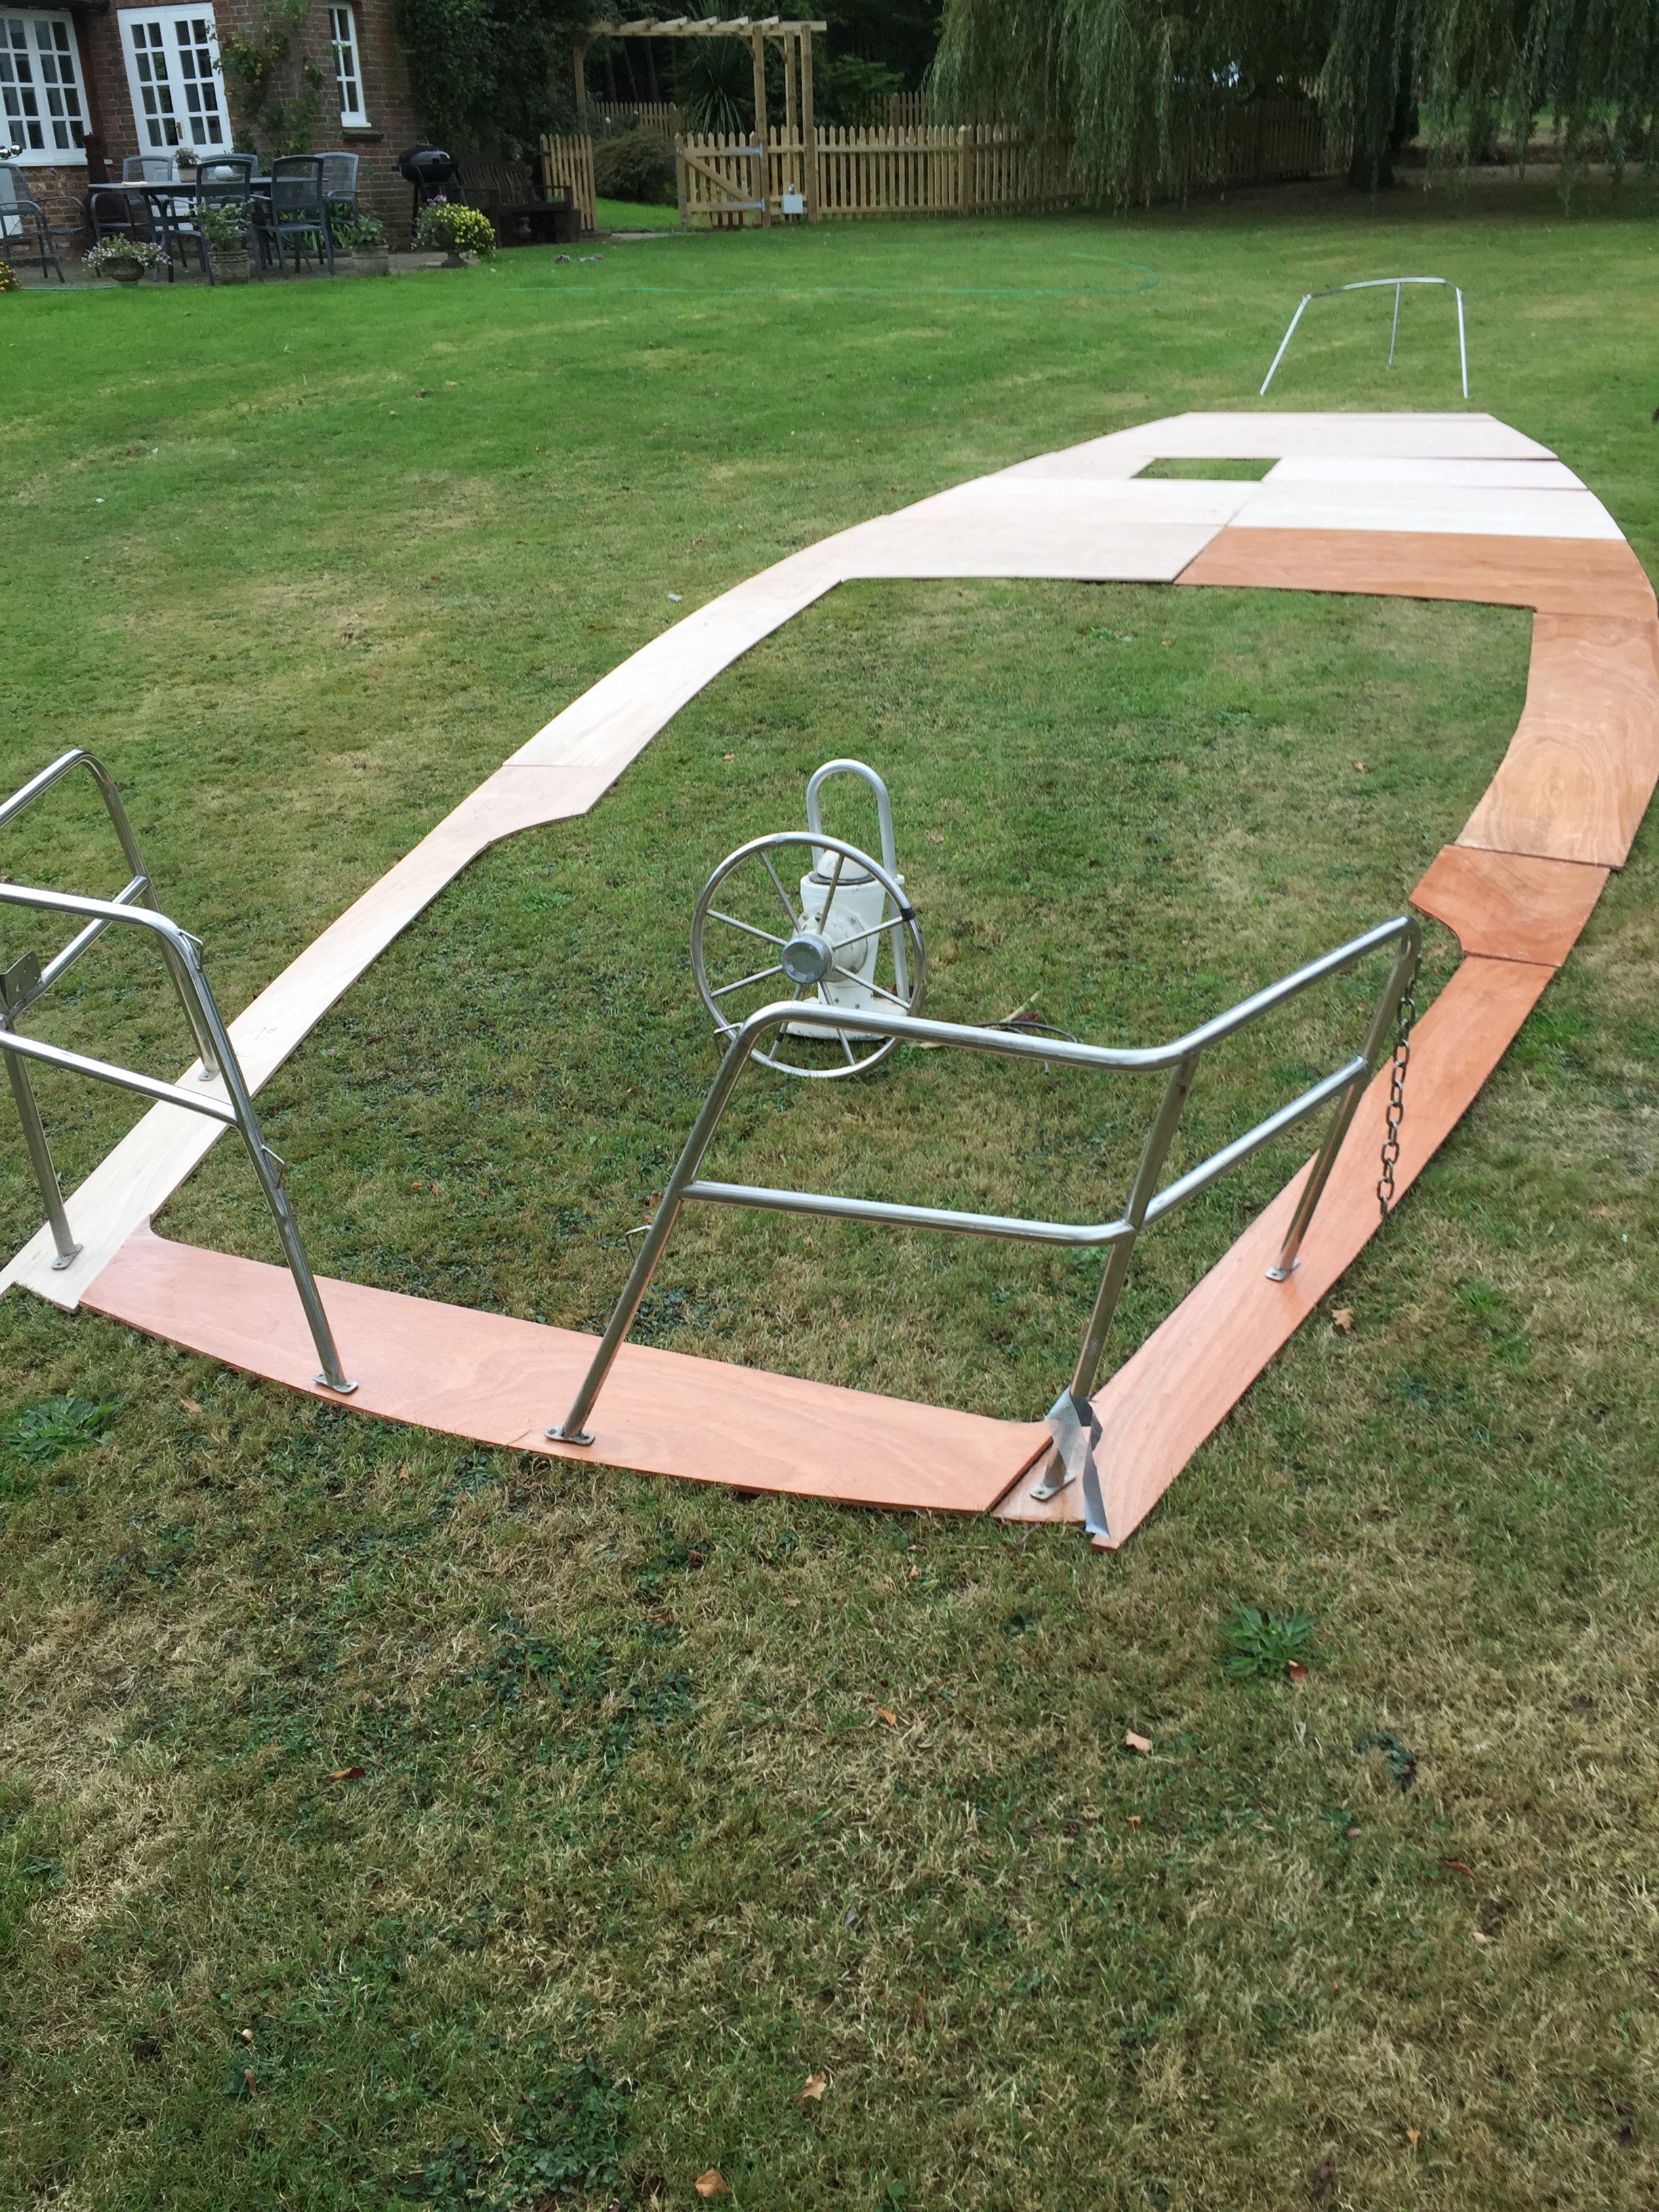
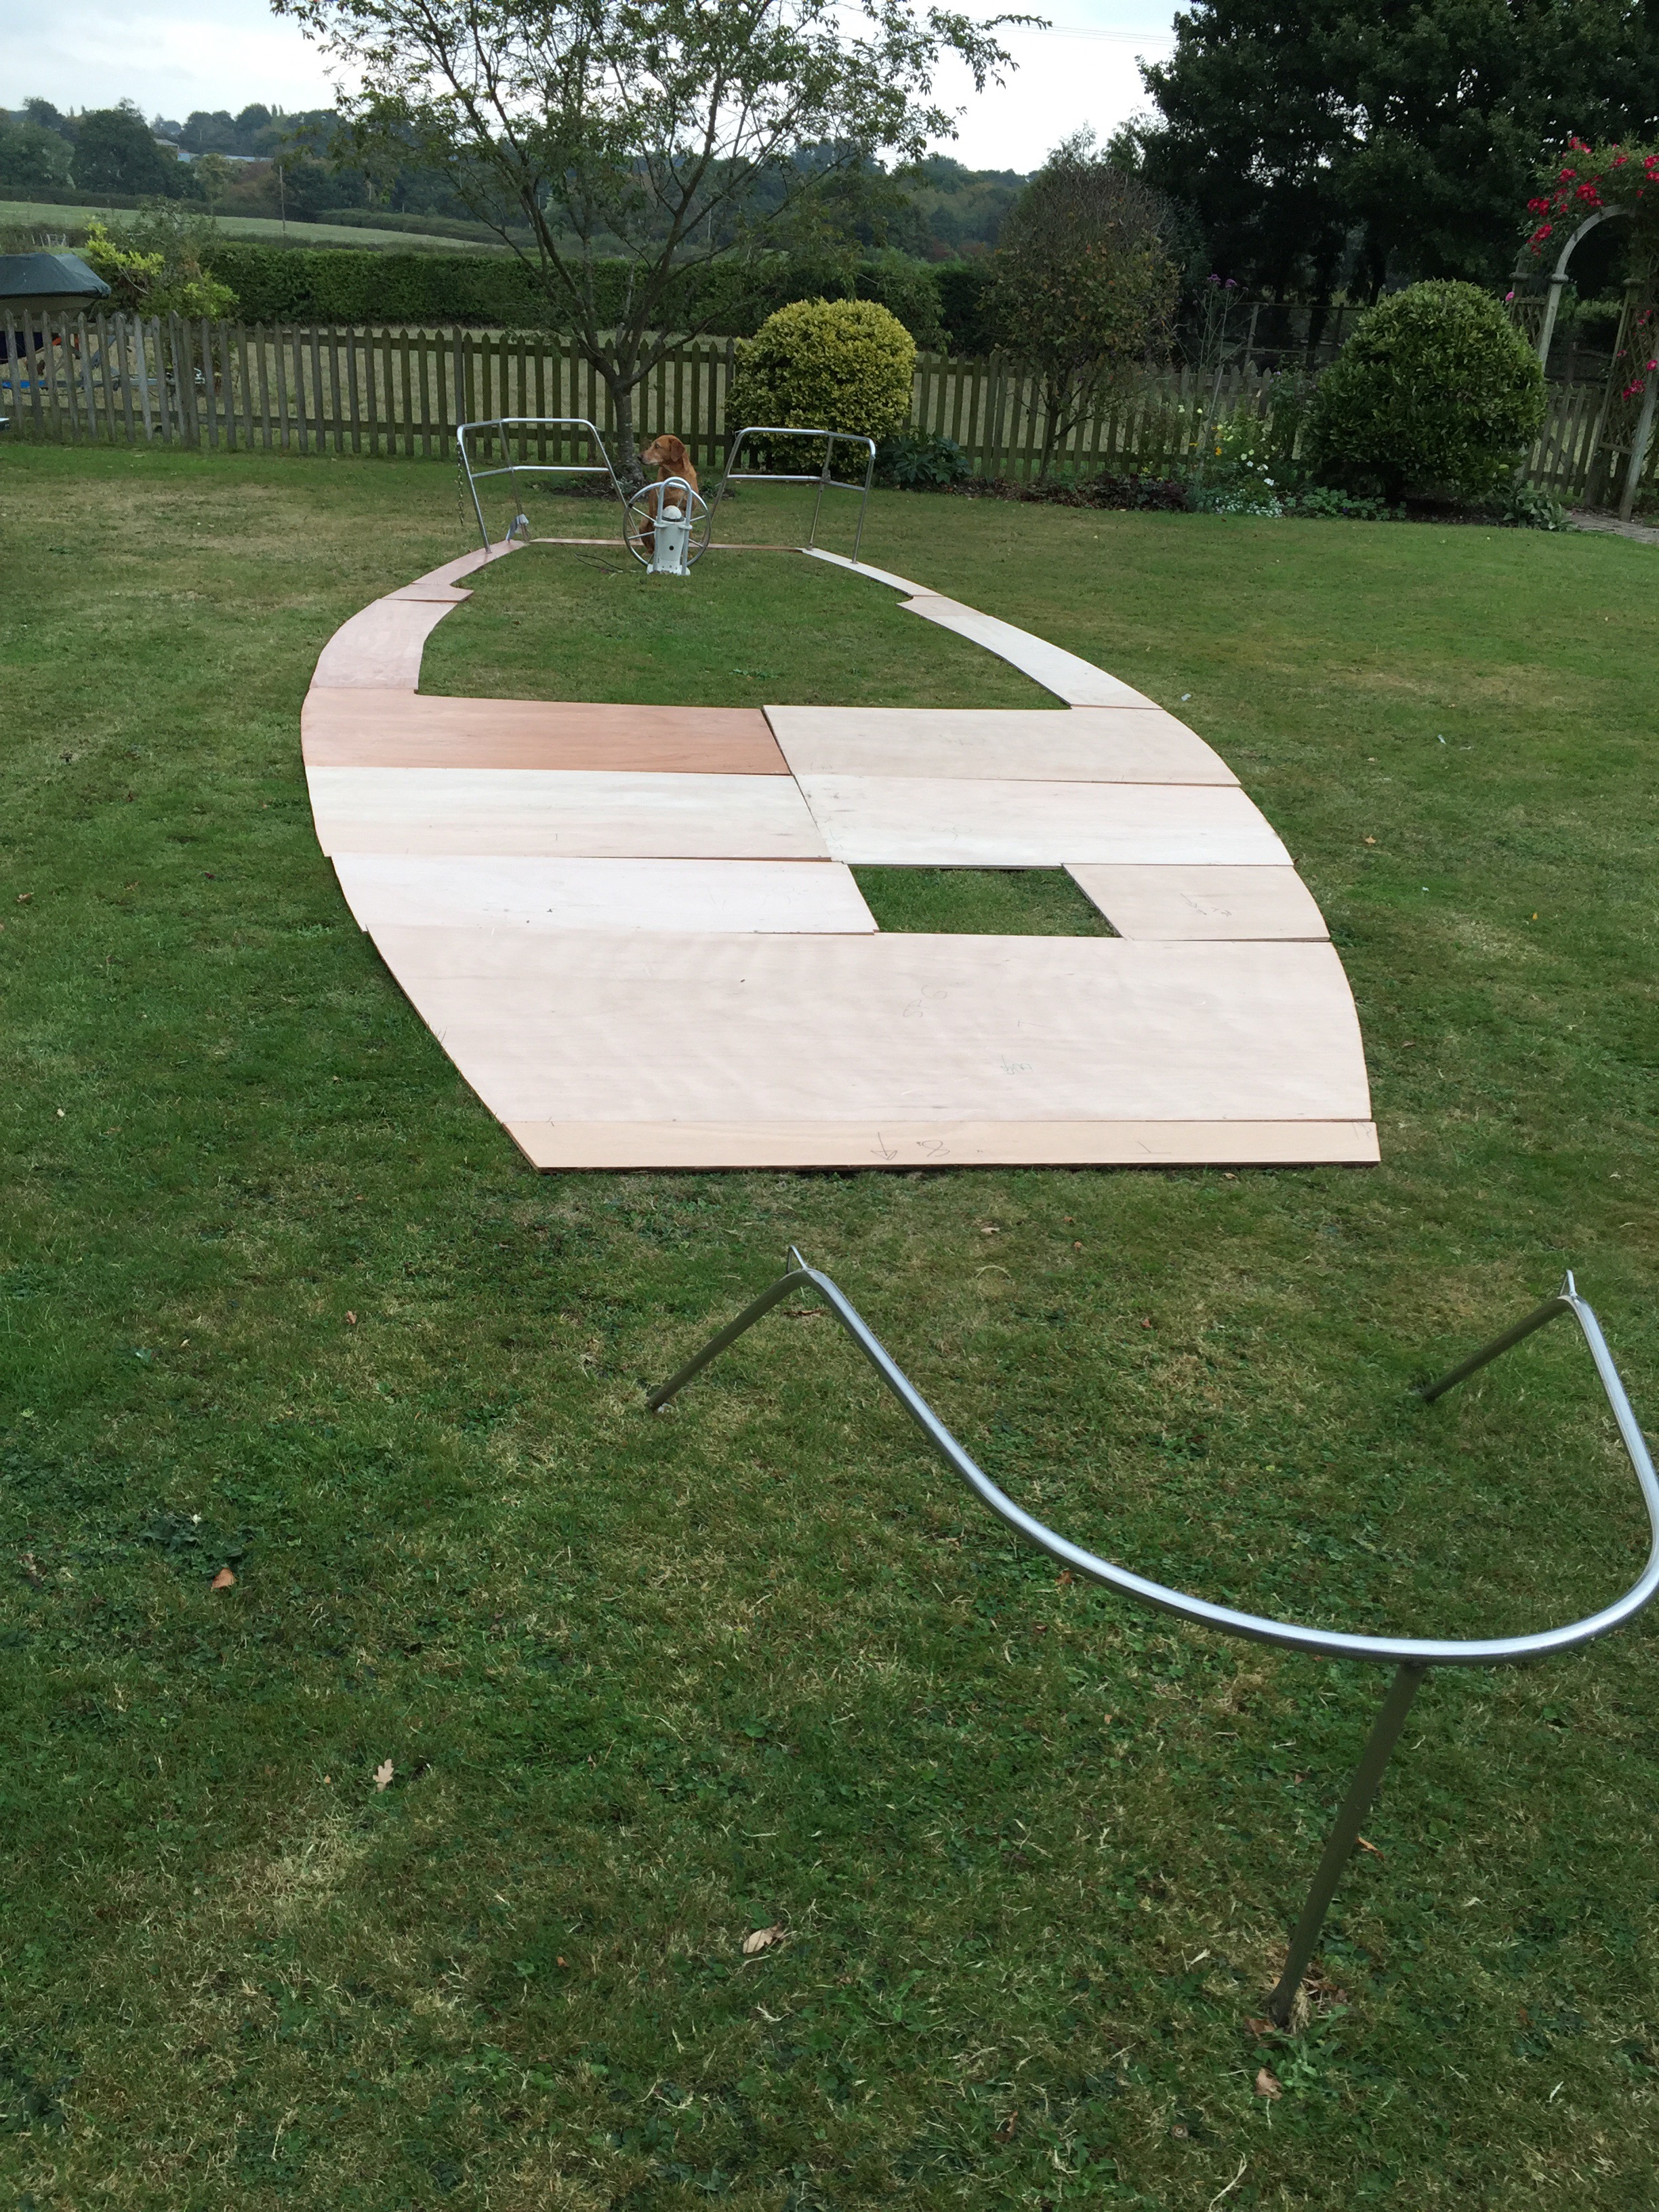
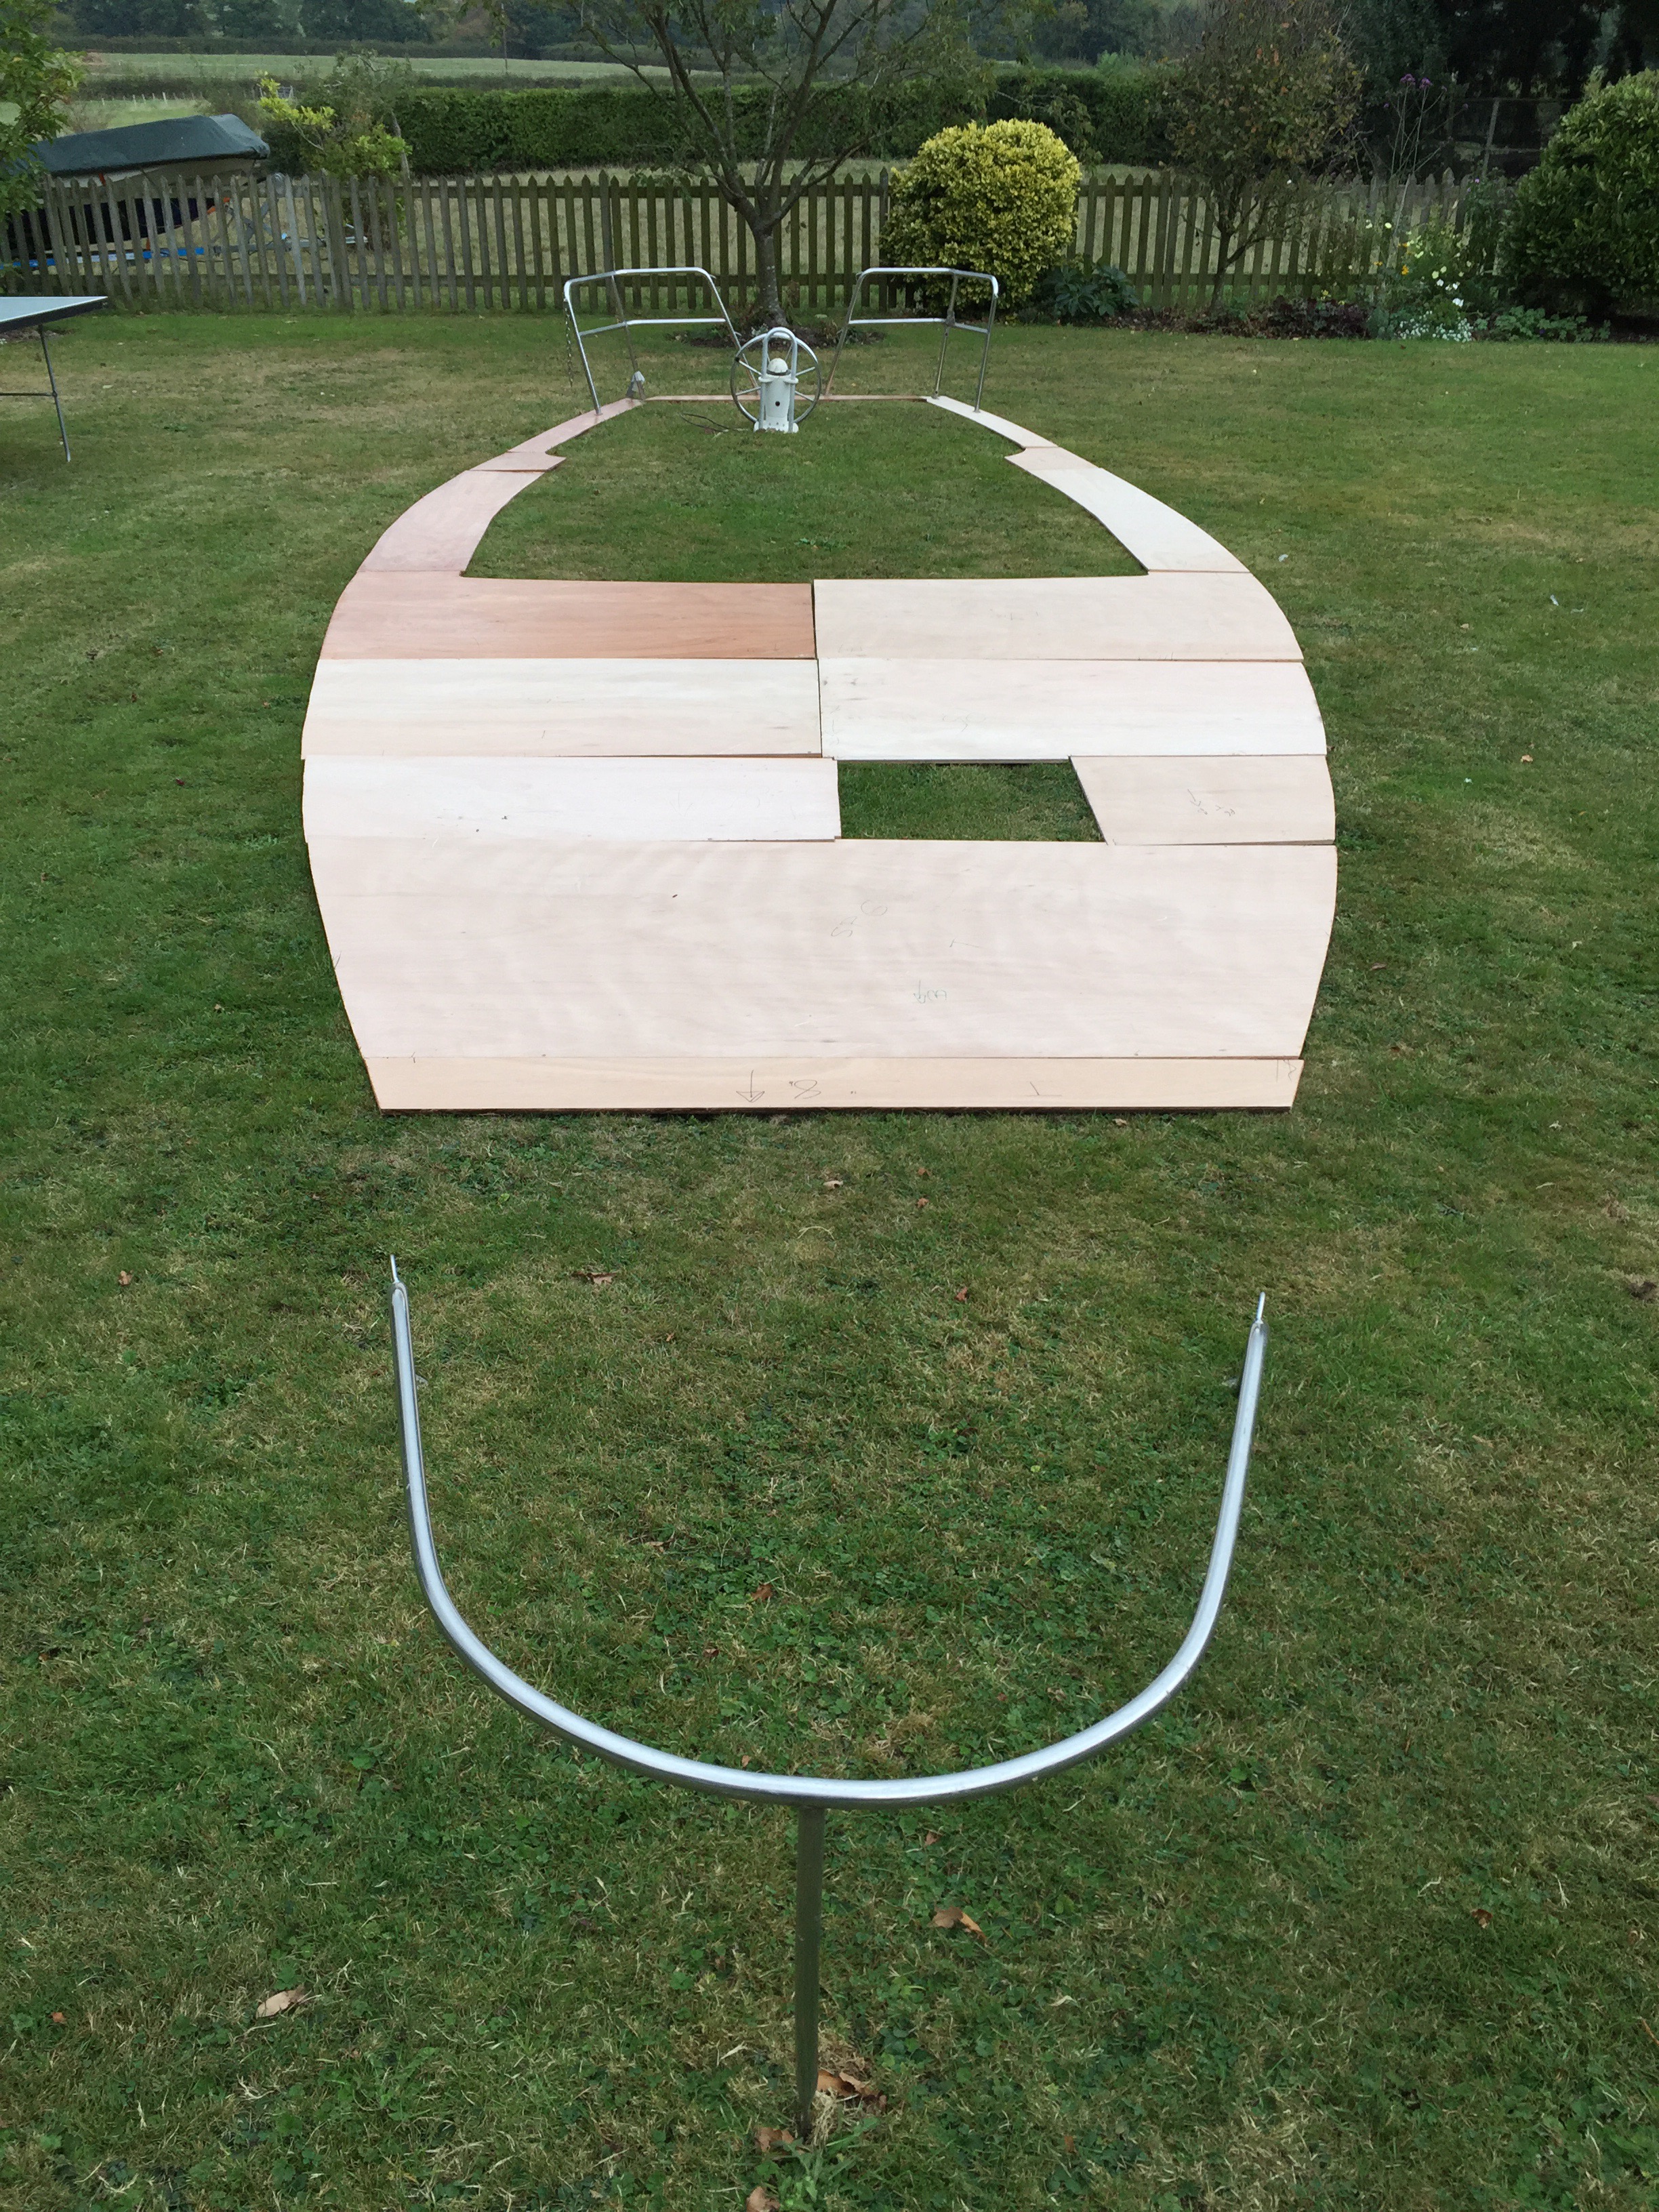
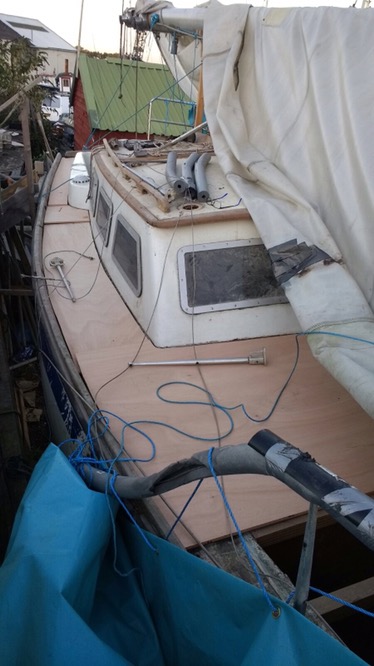
Deck day 4
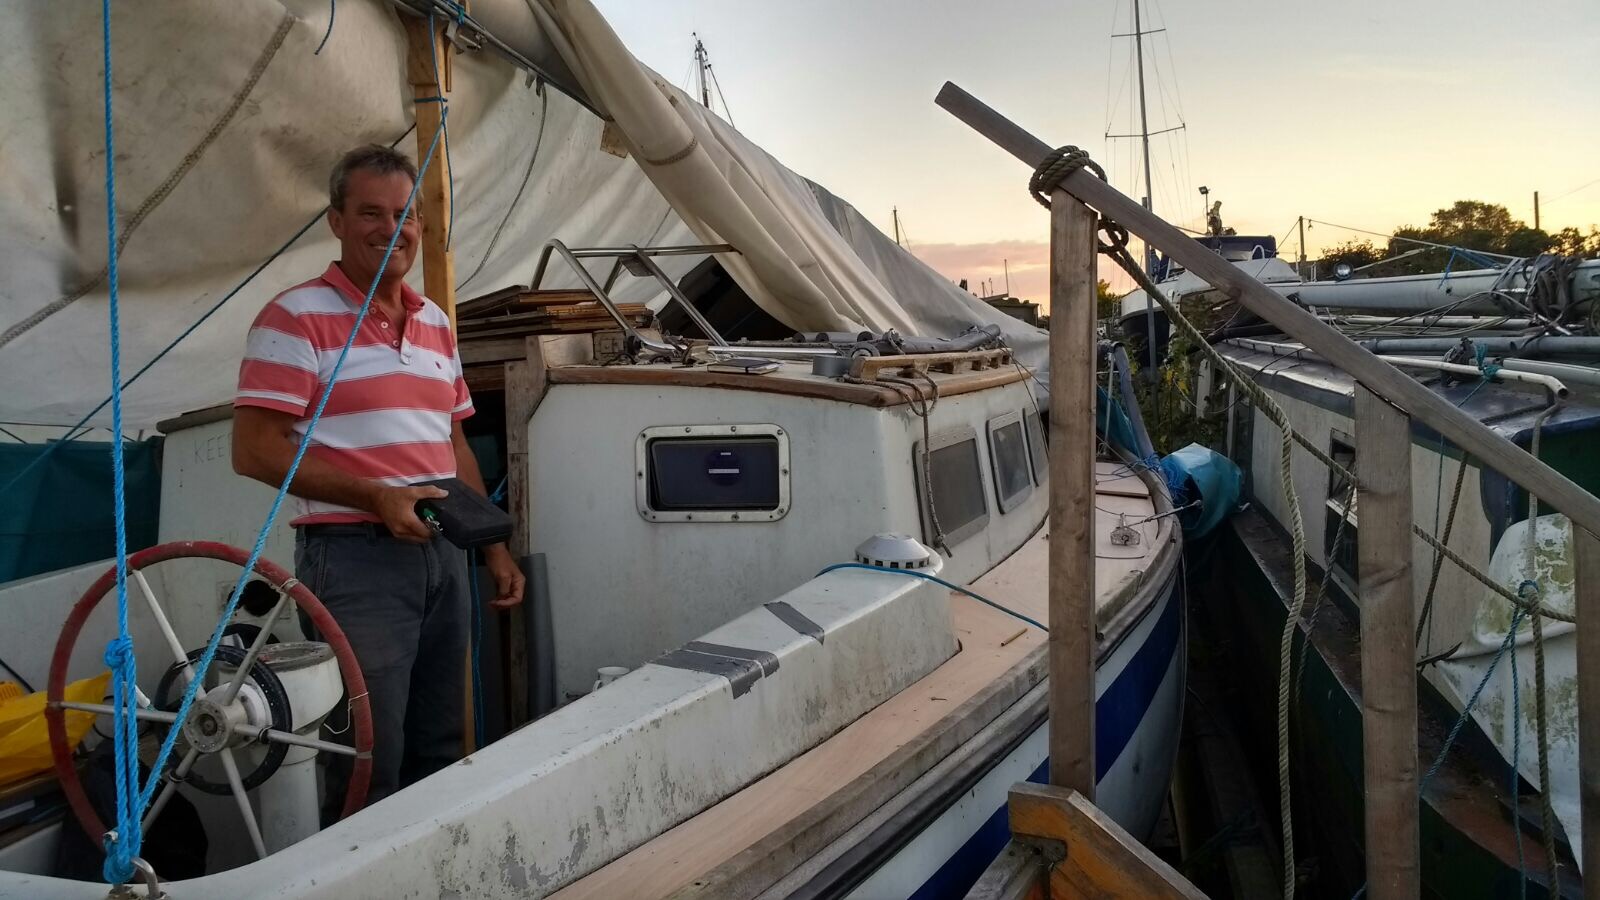
Well this is what Anne Marie looks like with her new decking – Er you have to use your imagination. Rusty is trying to decide whether he wants to be a sea dog/skipper.
The big gap is the cabin and the small square is the fore hatch.
Deck beams day 3
OMG what have we got here?

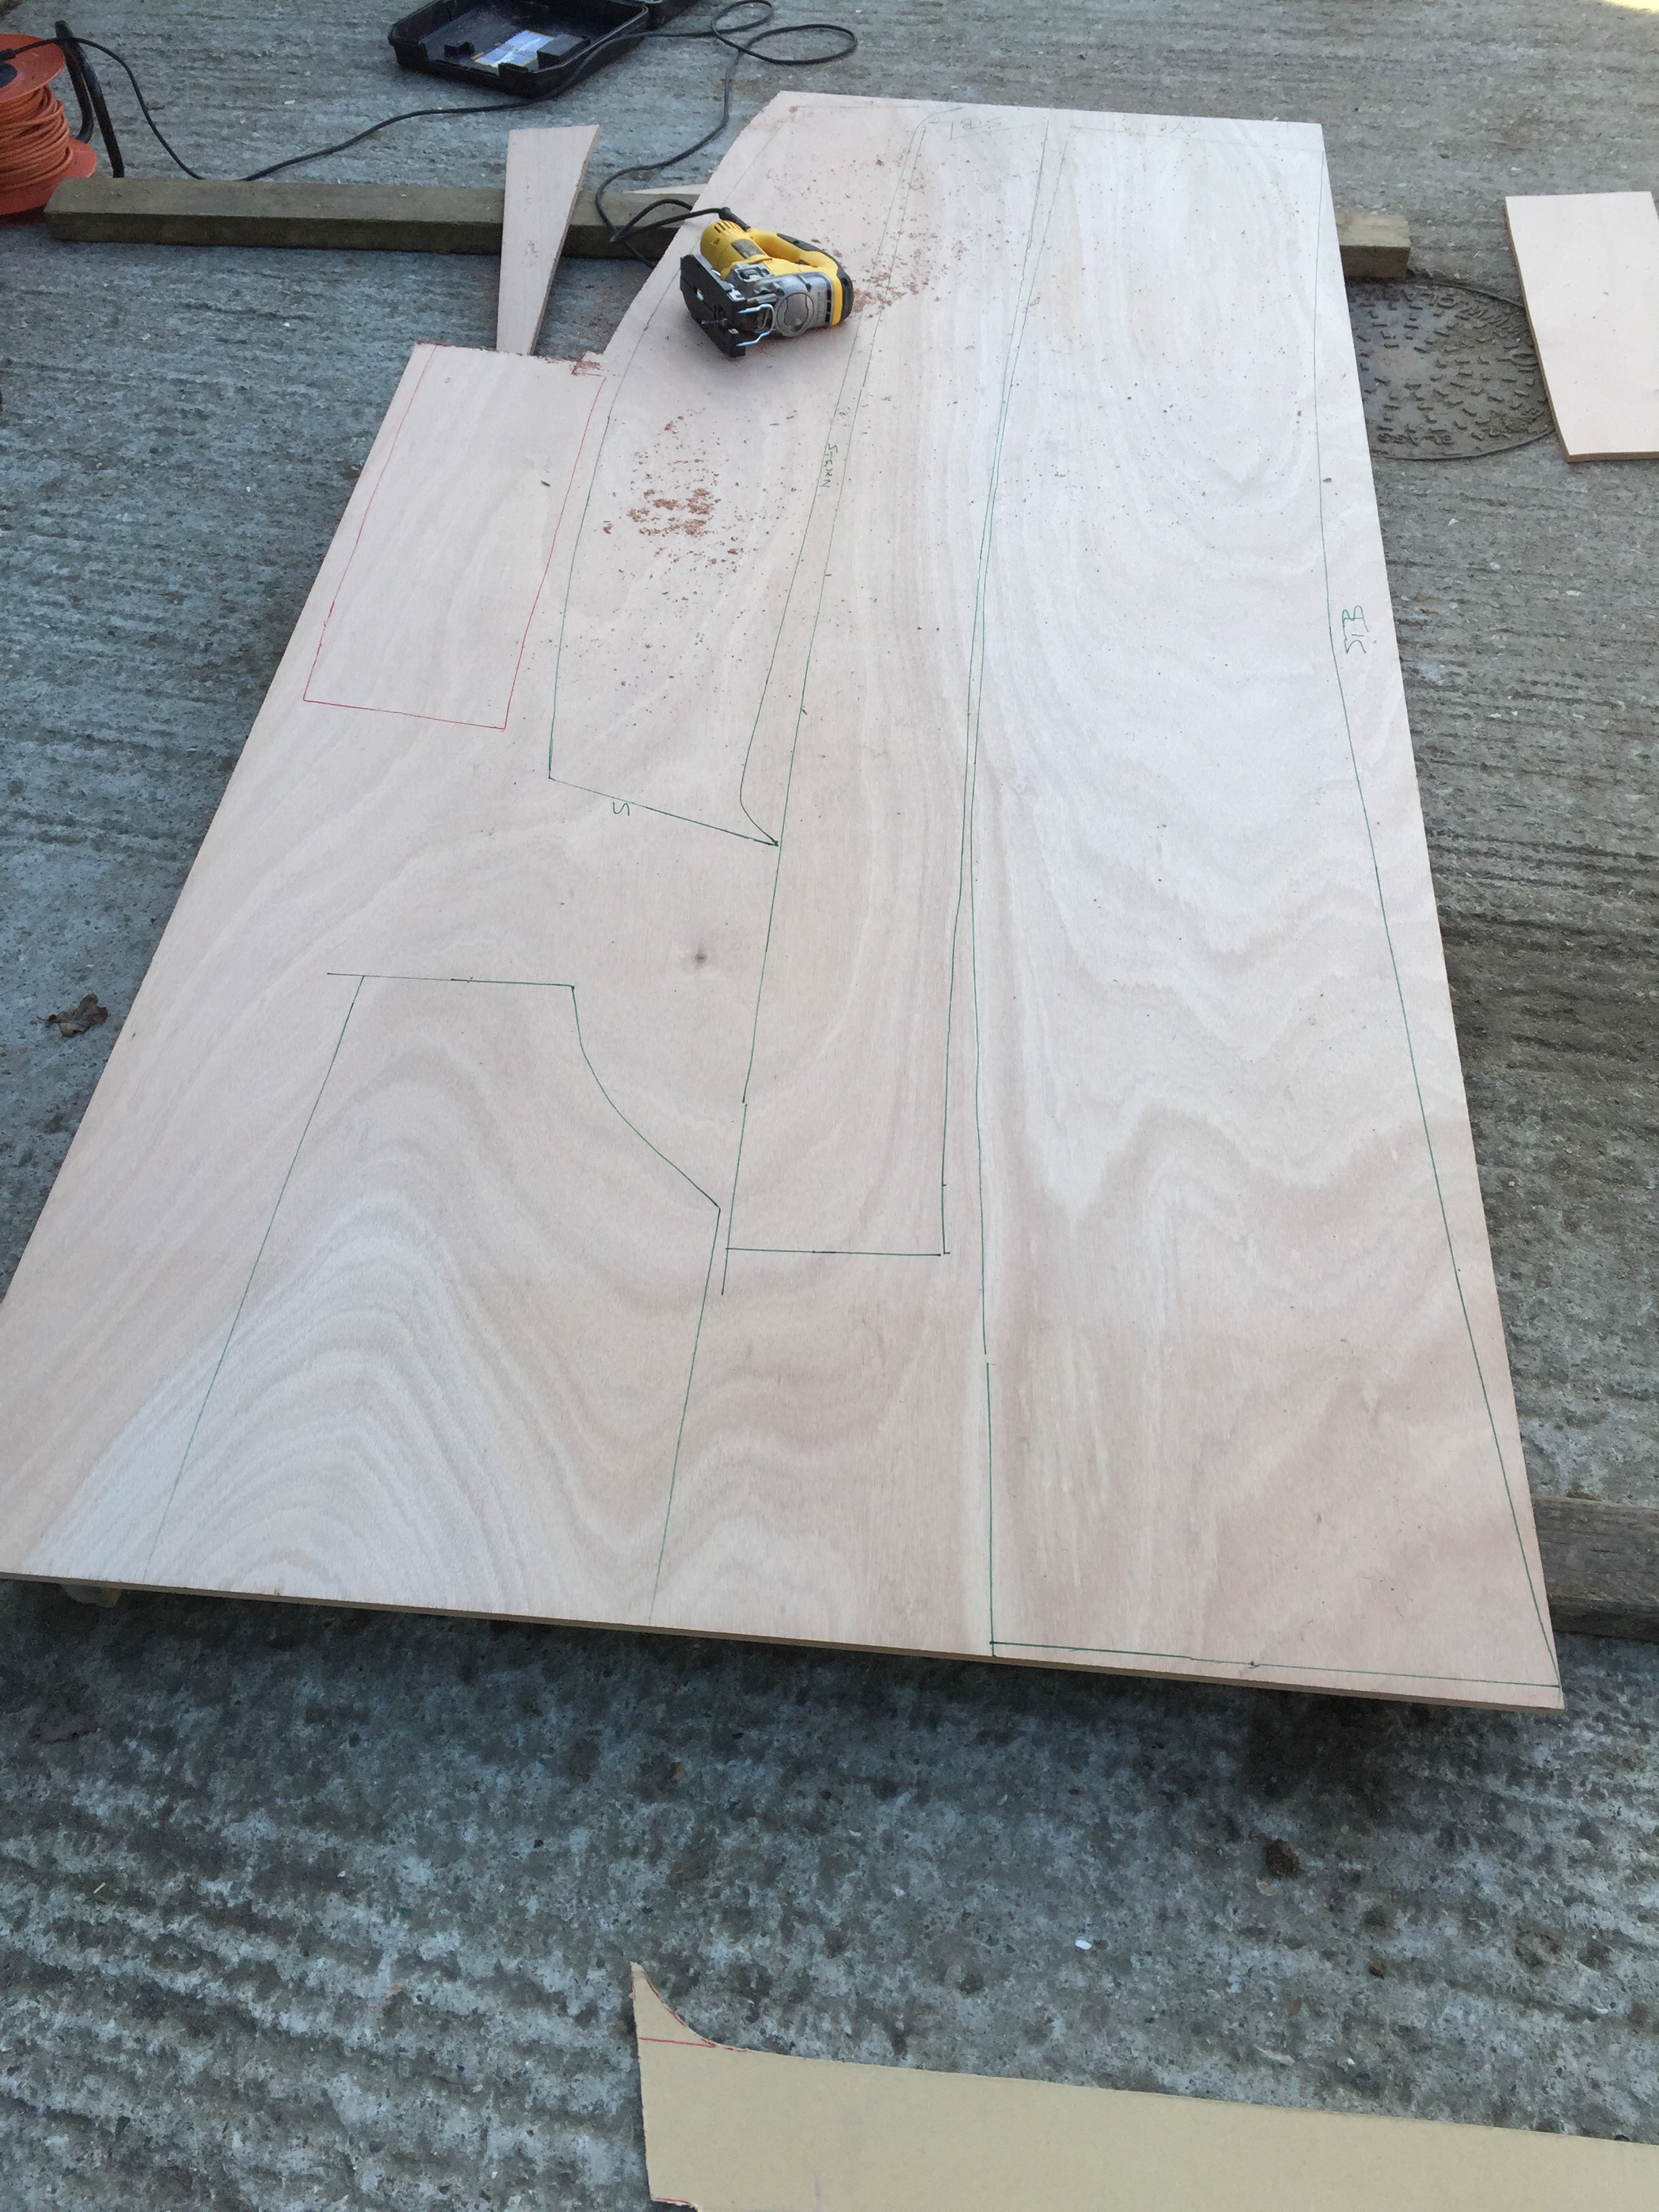
Decking week day 1
Ok so this week is Deck Week and good ol’Dave is staying over so that we can get the decks on before winter.
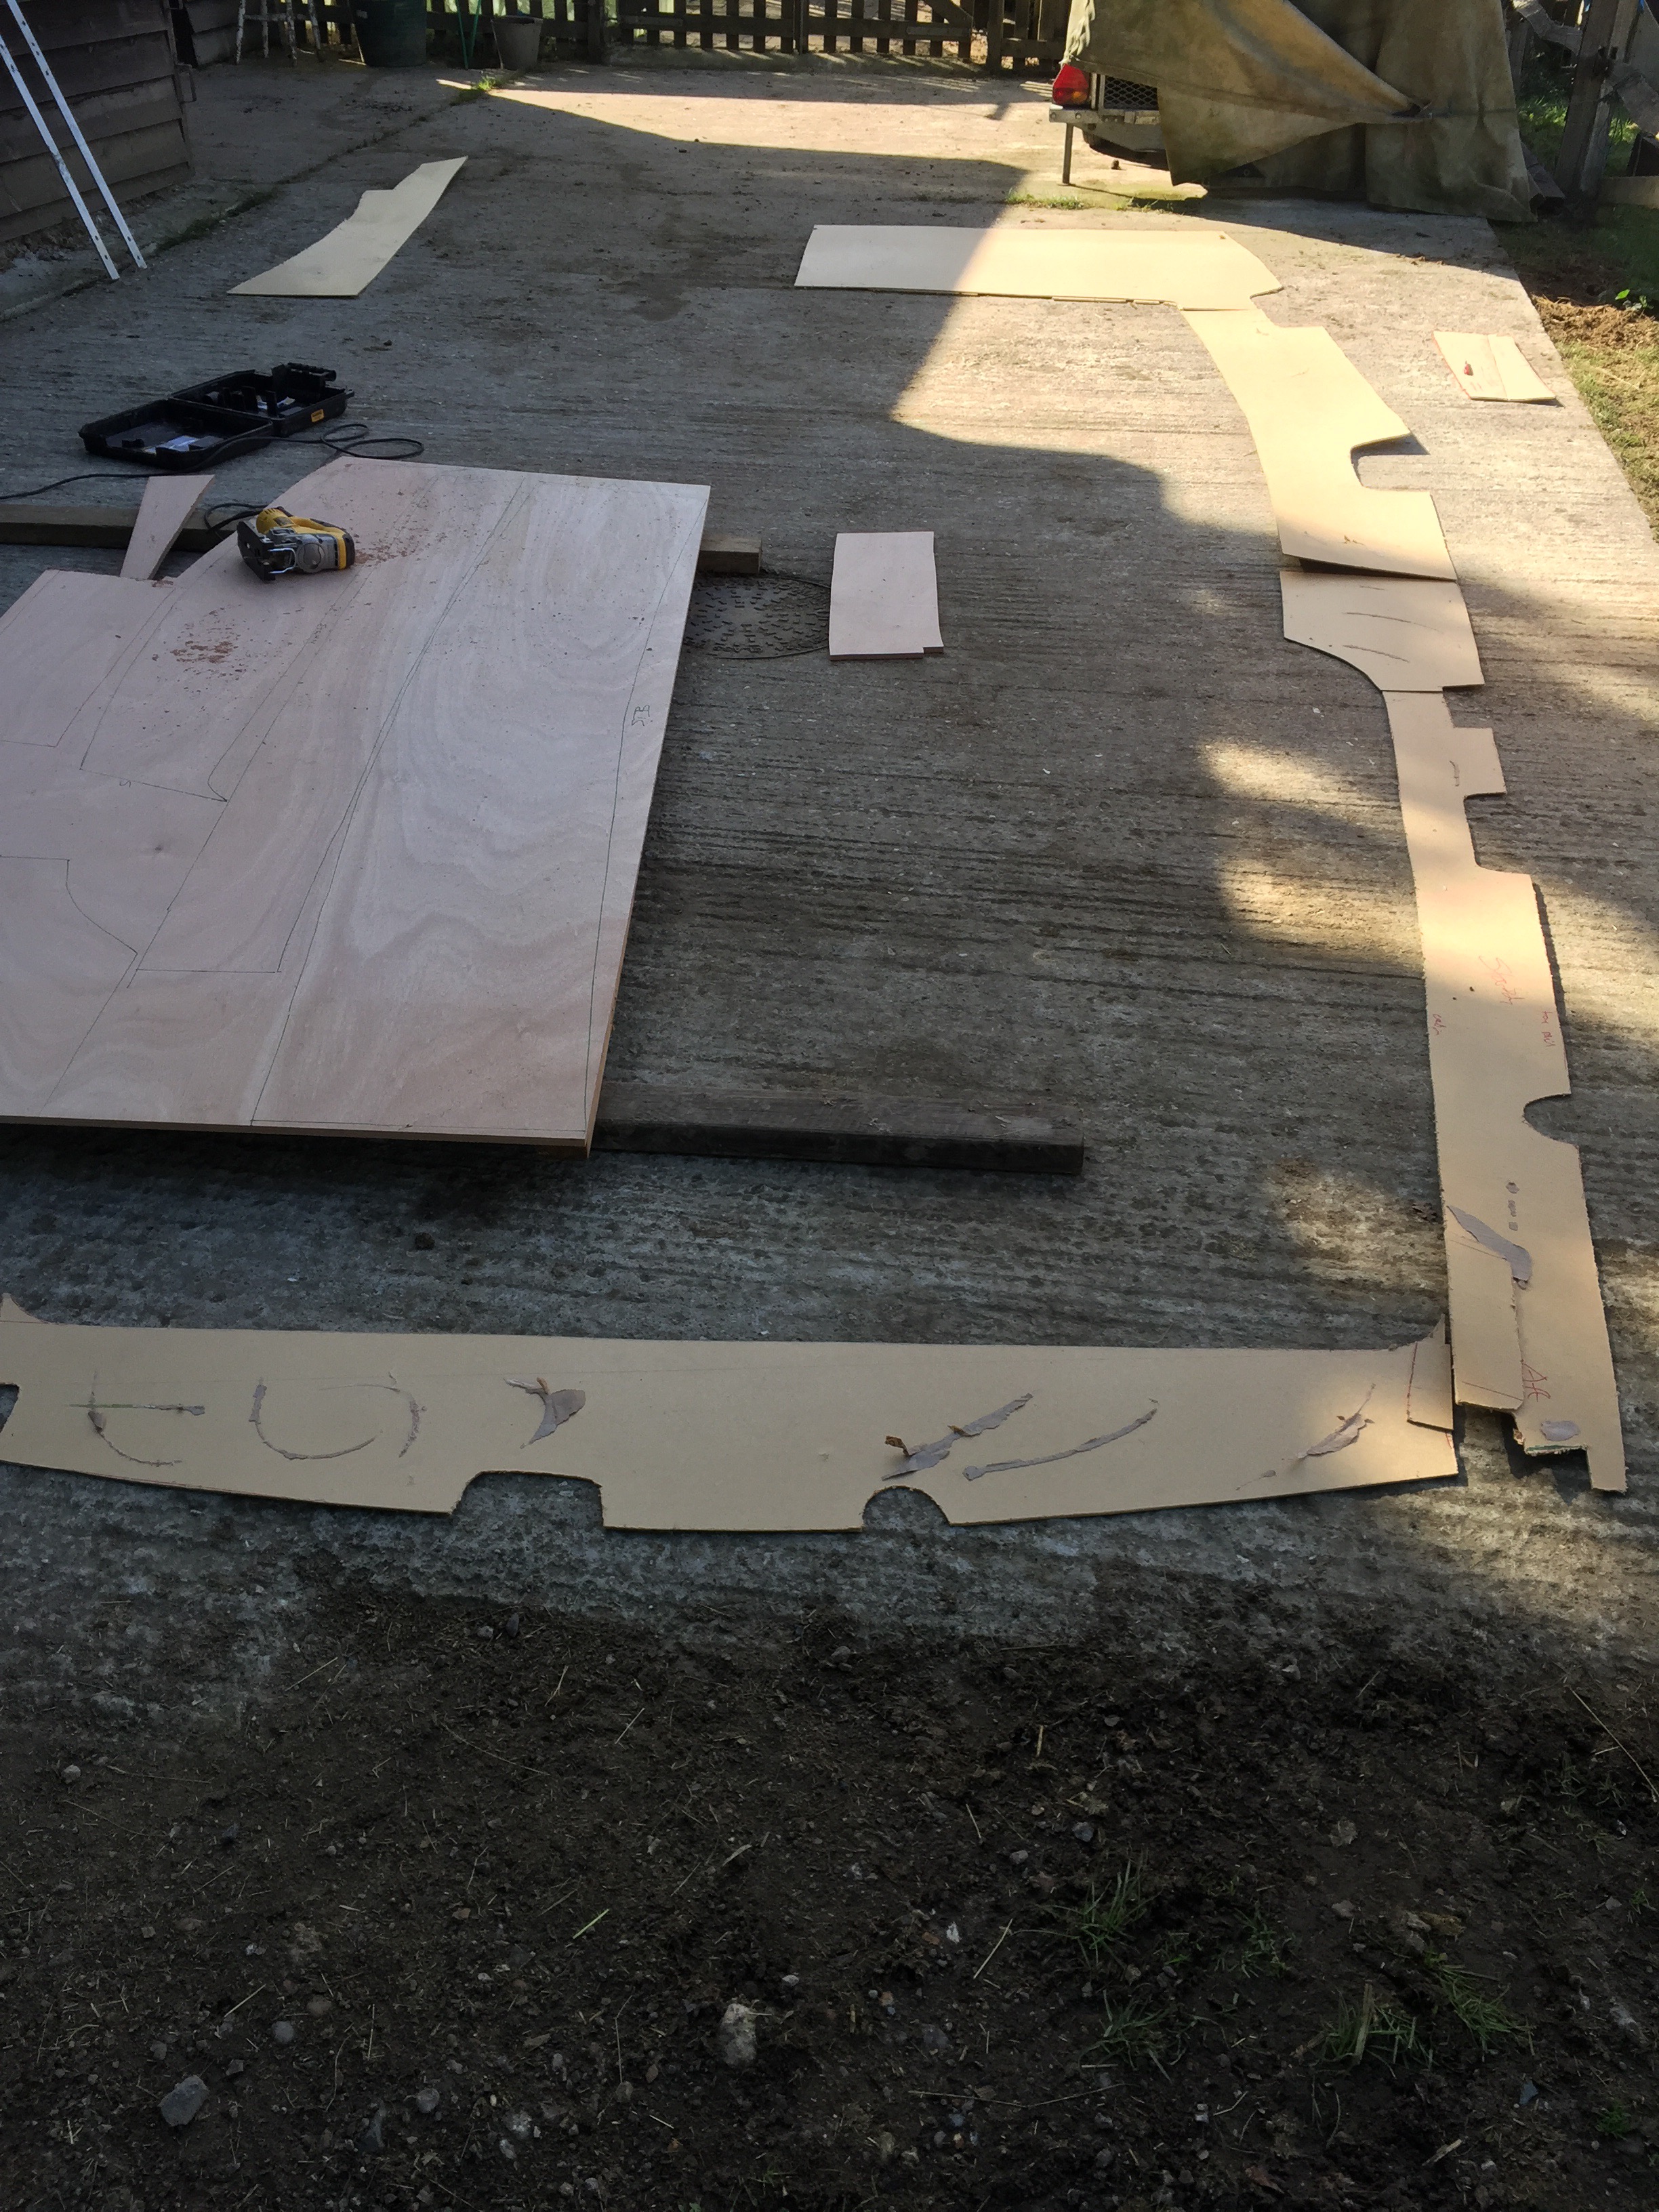
It started with cutting out the ply sections that I had created from the cardboard and then hardboard templates. These were put in place and shaved here and there to fit.
I’m impressed myself with our progress. We removed all the remaining fittings and are slowly scraping away the detritus. The thousands of bolts holding everything down are being cut away with my Dremmel.
Great work today and thank goodness for good weather.


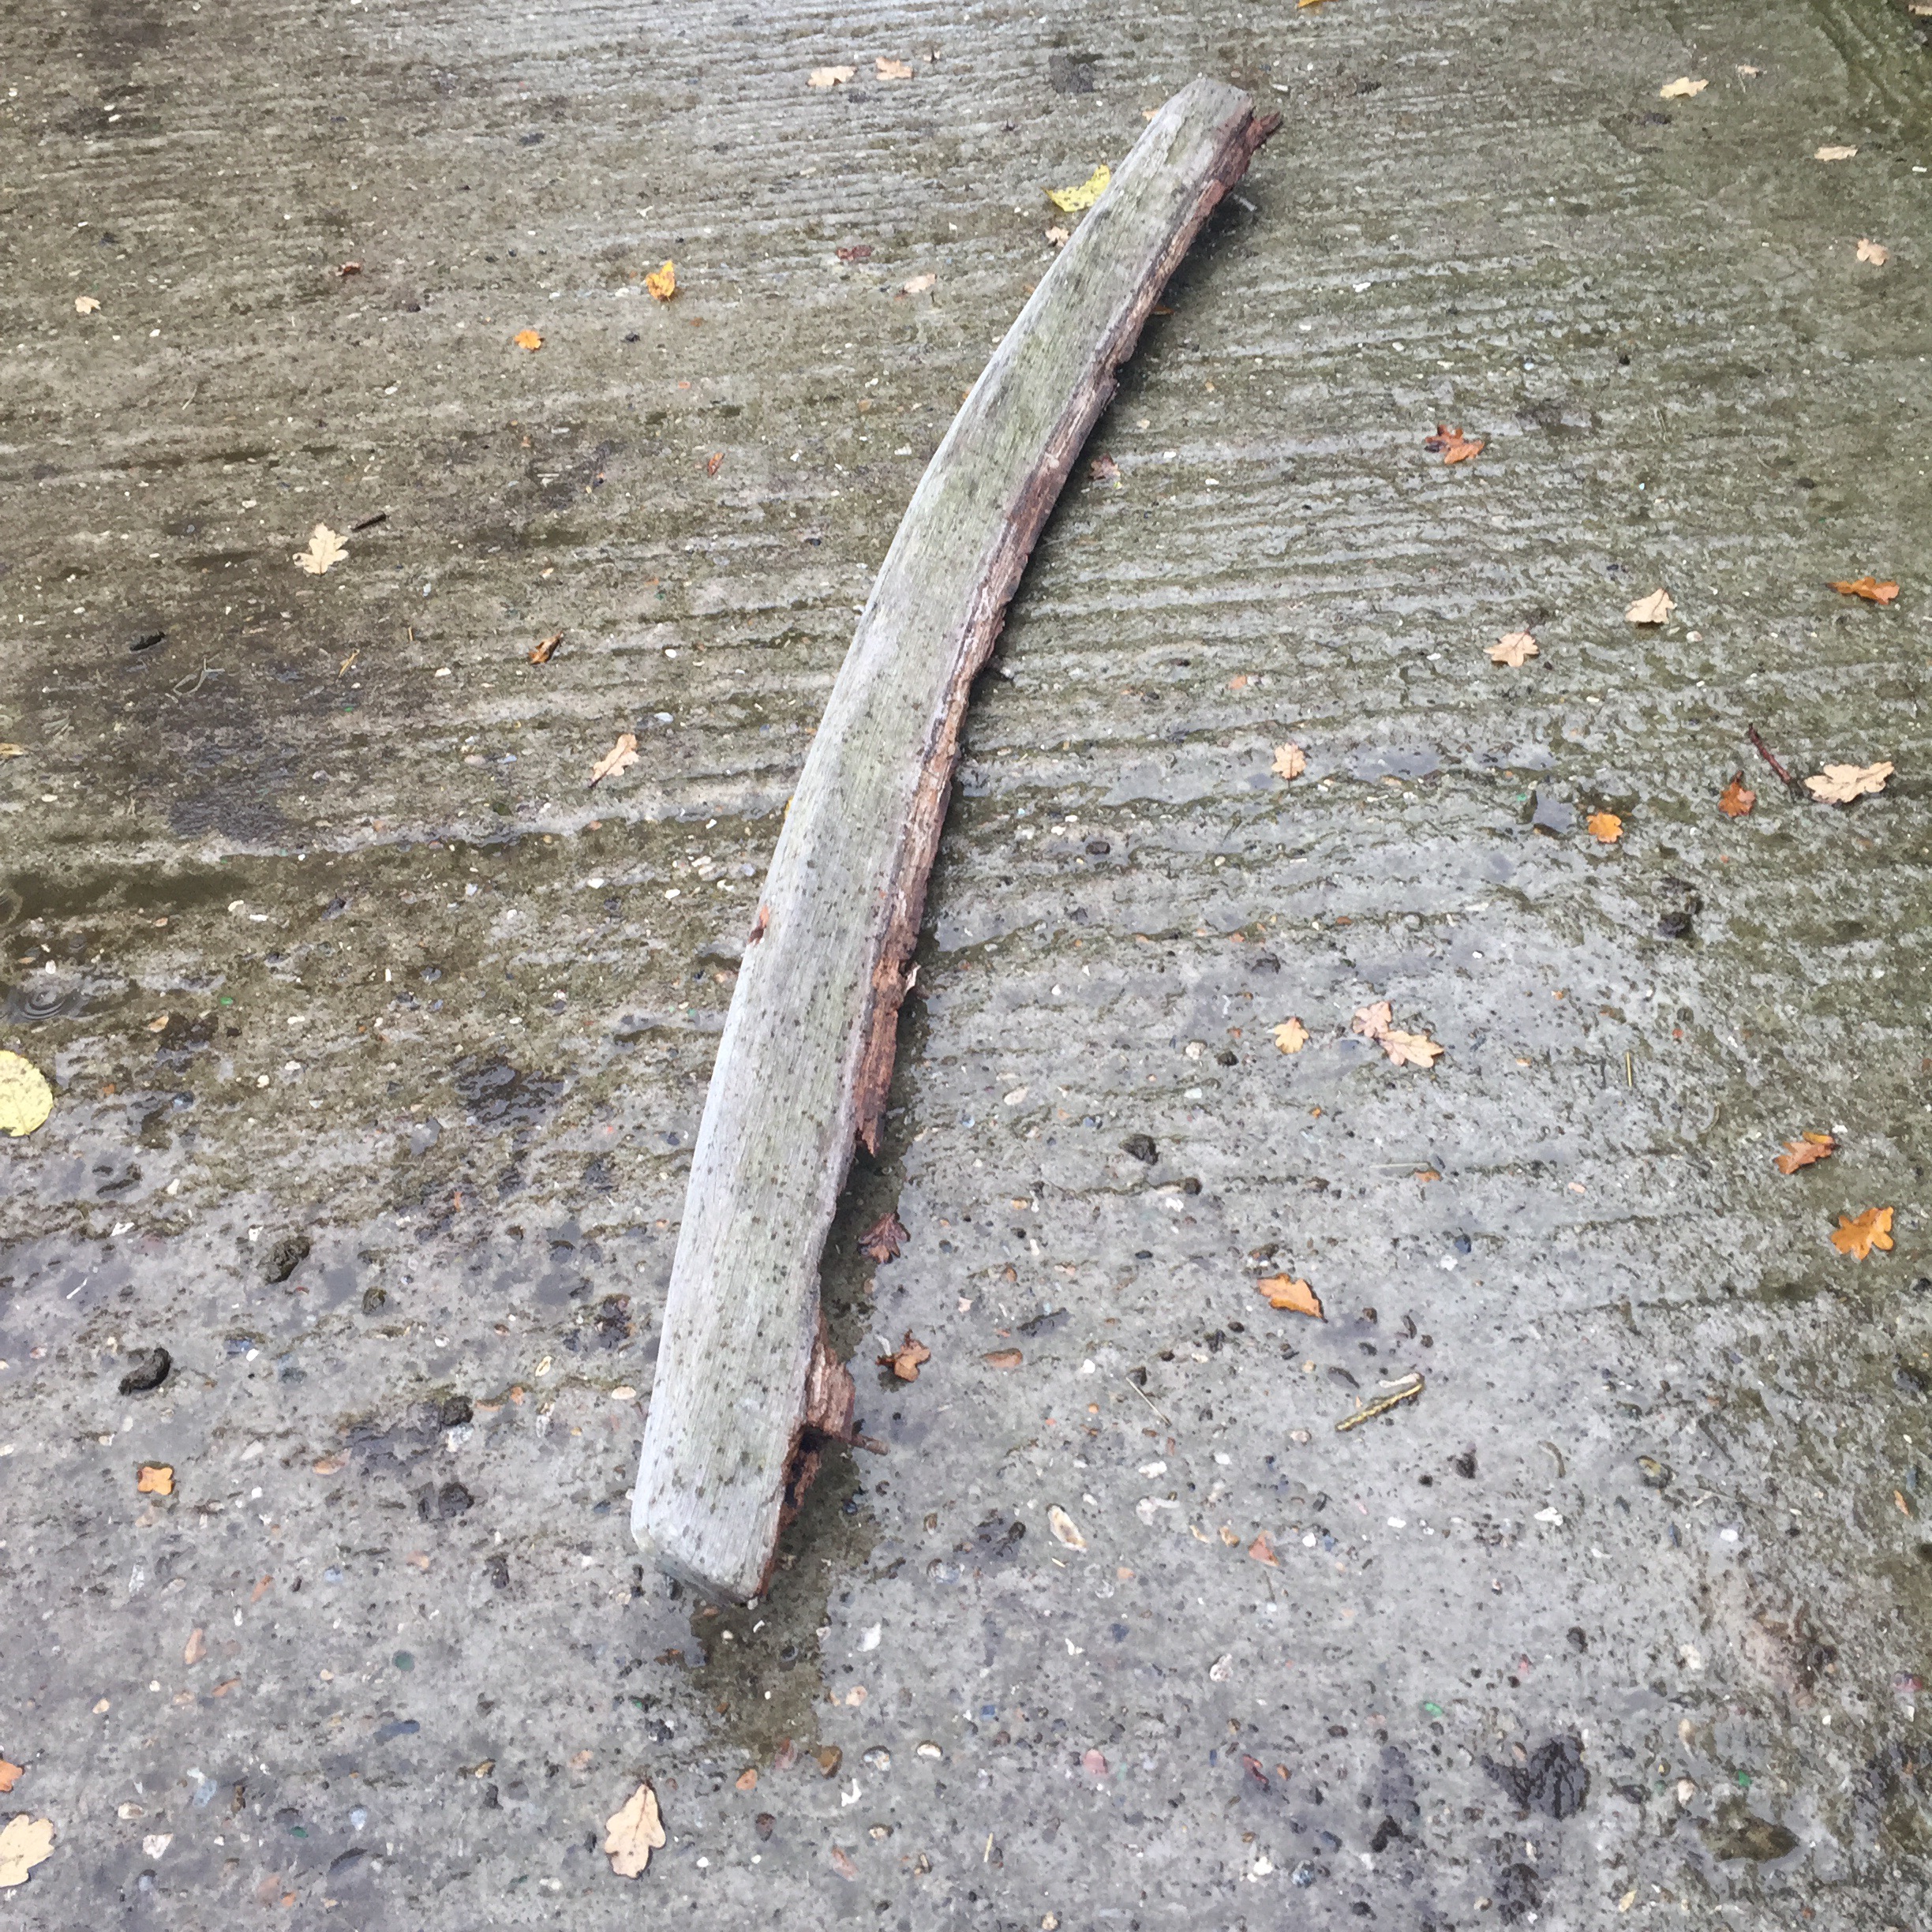
The rudder again
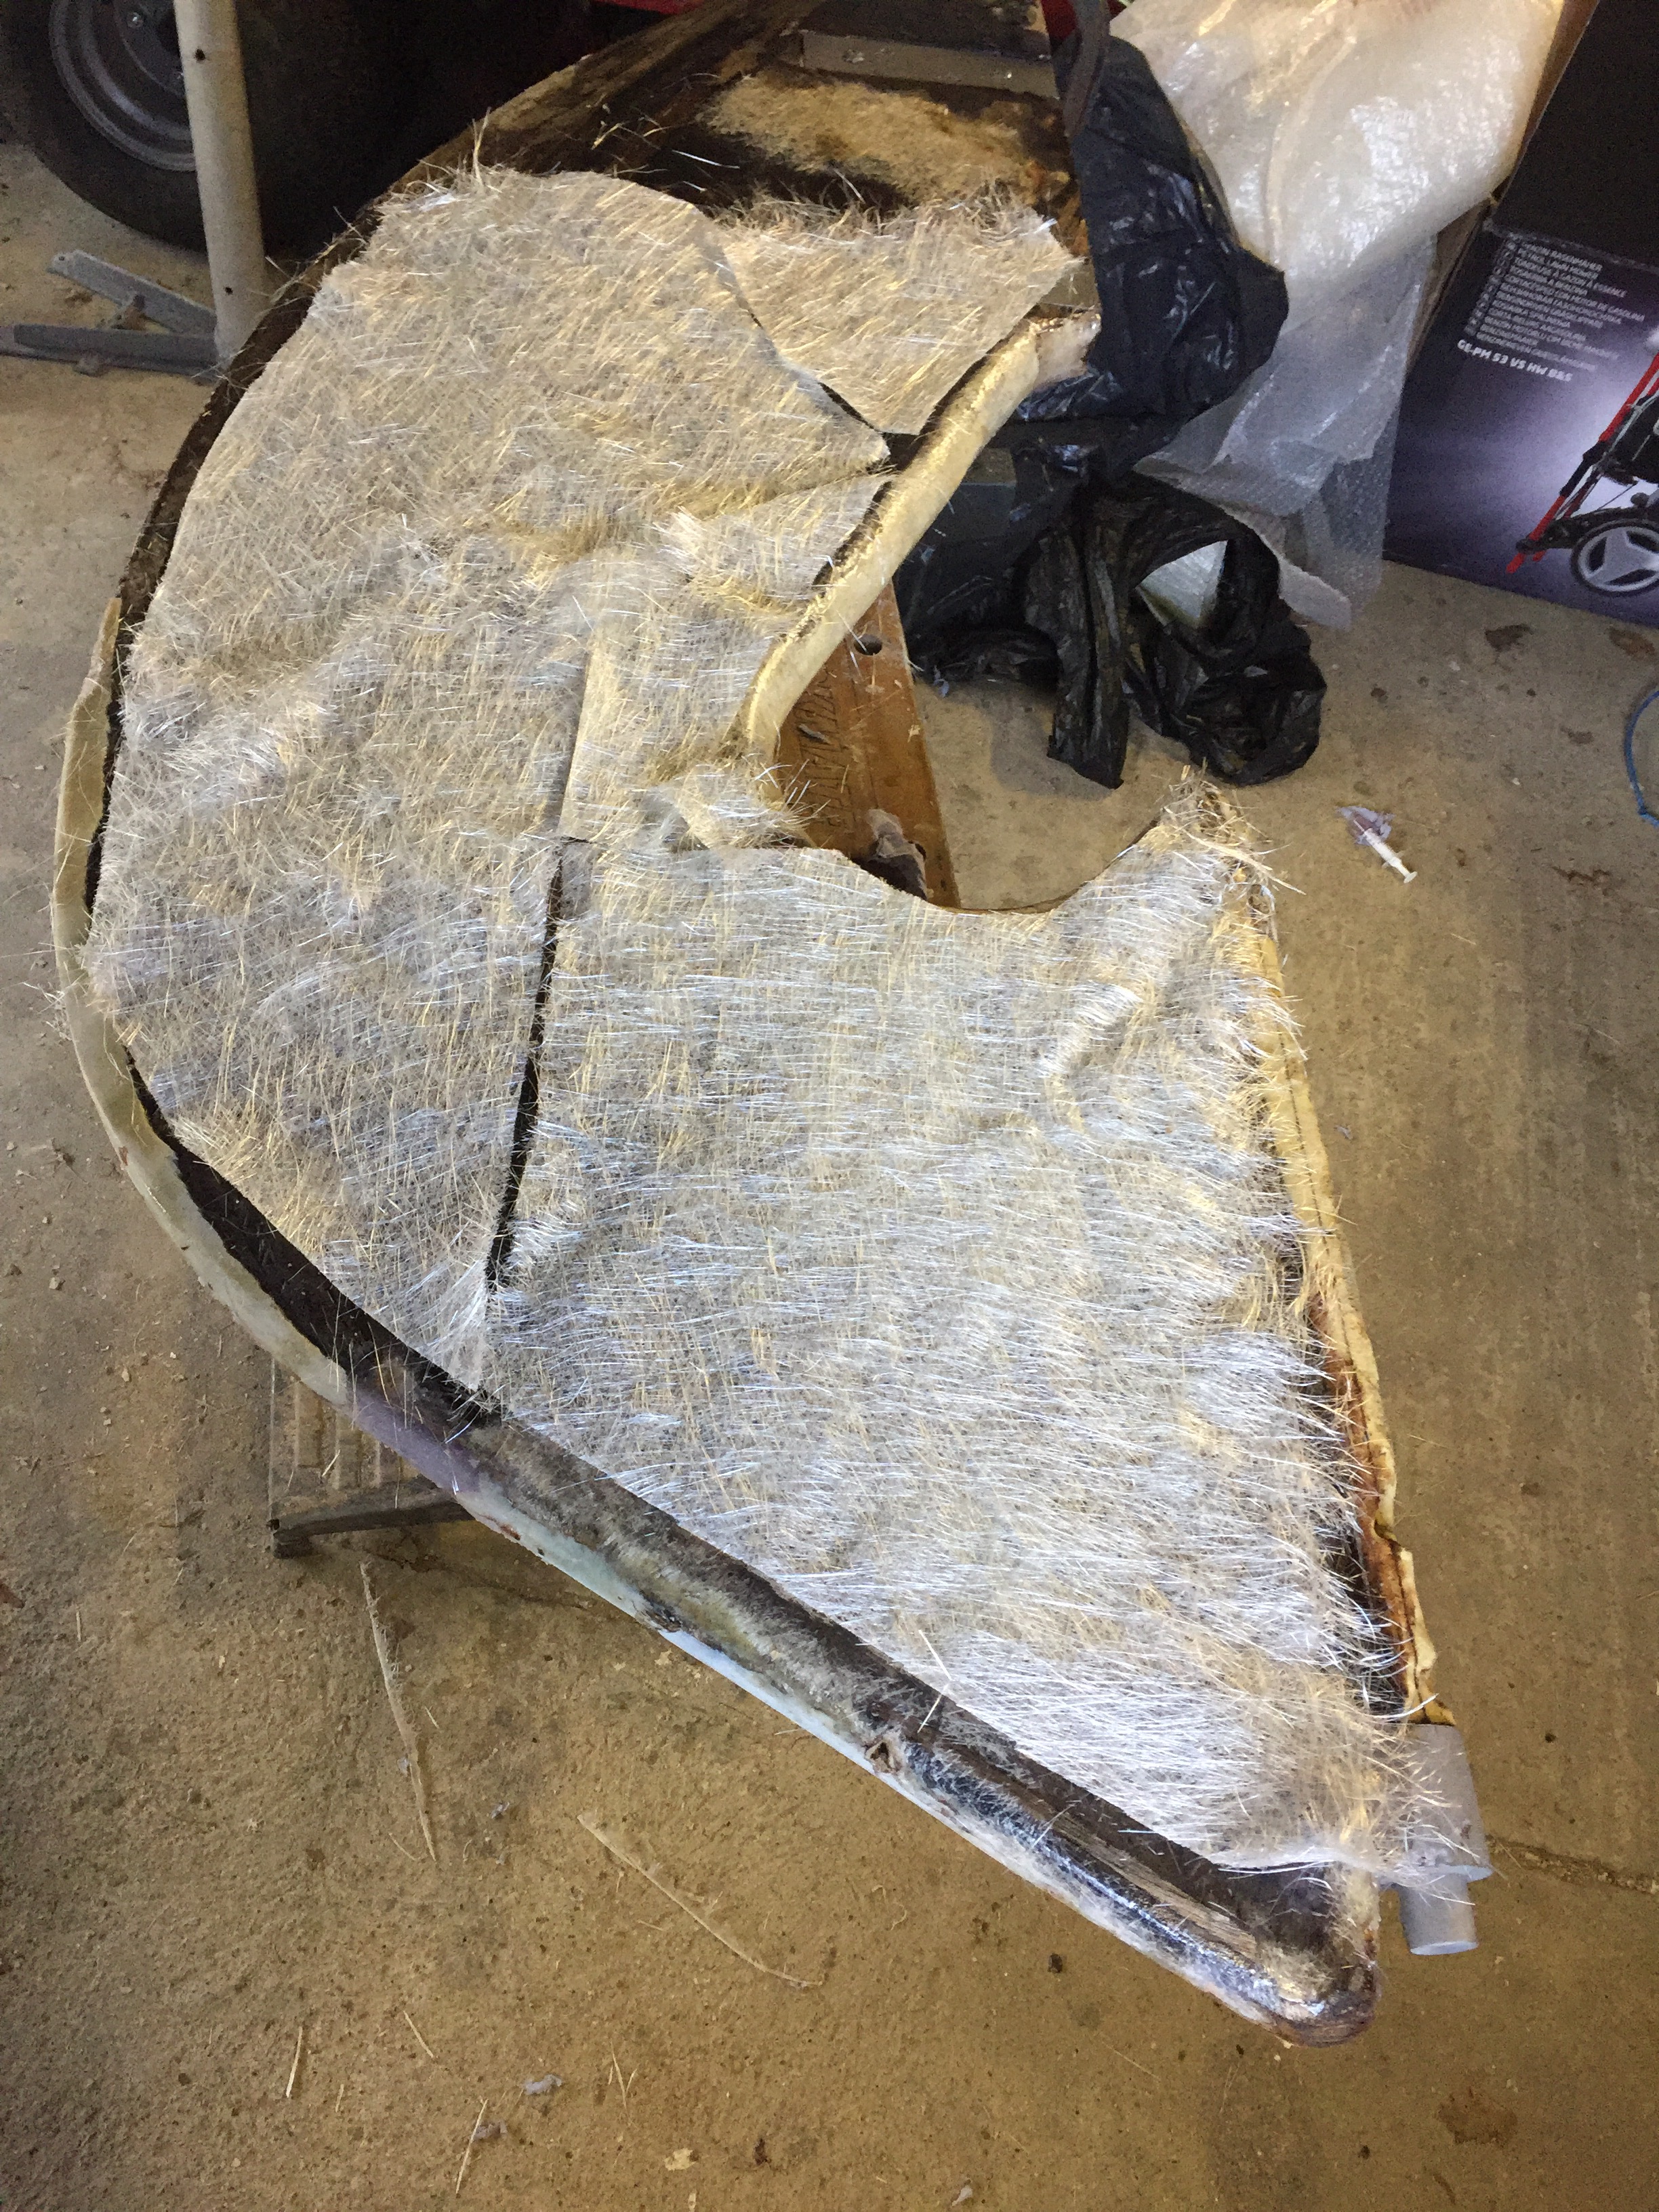
Ok so after a couple of hours work the rudder has a layer of resin with glassfibre matting. The surface is a little uneven but another coat of resin or two with a bit of sanding and maybe some filler will see it smooth as silk (rough silk). Then it will be ready for getting the shaft fitted but more about that another day.
As for today it needs To set a bit harder and then I shall put some filler along the edges and some glass fibre tape as reinforcement and job done. 
The rudder
Phase 2 of rescuing the rudder begins today. I have had the straps sandblasted and they are beautifully clean and ready for resin. I have sanded down the timber so that it is smooth and clean and ready to accept resin. Some parts of the previous 

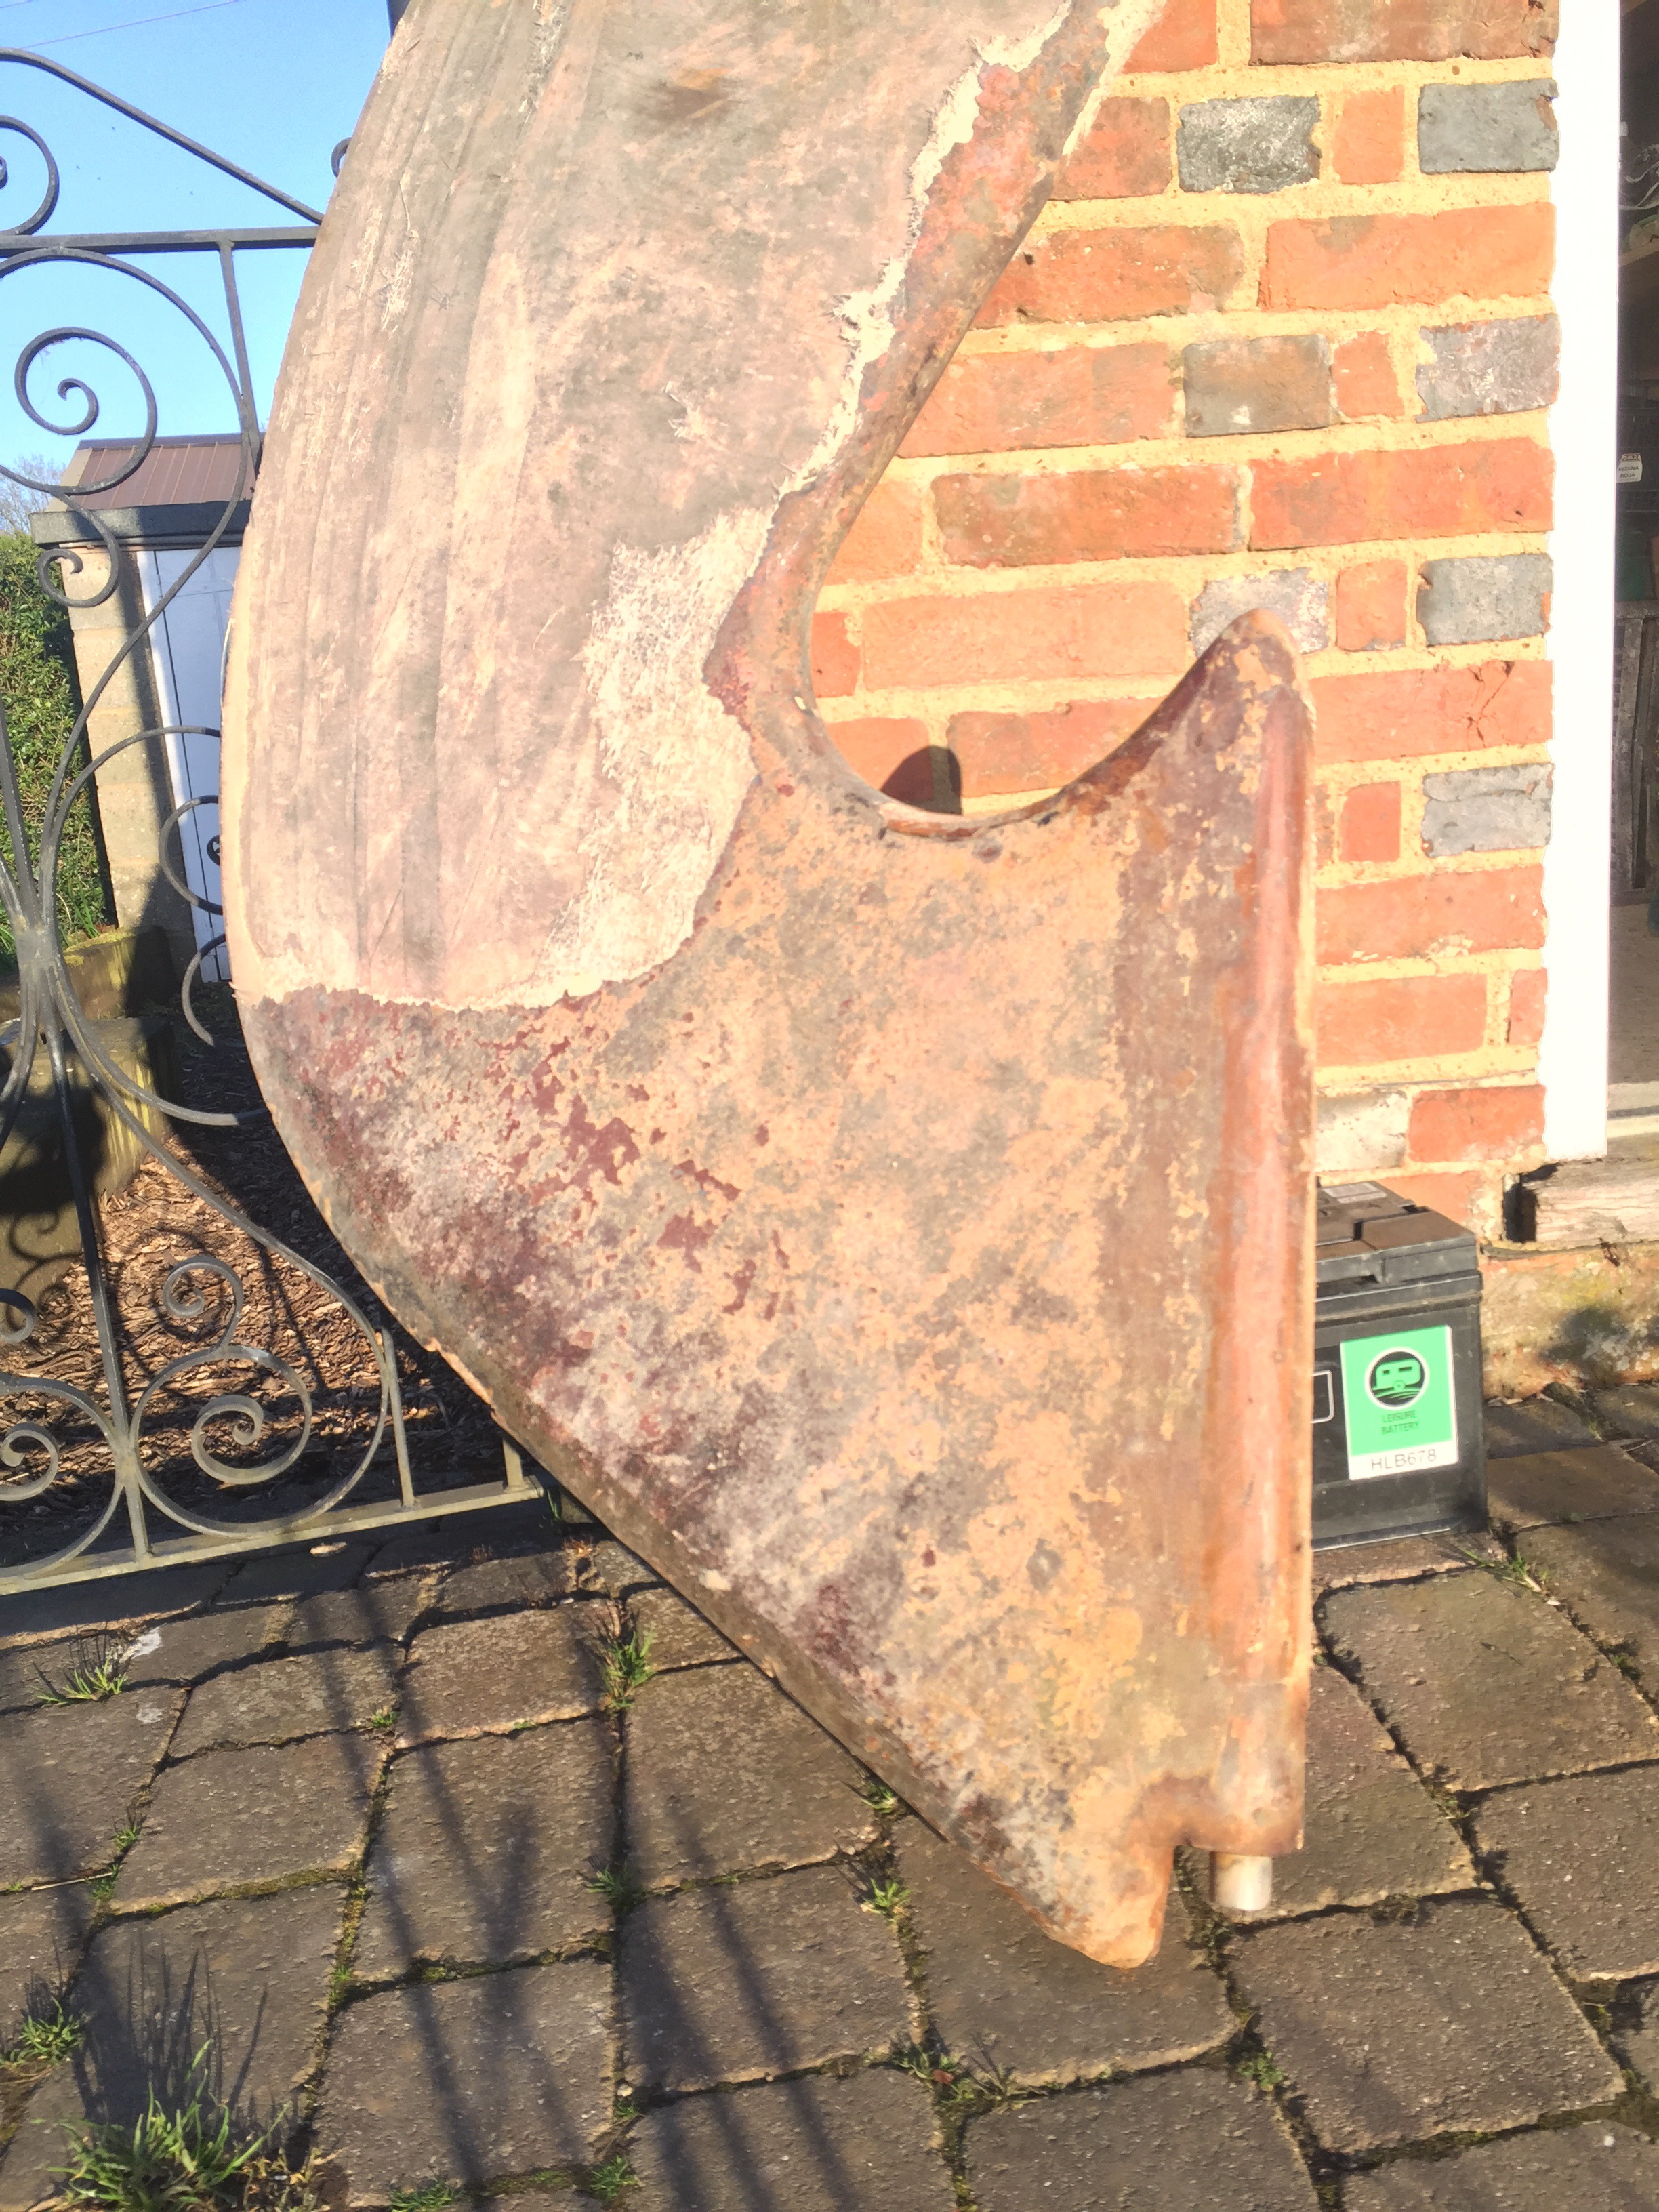


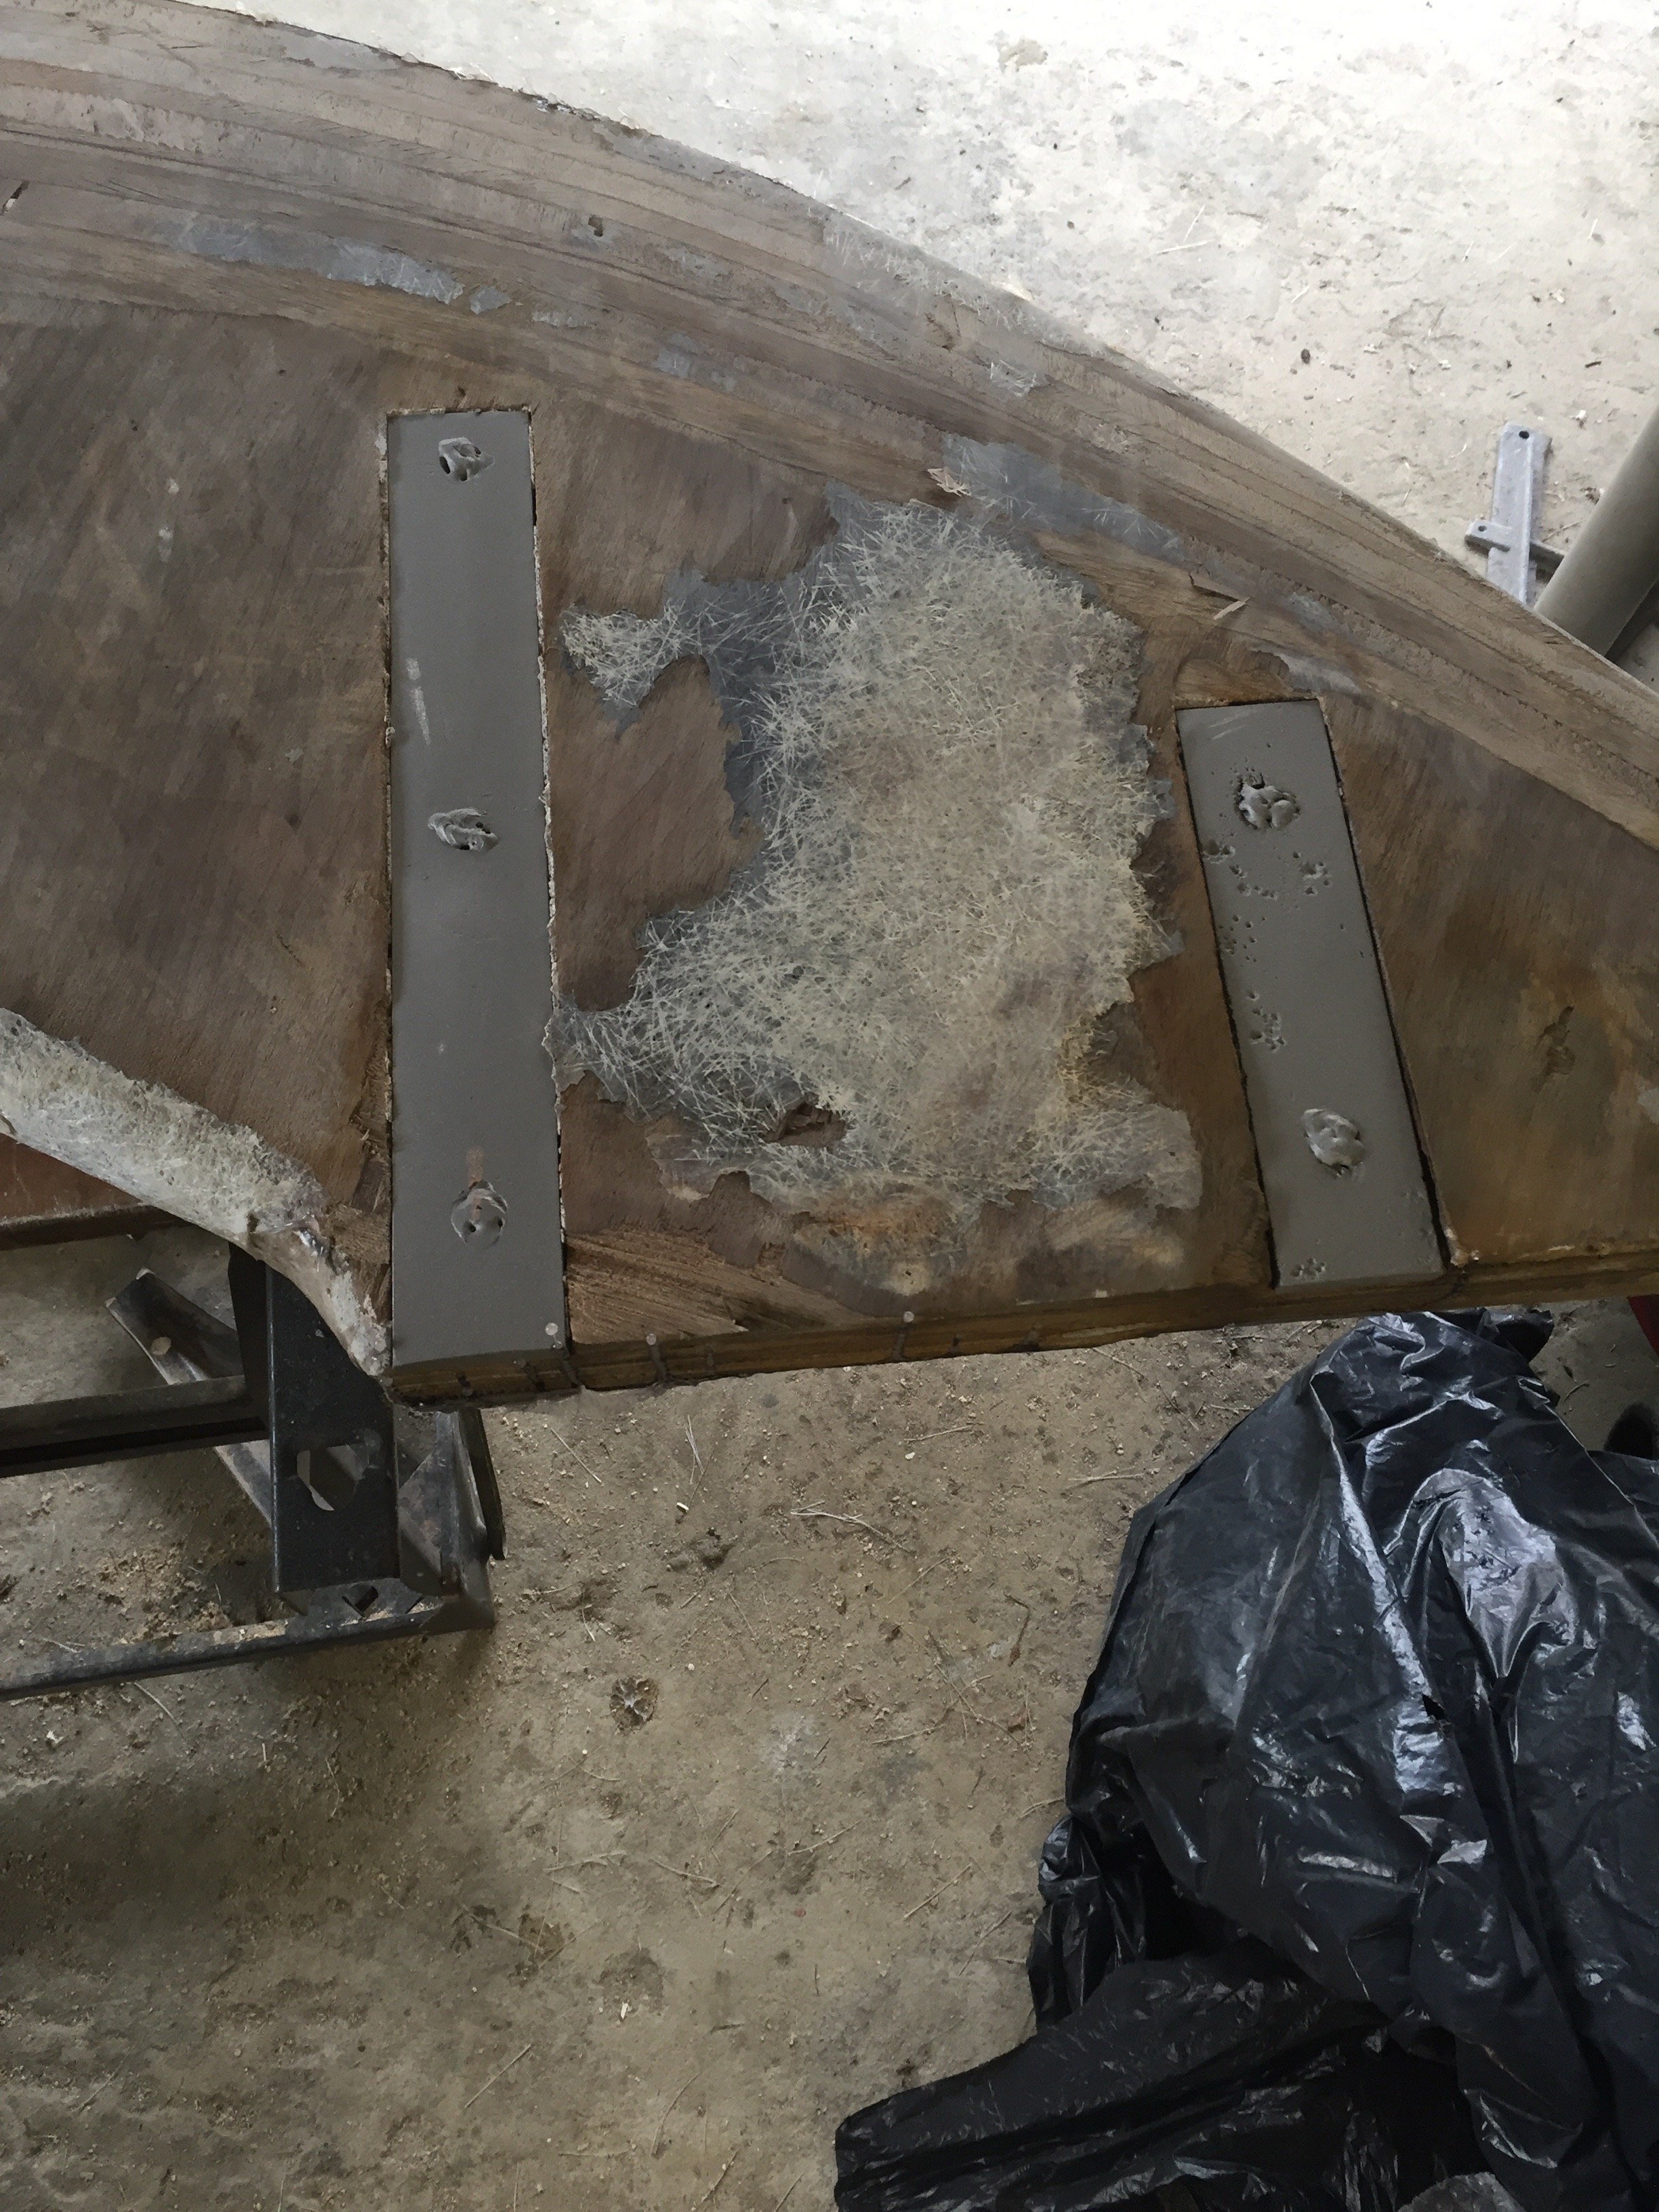 fibreglass are so stuck on that they’re not going anywhere so I have left them.
So the first job is to apply a coat of ordinary polyester resin to allow that to soak into the wood and go tacky. Then I shall put on some fibreglass matting and stick that down with more resin. Then will come some filling and protection of the edges that will need some additional fibreglass tape. More photos to come.
Southampton boat show
A day at the boat show. Wow we need to spend some money!
