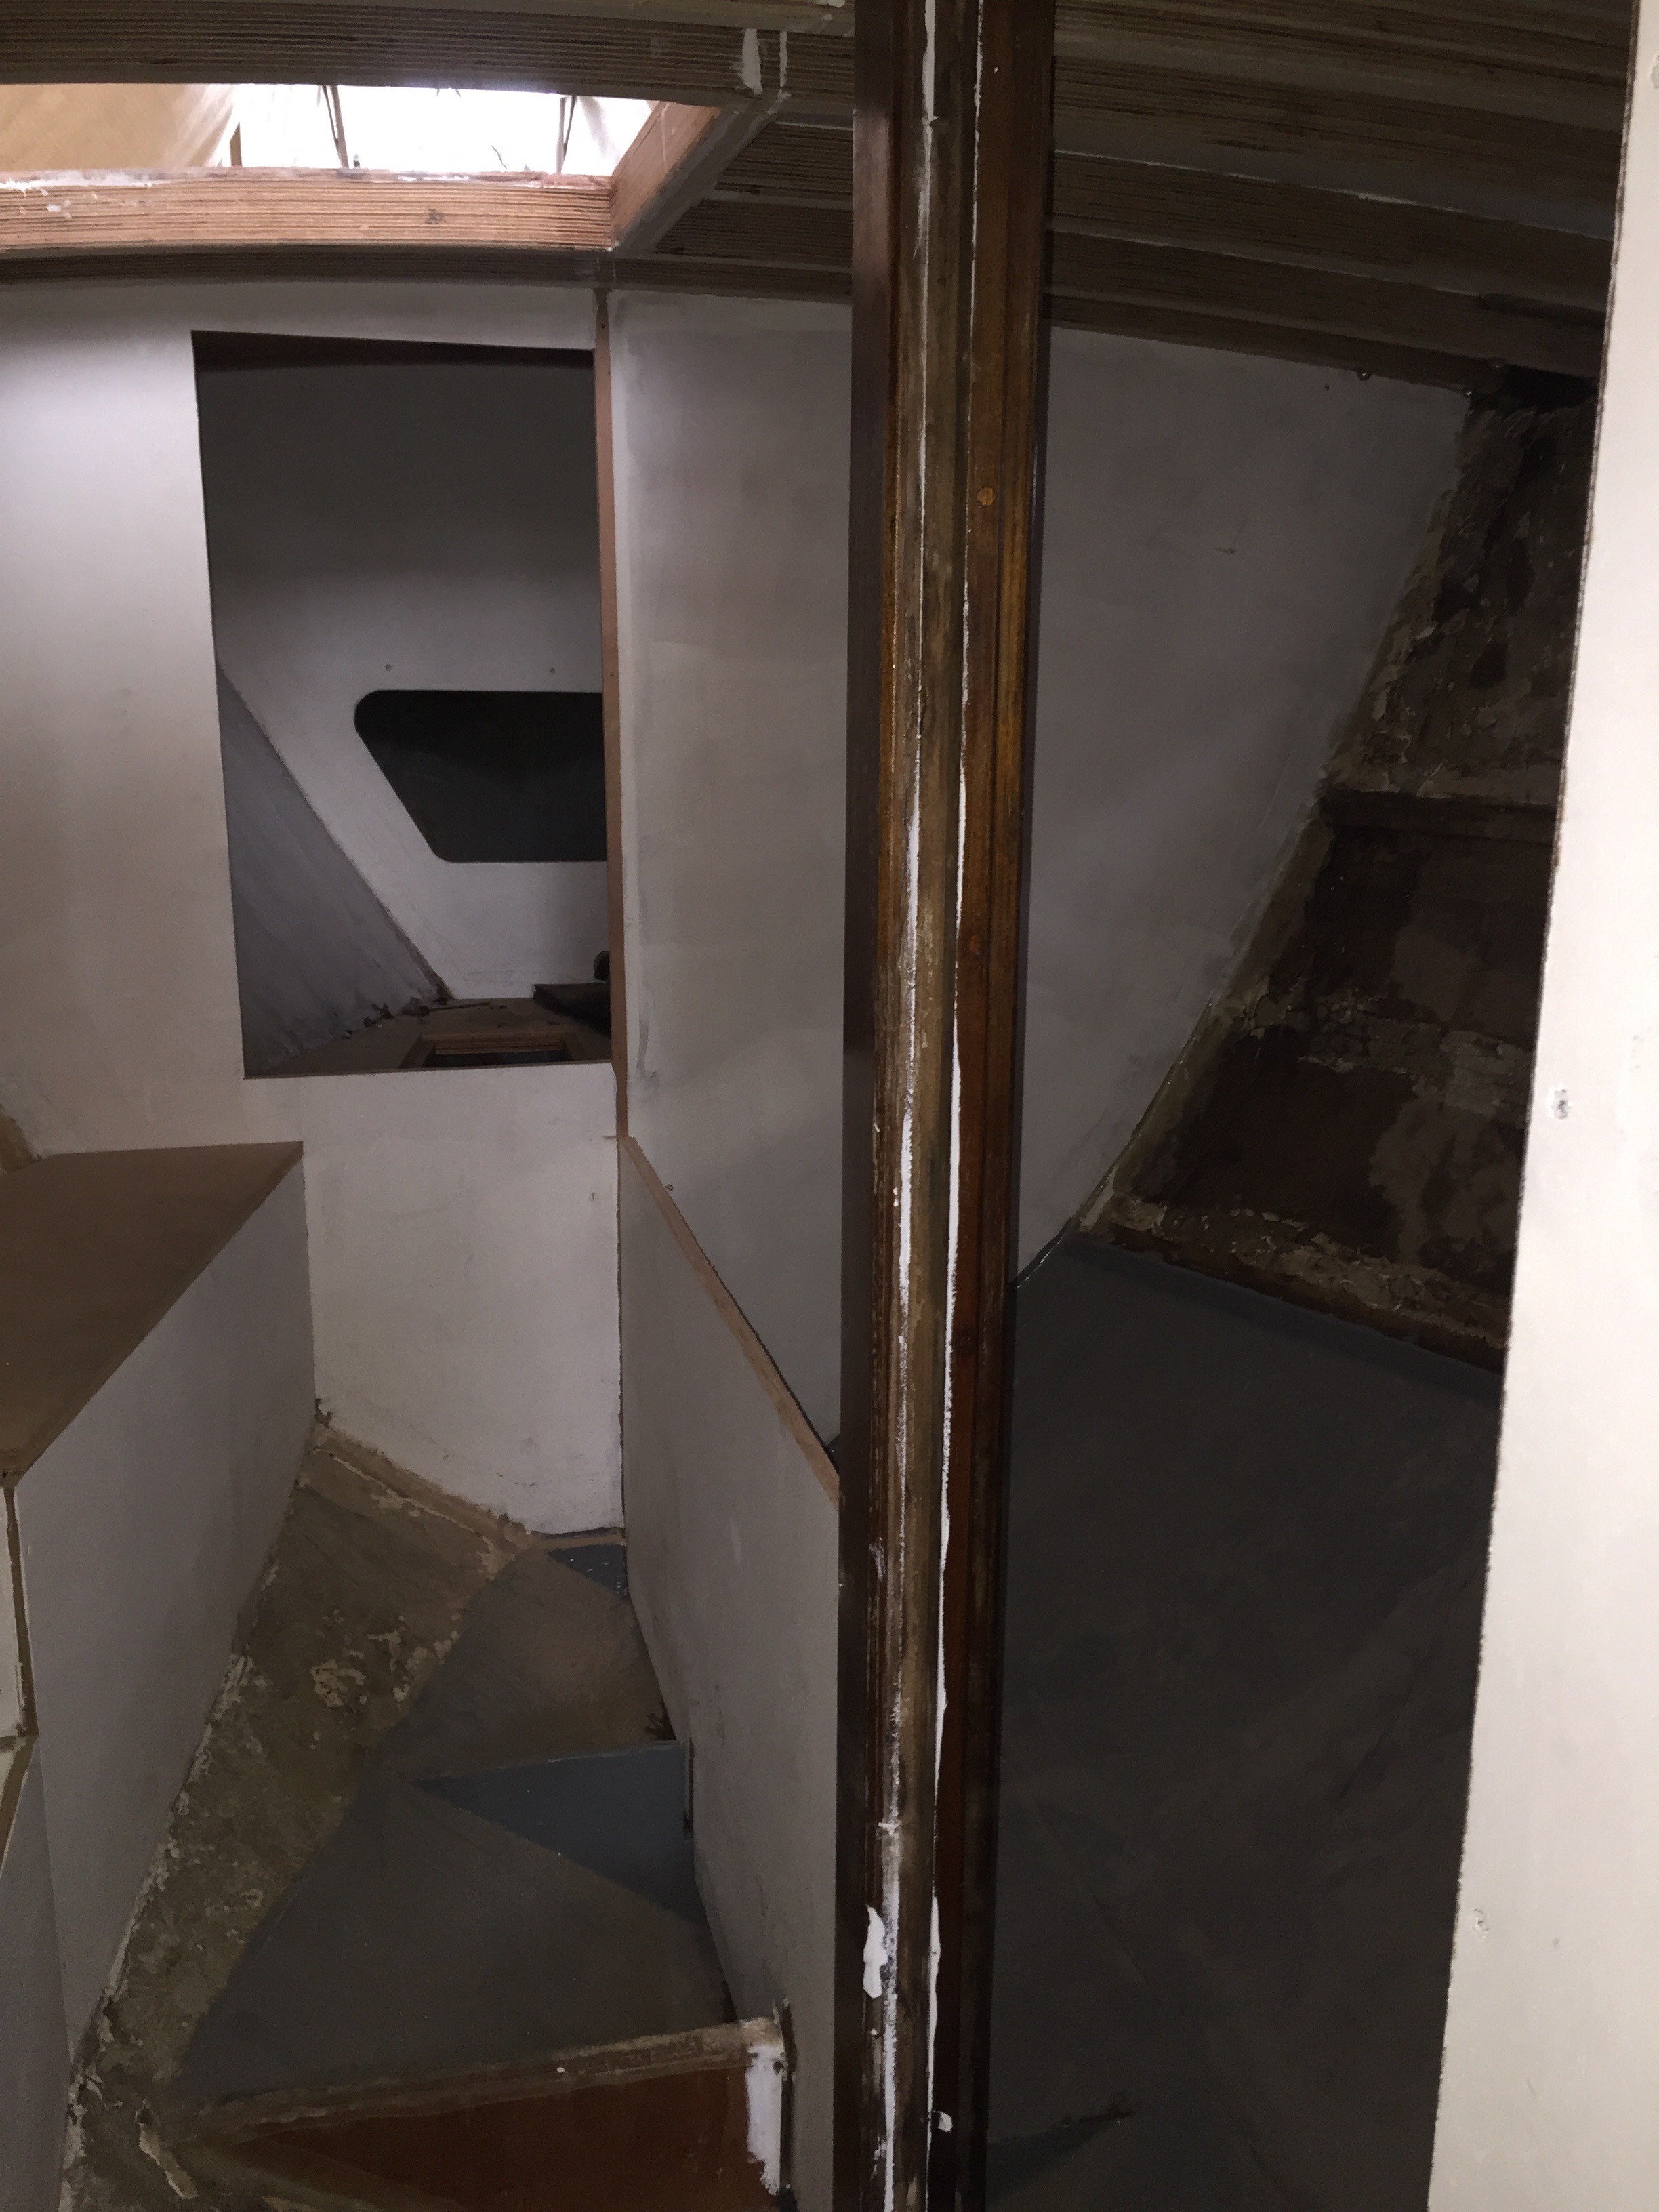
The main mast step is back in place hooray. However we are remodelling the interior by removing a central bulkhead to provide for a full size double bed and cabin. Sorry Alan. It was quicker to take out than put in.
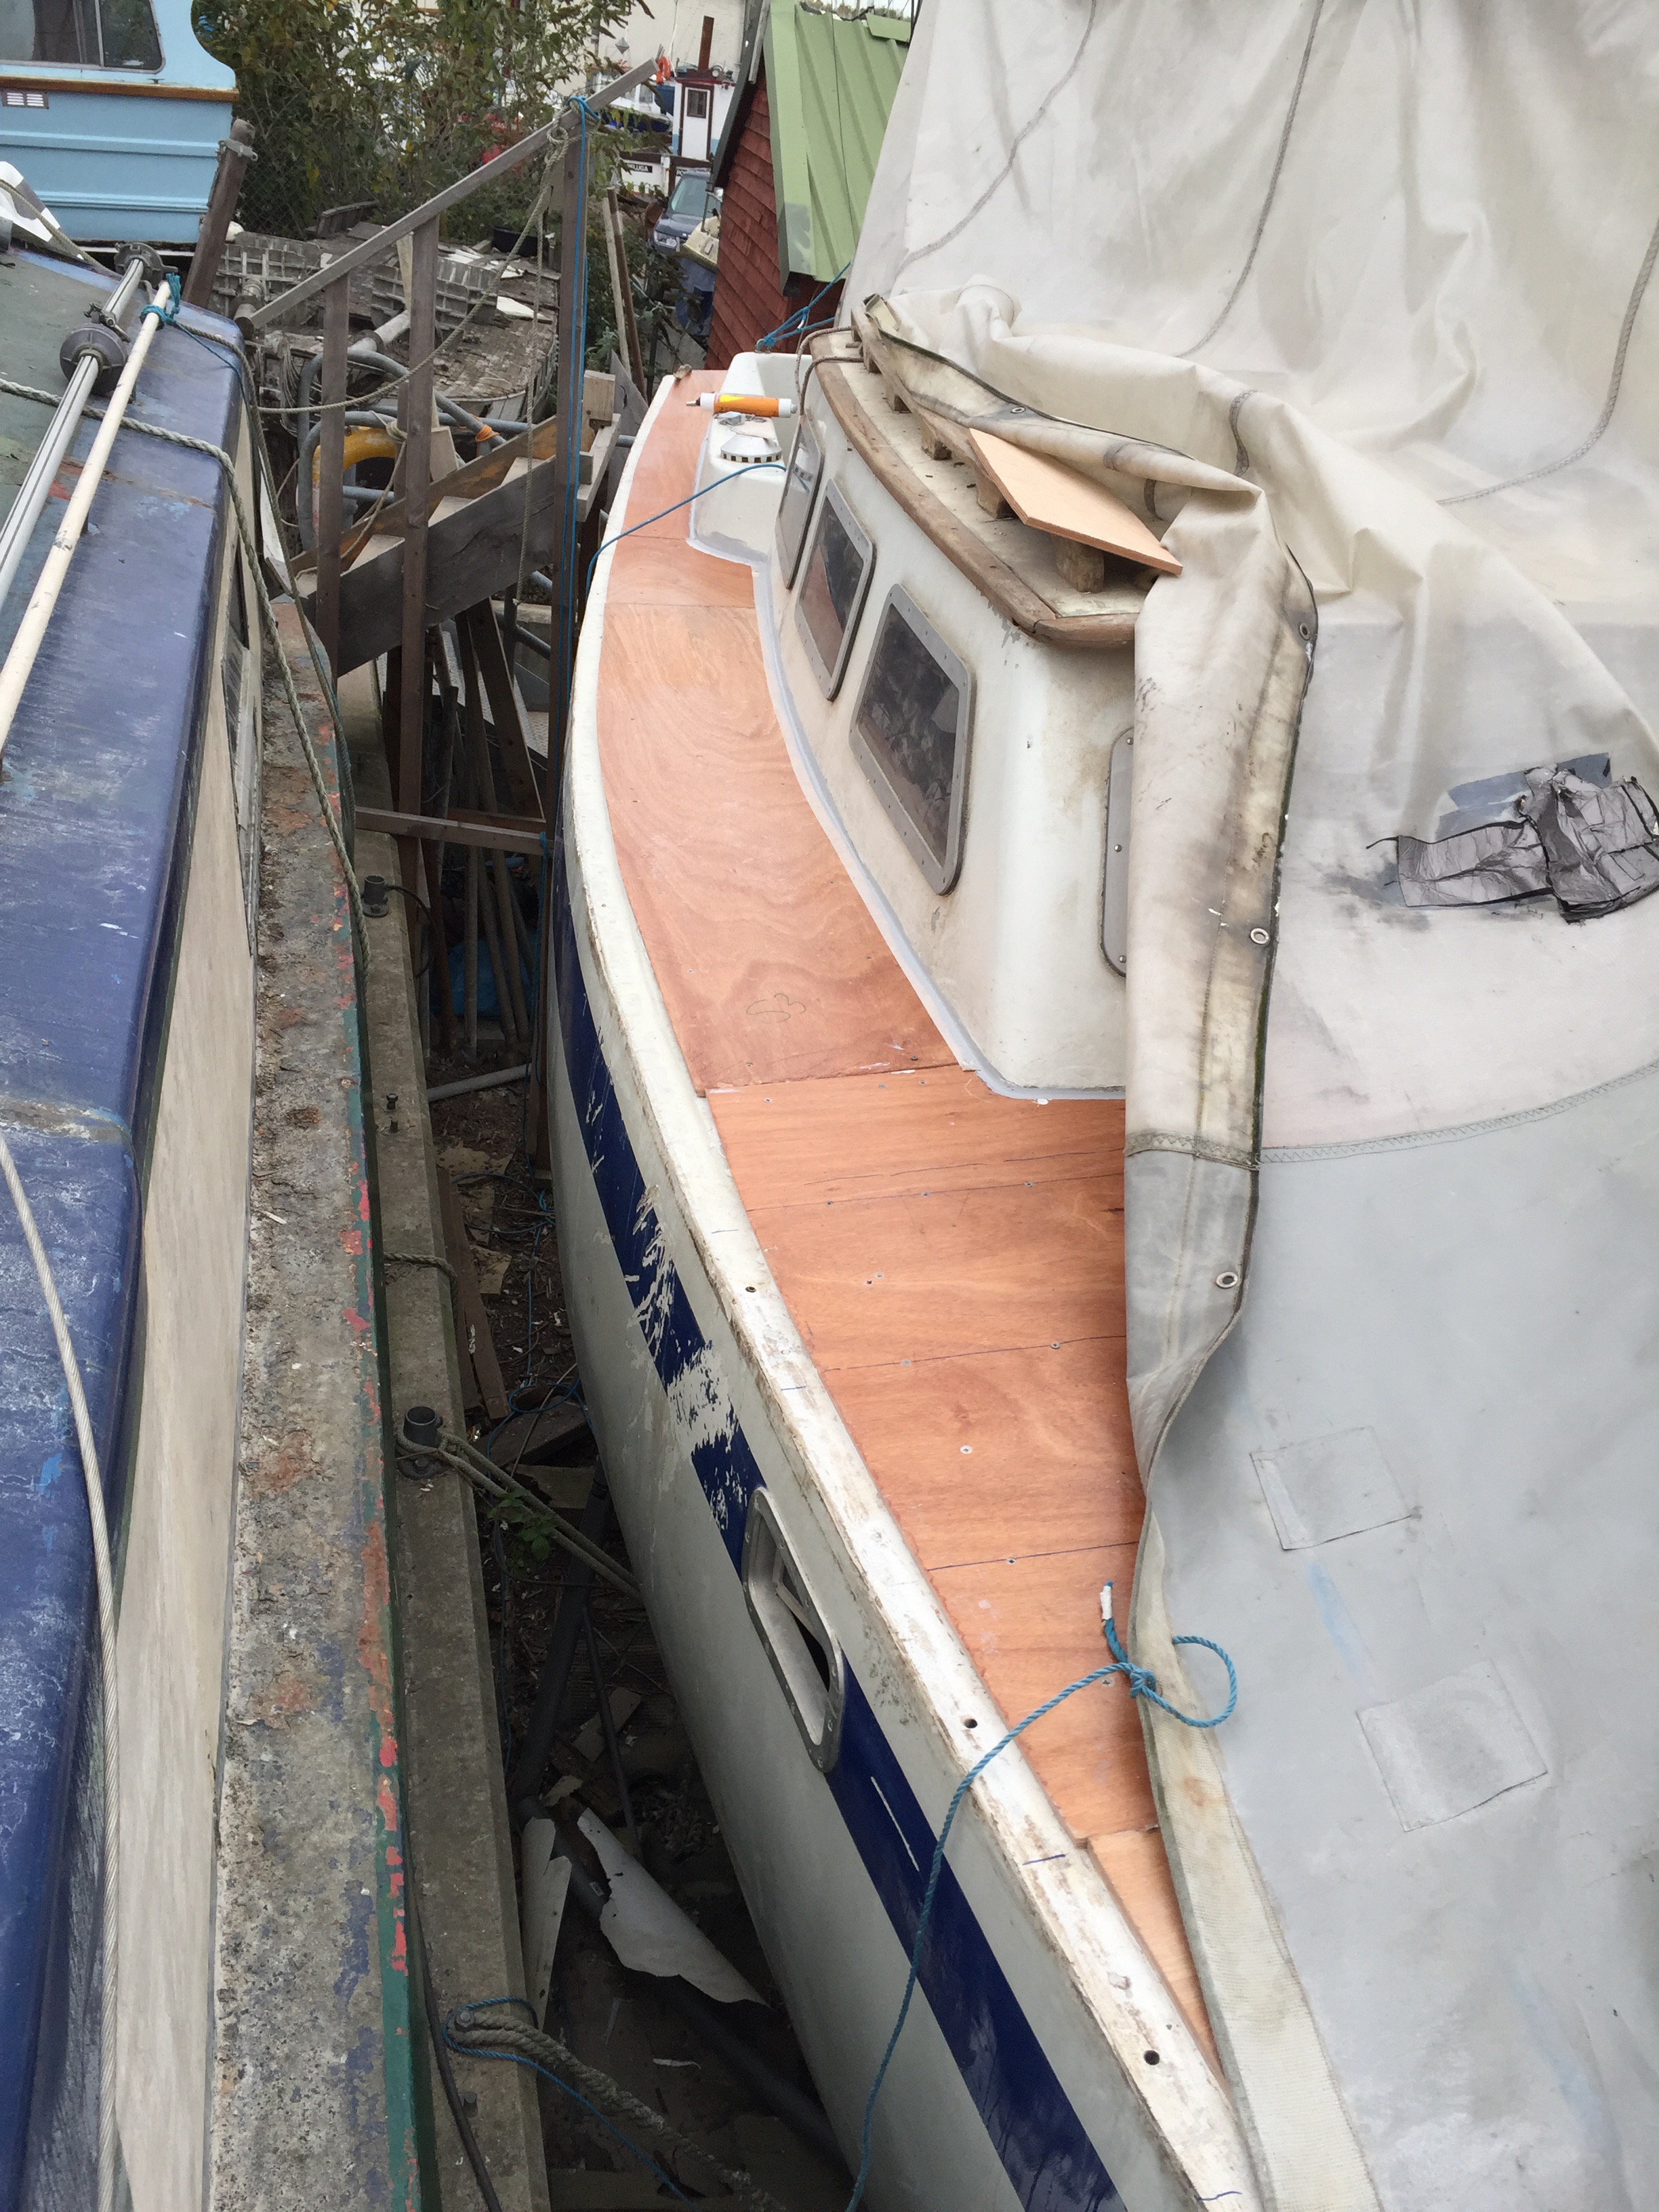
Well Carrie and I got all but the last panel in on Monday and today Ade and I were fitting the last sheet along with the side decks.
We started by sealing the hull to deck joint along the back and right sides and then fitted the first of the right side panels. However the 40mm bolts that I had were 10mm too short so we just could not finish. Frustrating it is.
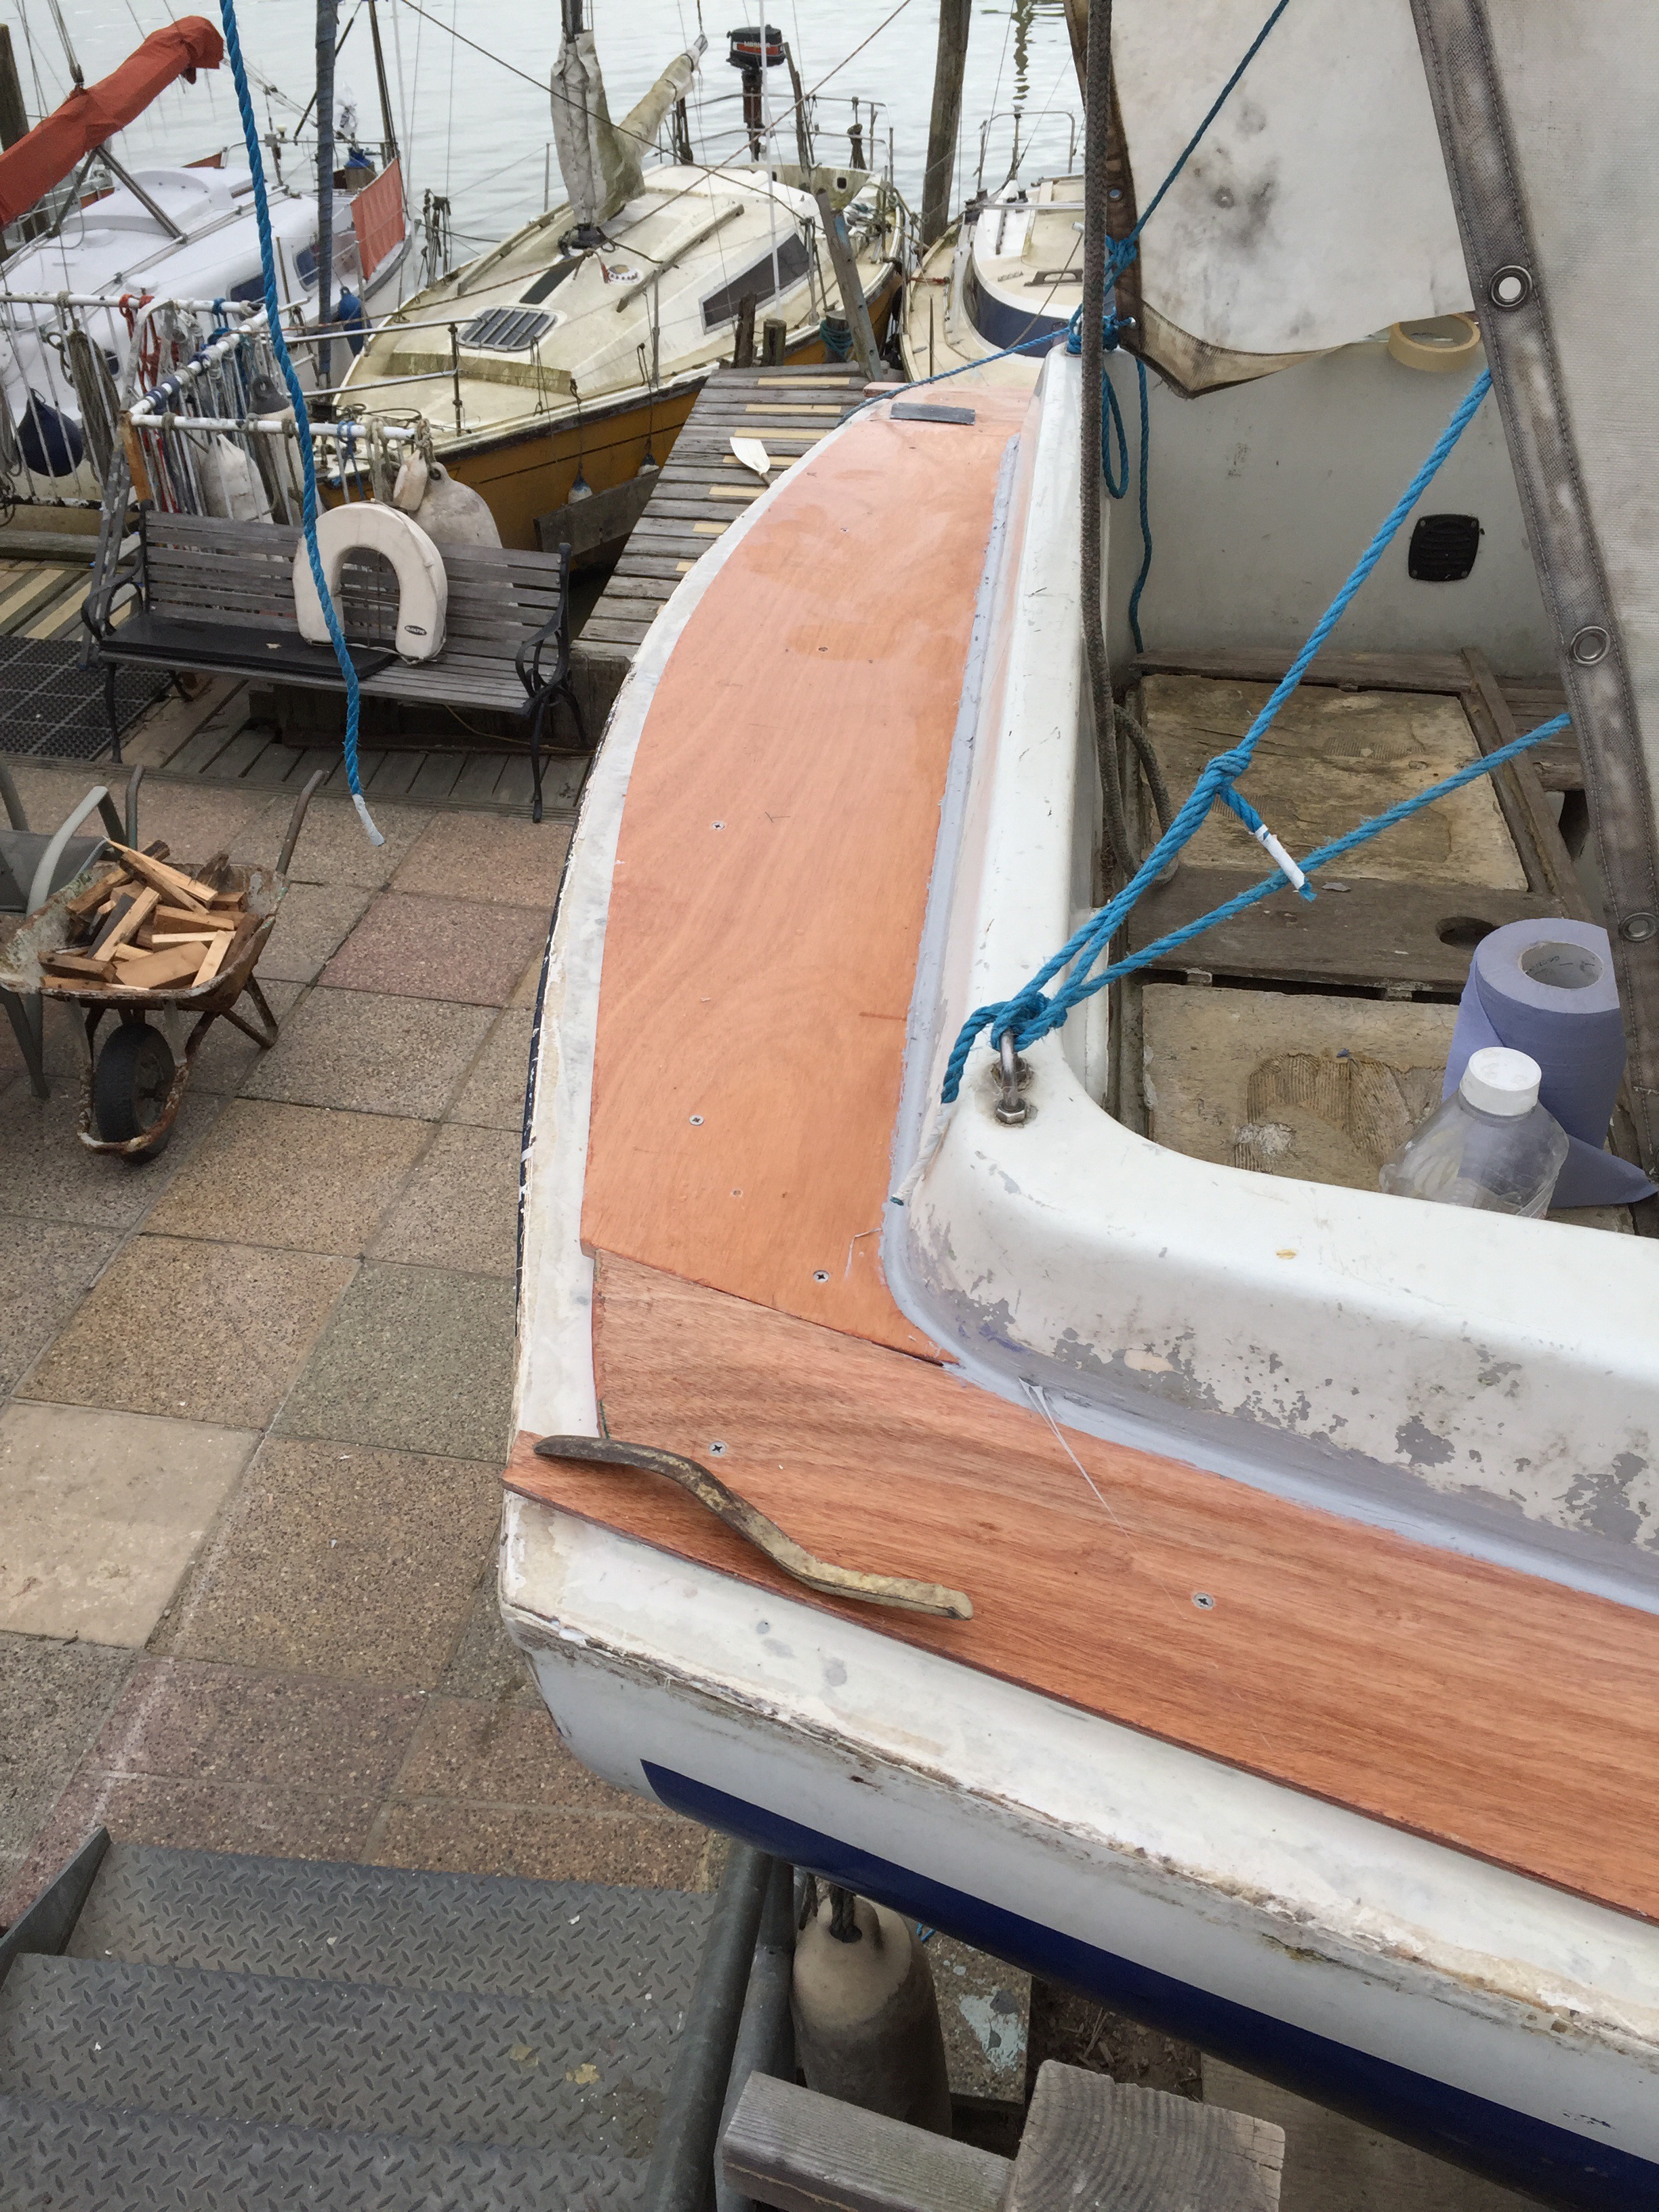
The new decks are really smooth as Rusty found out when he tried walking on them and nearly slipped off but fortunately I caught his collar and hauled him back. No Toe rails means there is nothing stopping you.
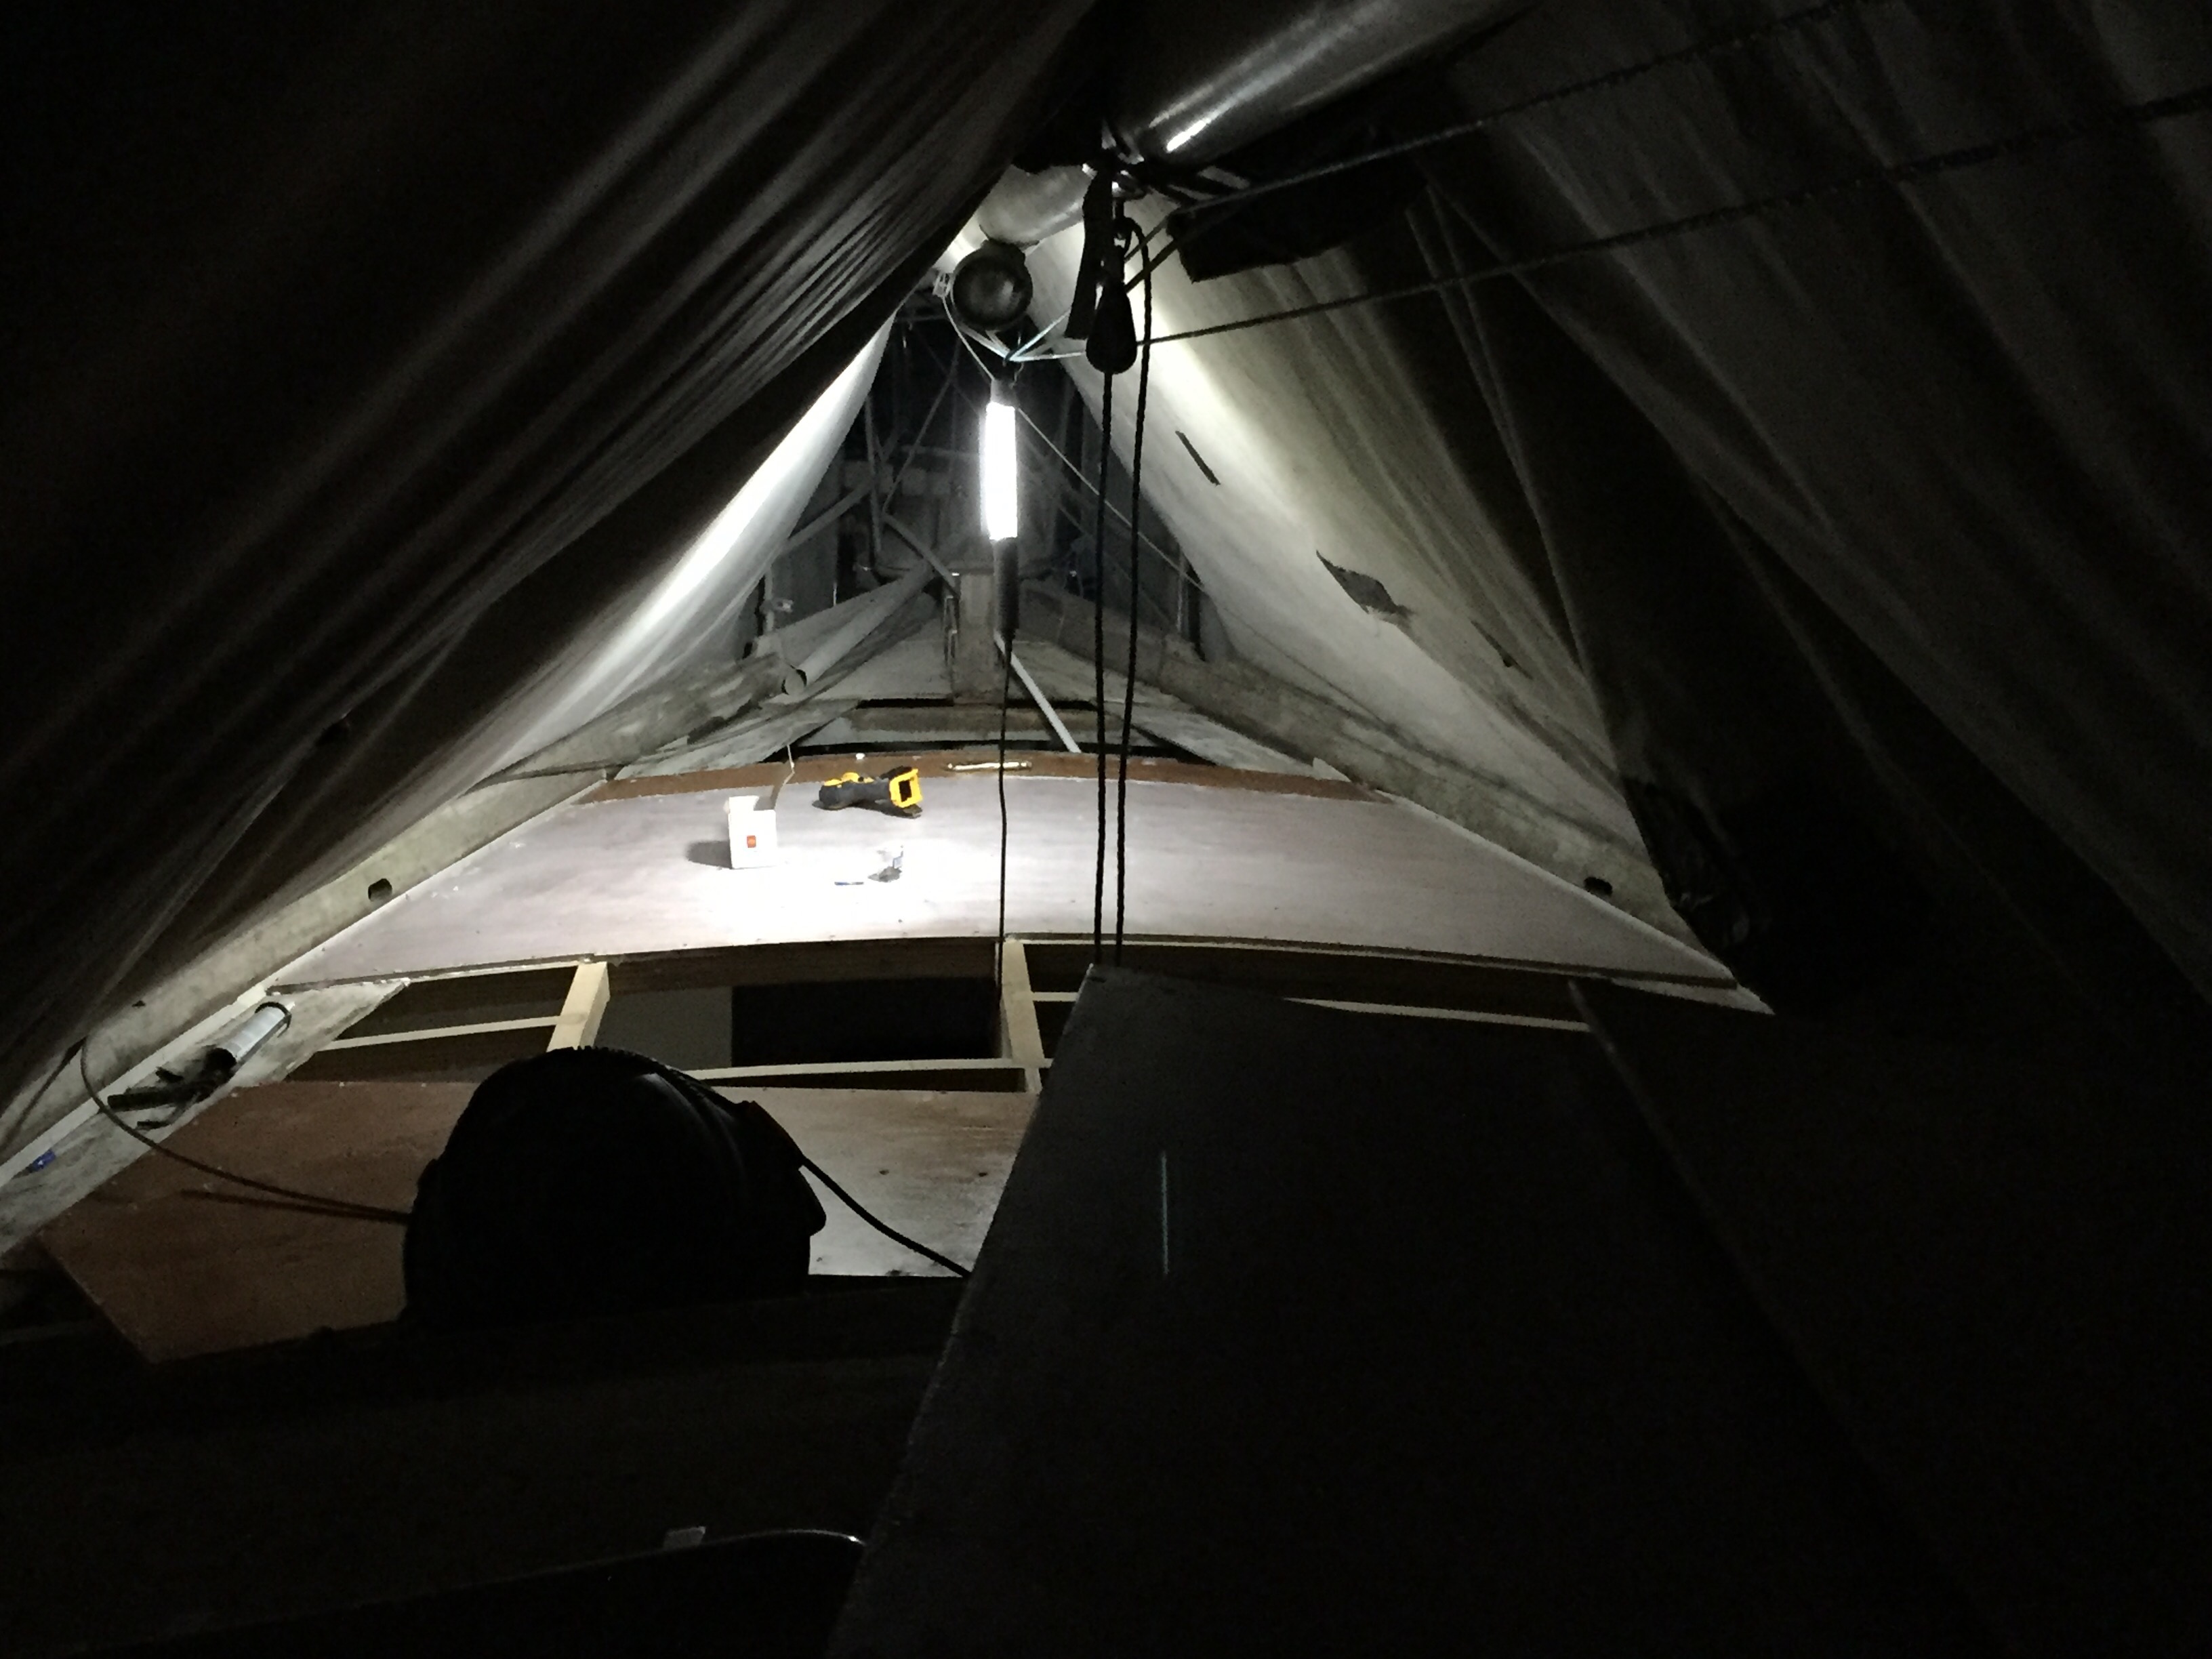
Another red letter day. Two of the deck panels are in place with two more ready to put in tomorrow morning. What a way to celebrate son Chris’s 31st birthday.
They have been screwed, glued, sealed and sanded. They are never coming off.
You know how some people keep things ” just in case”. Well here is a great example of why such a philosophy is important.
Many years ago I laid a new floor at cherry tree farm – one of those floating ones that are so the rage. I bought a pack of wedges to keep it in place as it is laid and then I put them in the garage convinced that one day they would be useful.
Well here they are keeping the hull and deck apart while I clean out the roots and old rubbish that has gradually filled the gap and allowed the water to get in. Tomorrow the sealant goes in and the two parts are bolted together.
I’ll put them back in the garage later. Just in case.
Strictly speaking chain plates are fixed to the hull vertically and the shrouds are attached to them at deck level. In Anne Marie’s case the chain plates are fixed under the deck spreading the load from the shrouds to the deck and hull. Like most things in this boat time has caused damage. In this case rust due to salt water leaking through the deck. Still a little trip to Chatham and hey presto.
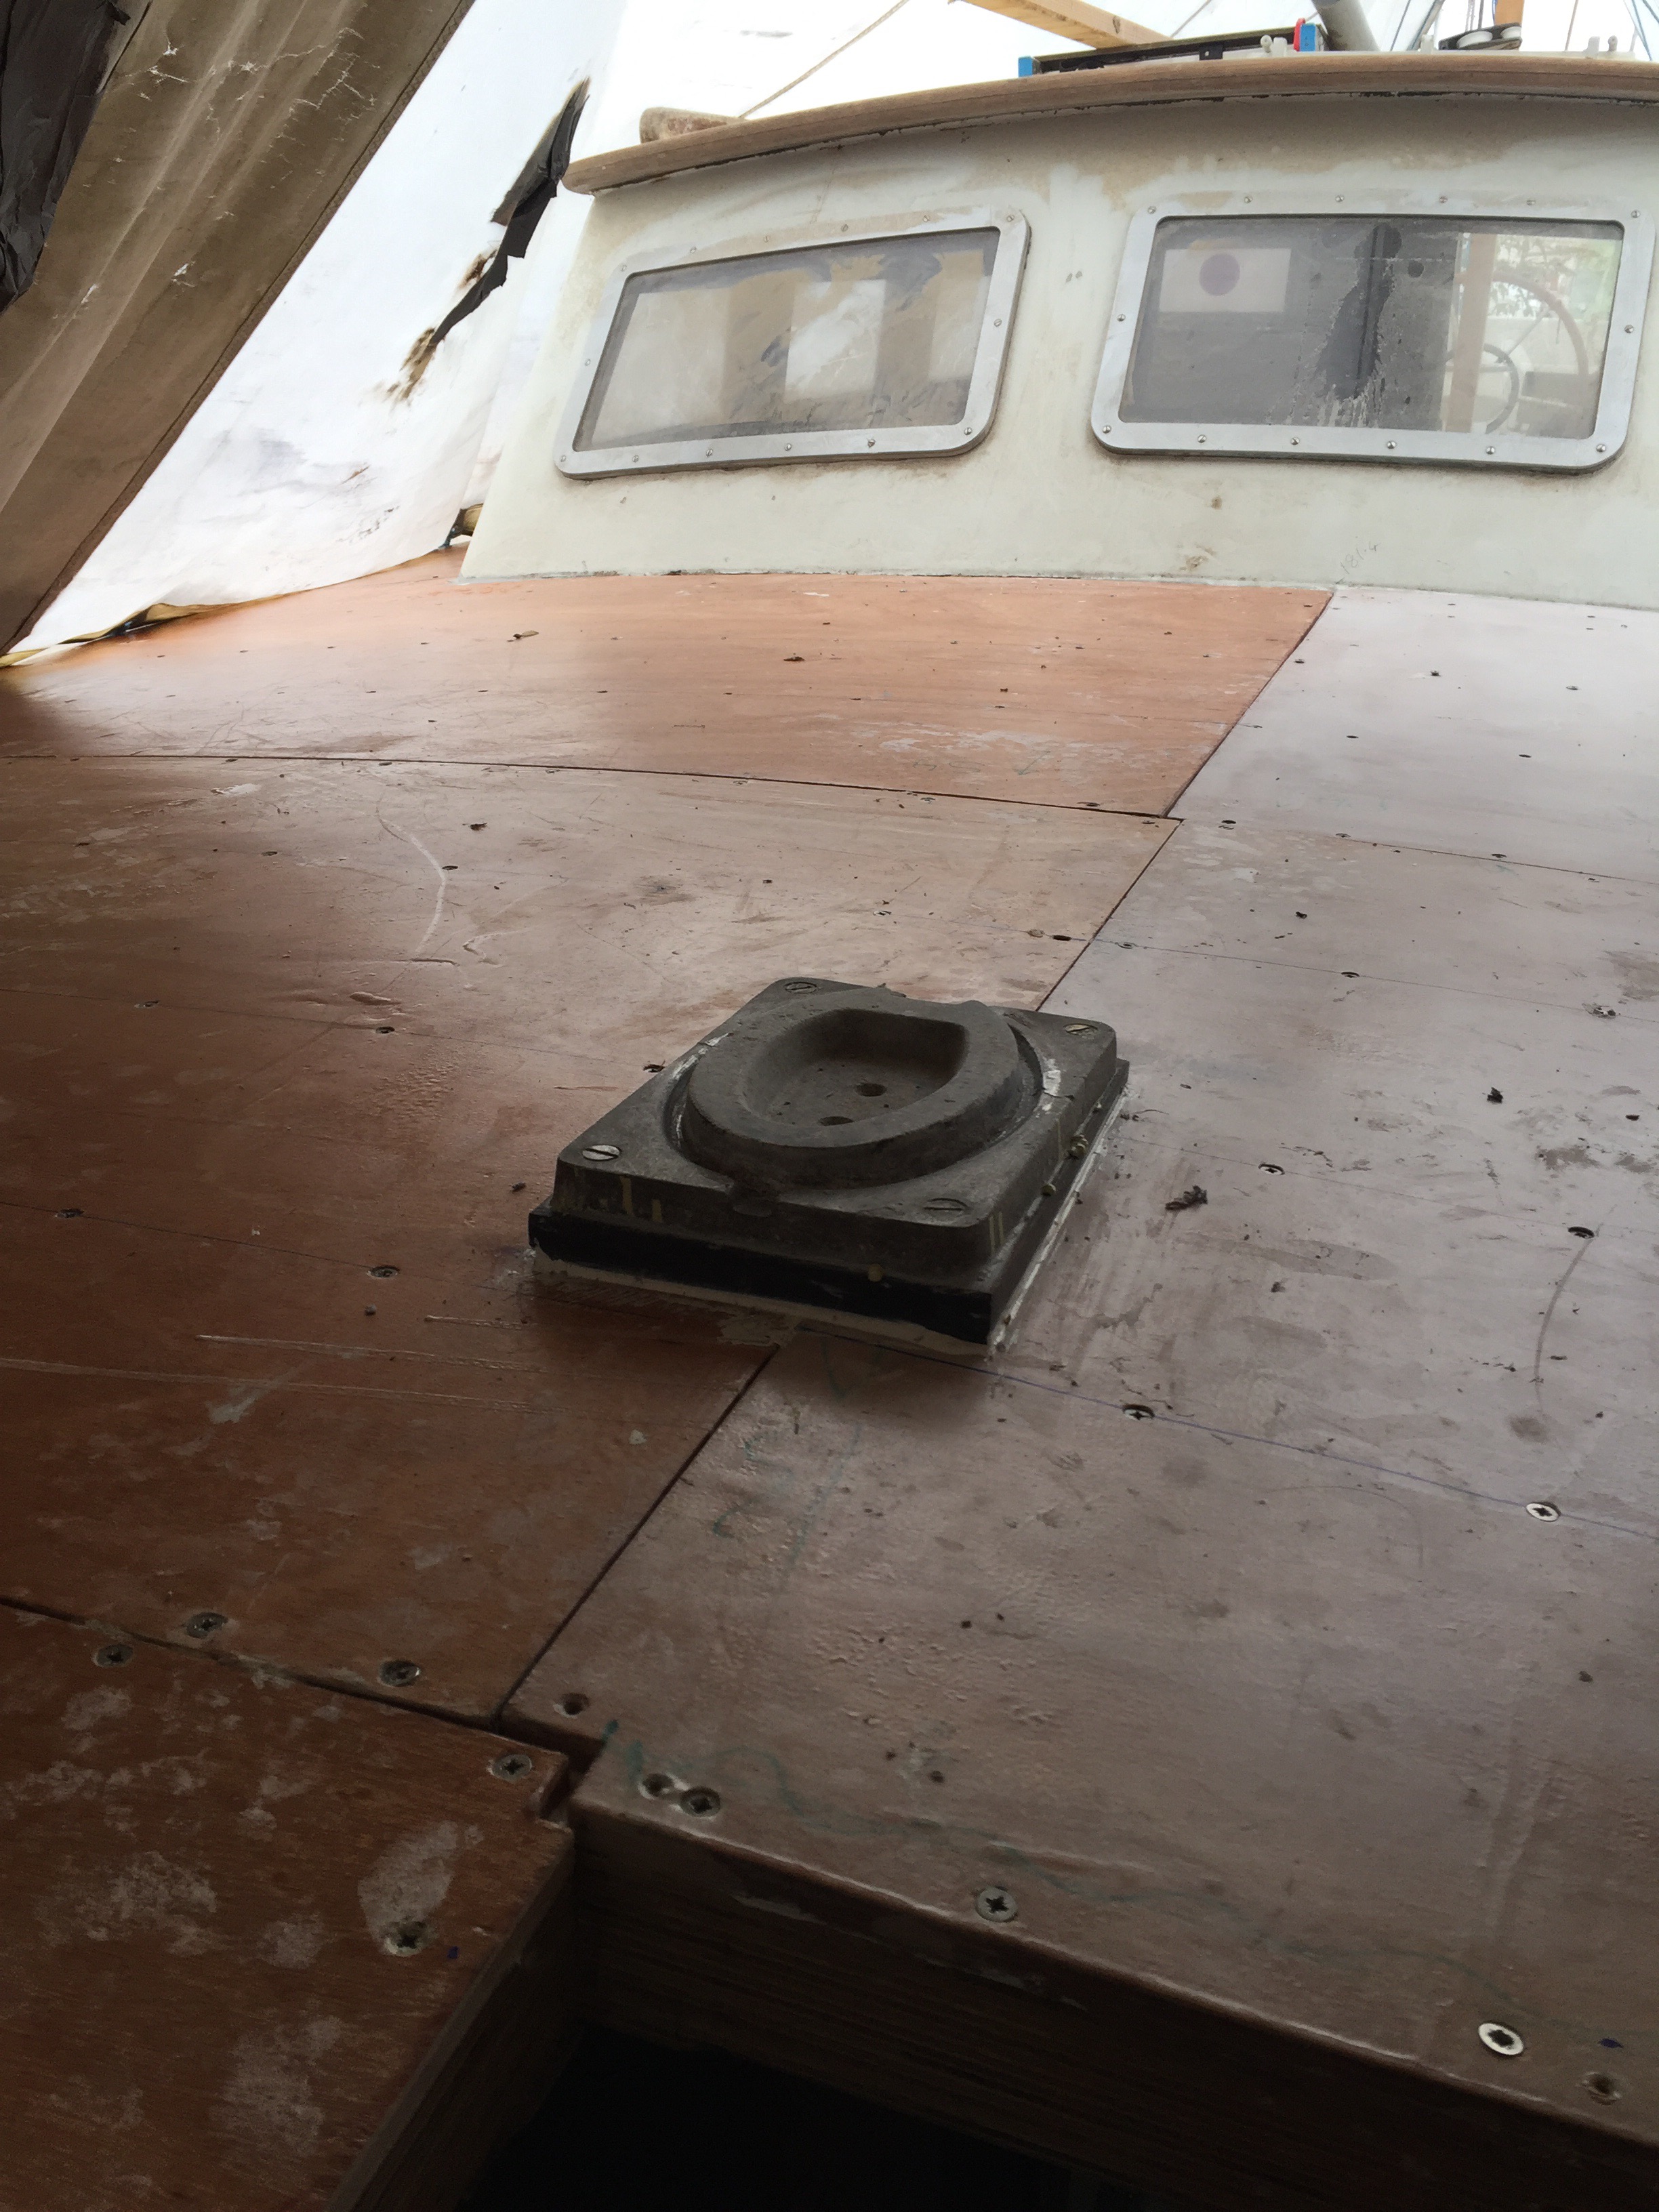
That’s why. The joint between the cabin top and the hull is a) full of roots; b) full of holes from all those fittings, and c) lacking in essential sealant.
What to do?
Scrape it out. Squeeze in gunk. Bolt together. Fill all unnecessary holes. Fibreglass the joint properly. Spread more gunk. Place the new deck sections. Bolt them or screw them down. Put the Toe rail back ( after spreading more gunk). Put another layer of fibreglass resin over the whole thing. Get new posh “plastic teak planking” put on. Fix all the fittings all with lots of gunk.
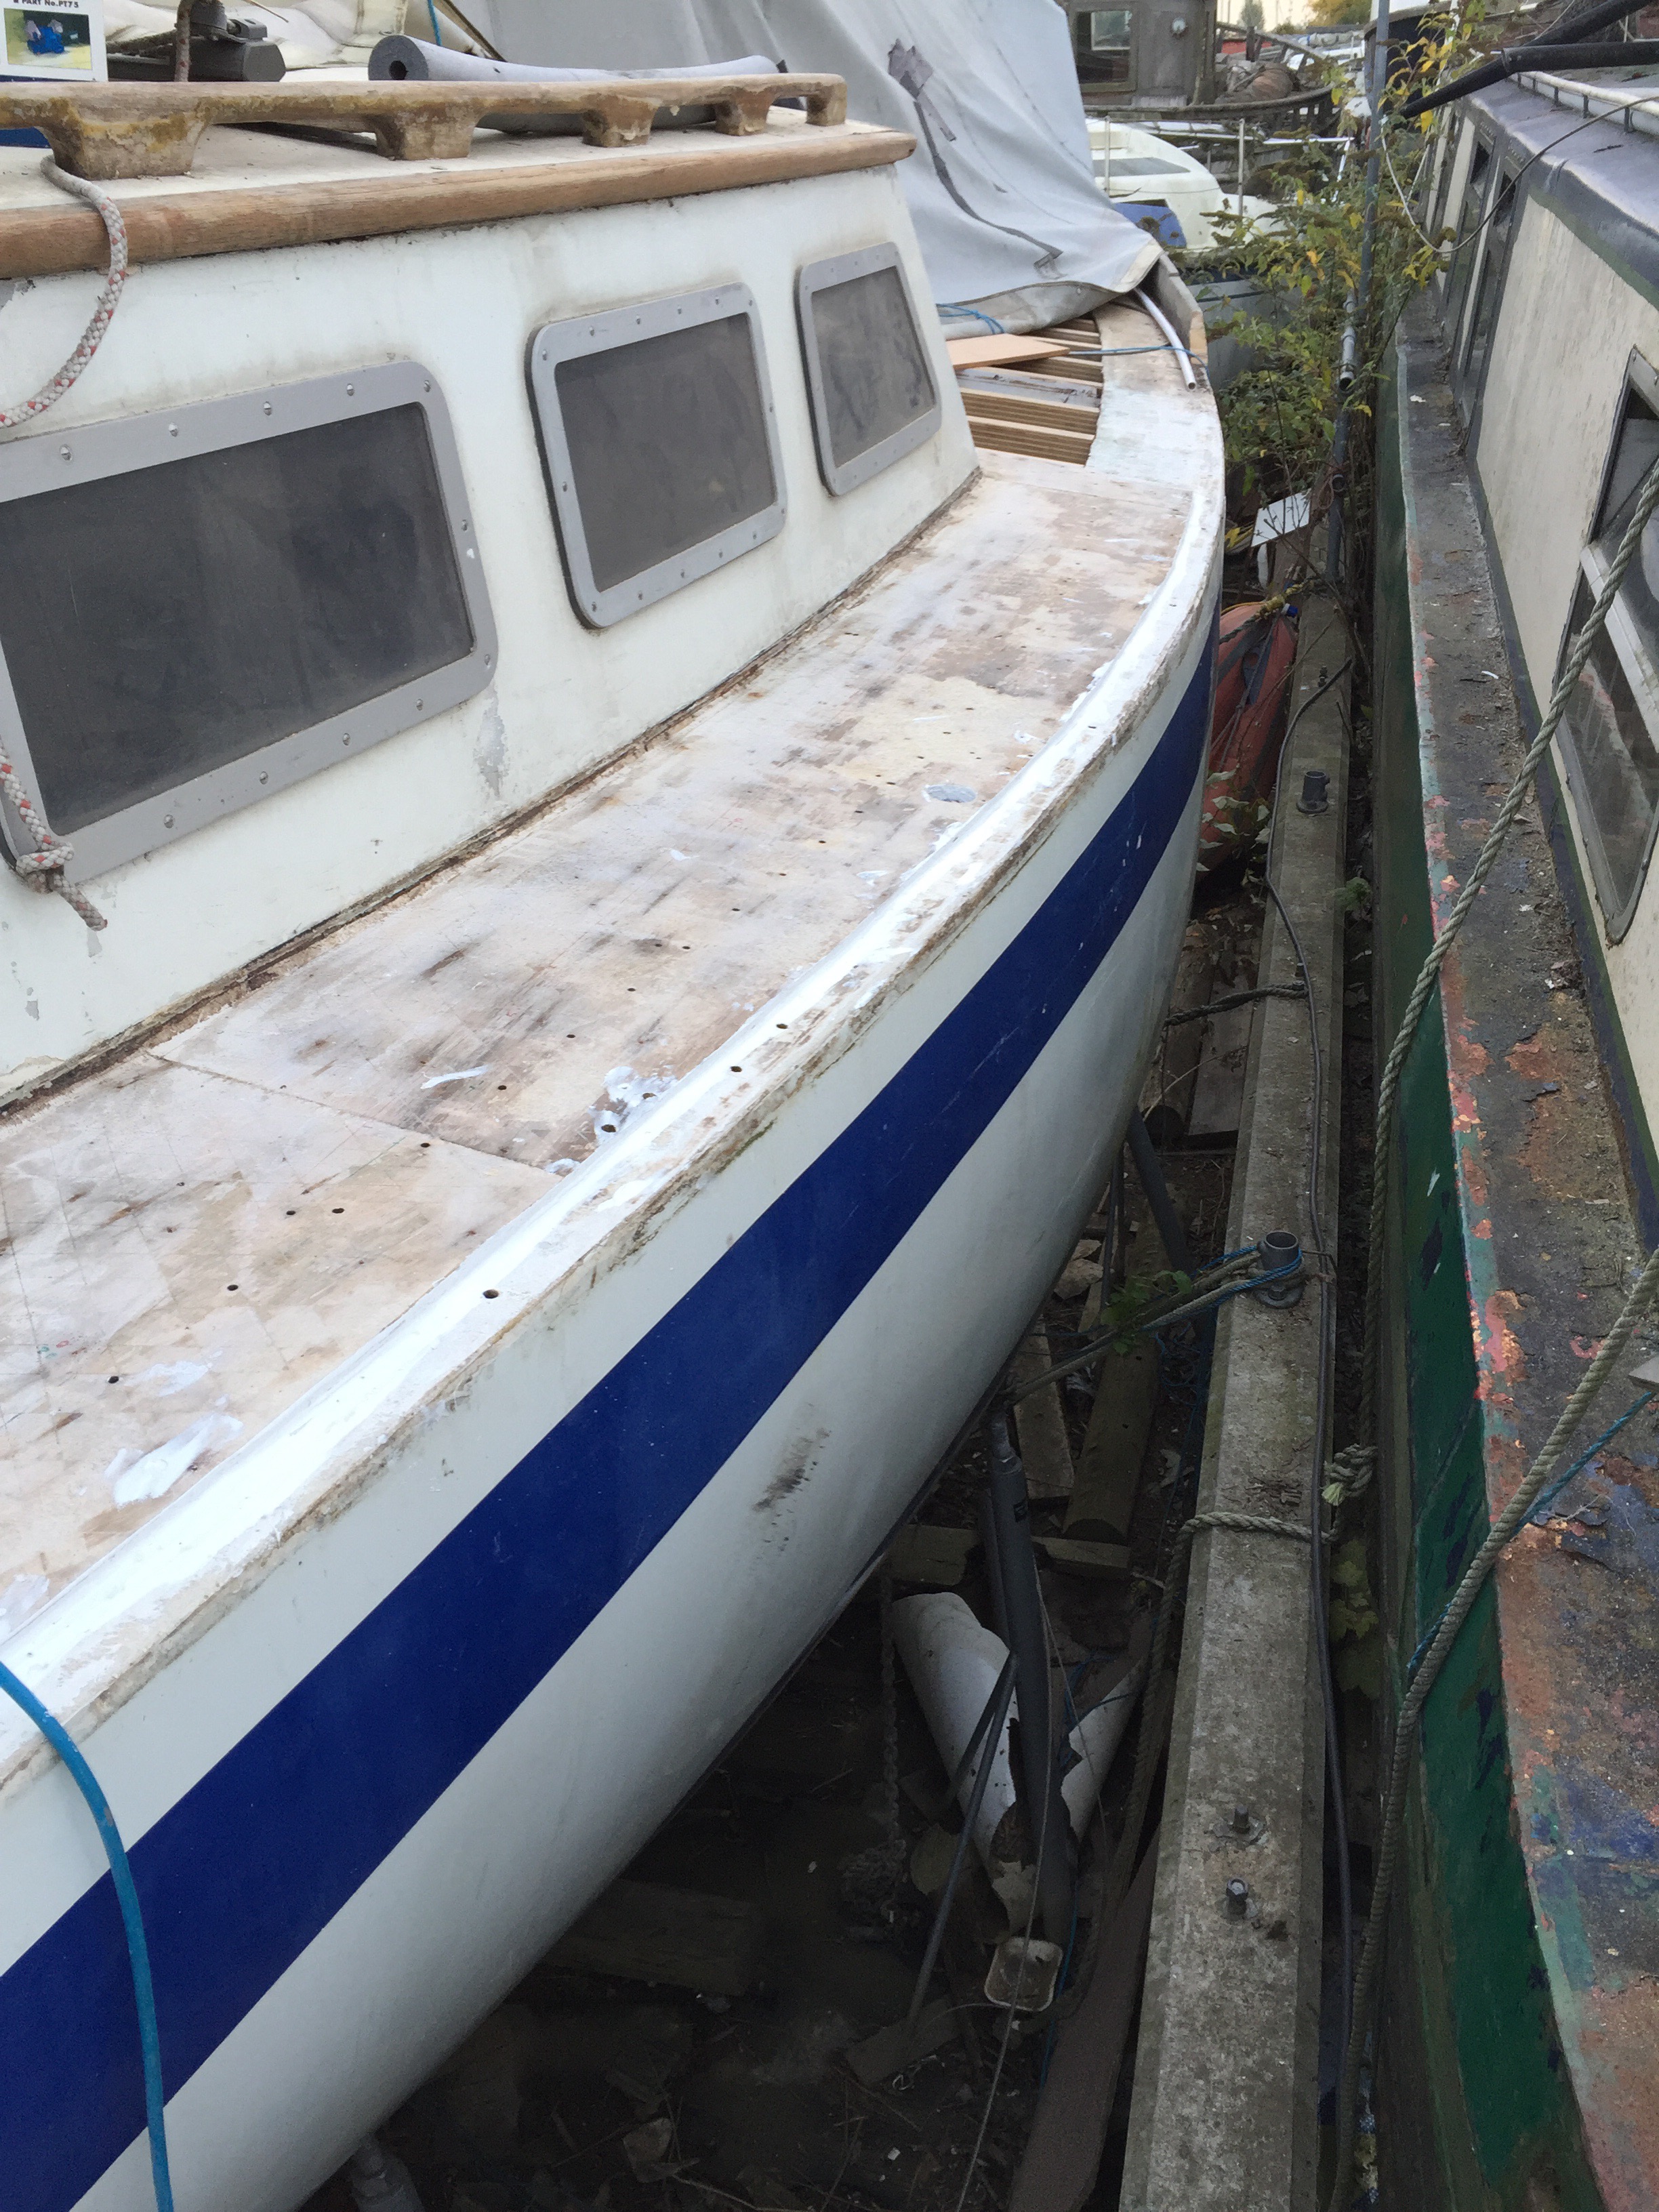
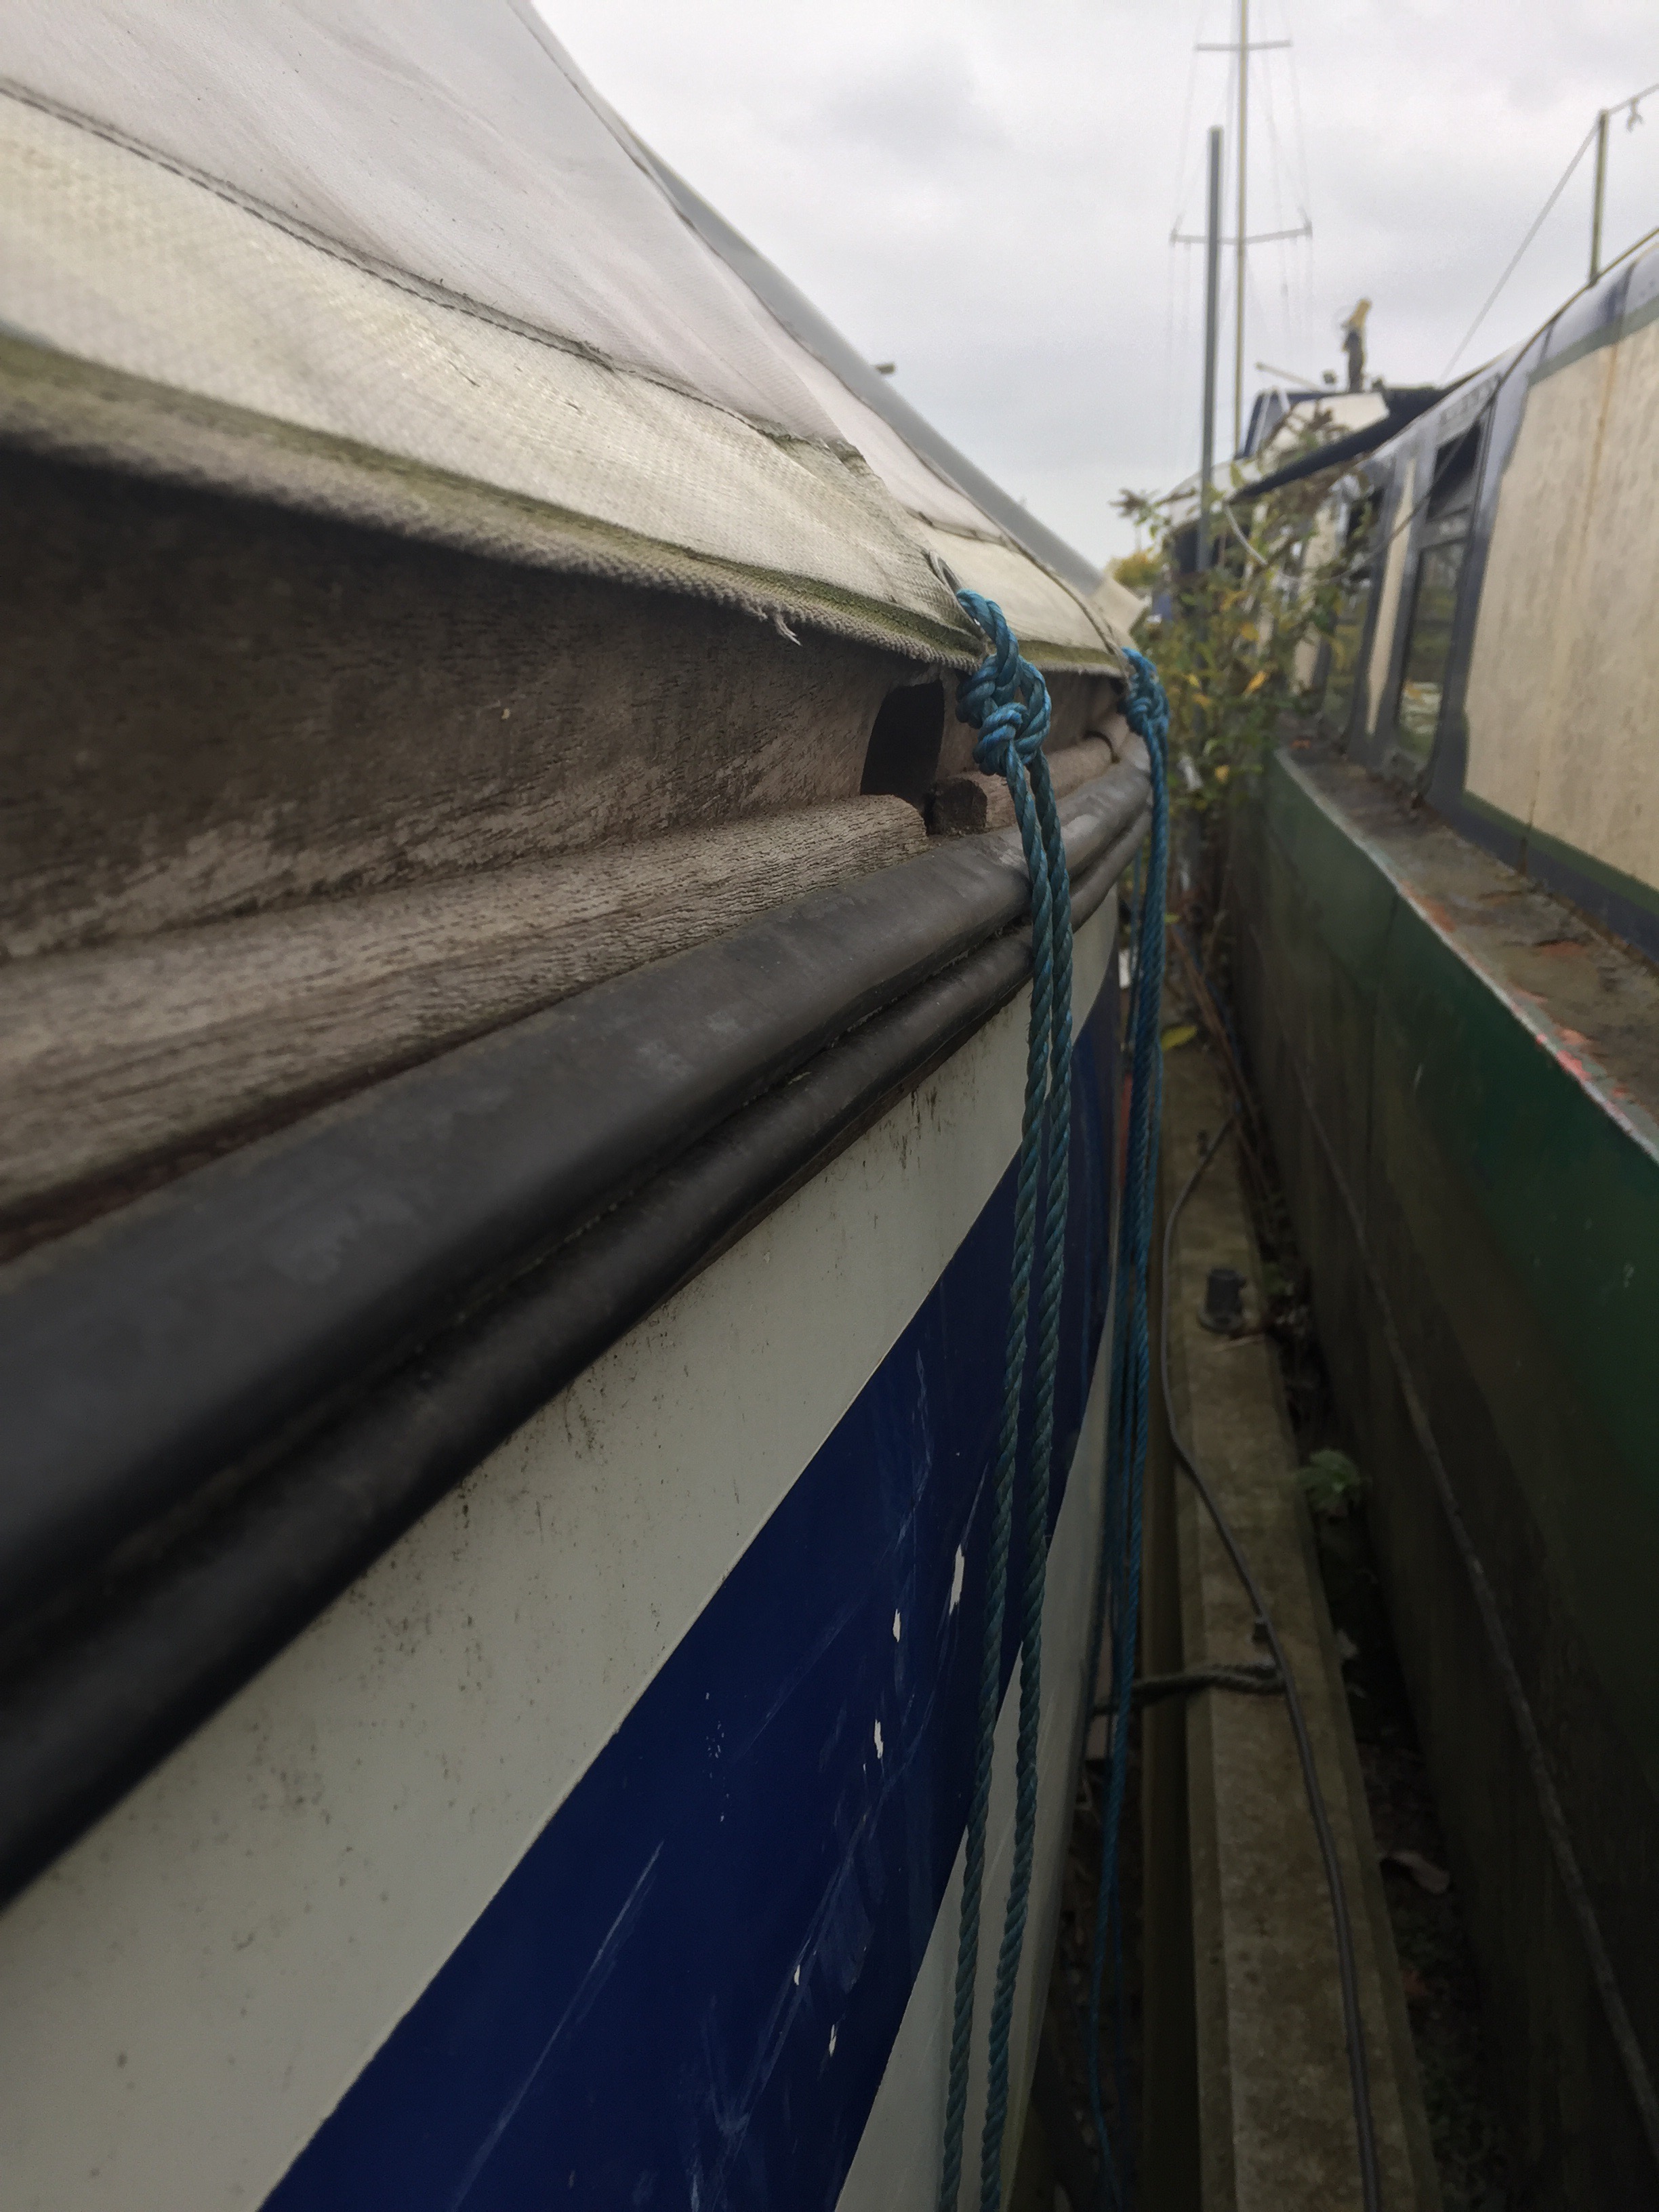
The Toe rail prevents people and things falling off the side of the boat. The rubbing strake helps to prevent damage to the boat when it is bumping up against other objects such as quay sides.
I need to gain access to the side decks to seal the hull-to-deck joint and that means removing the toe rail. Here we have the stern toe rail (with the new deck sheets being fitted).
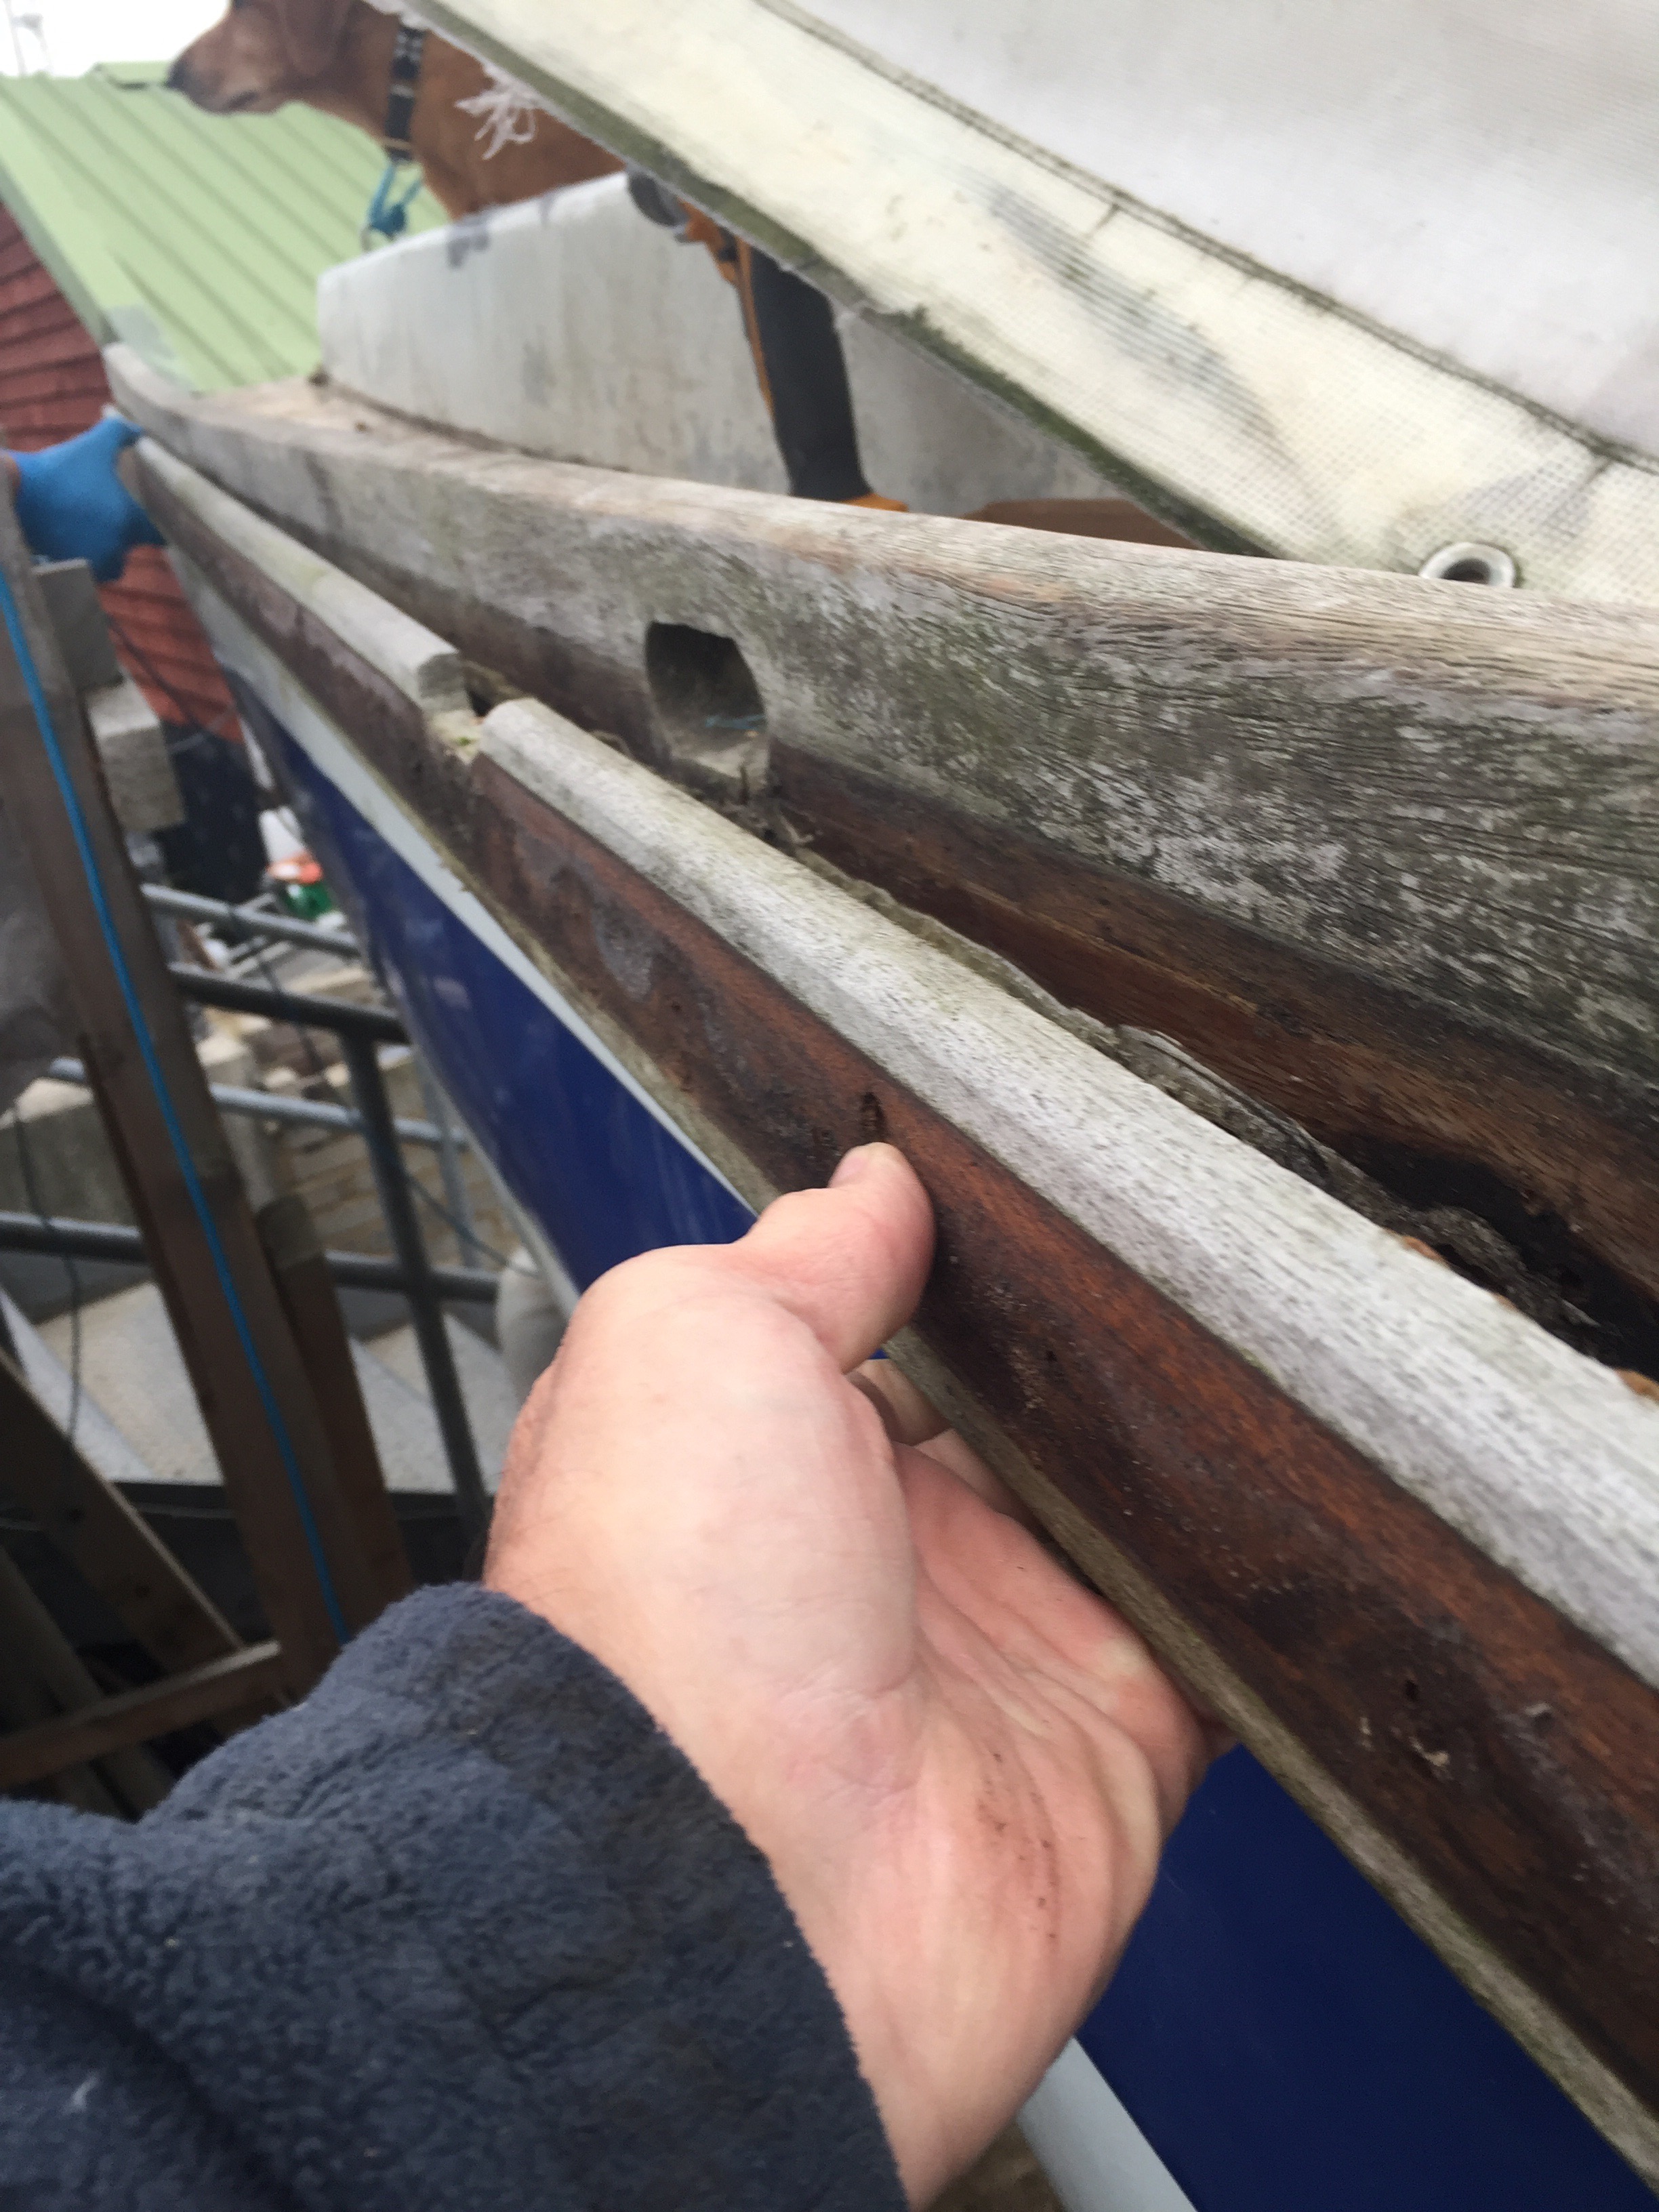
The stern toe rail with new deck being tested. See the black rubbing strake bottom left.Toe rail and rubbing strake hanging looseToe rail removed with rotten section lower leftRot is clearly visible as are the bolts which supposedly hold this in placeMore of the same!Here you can see the toe rail, the black rubbing strake and the separate teak plank between
On the sides of the boat there is a second plank of teak rubbing strake beneath the black rubber one
Toe rail – starboard quarter – being removed.
The toe rail is fixed by large bolts through the hull and supposedly sealed with marine sealant. The rubbing strakes are screwed to the toe rail.
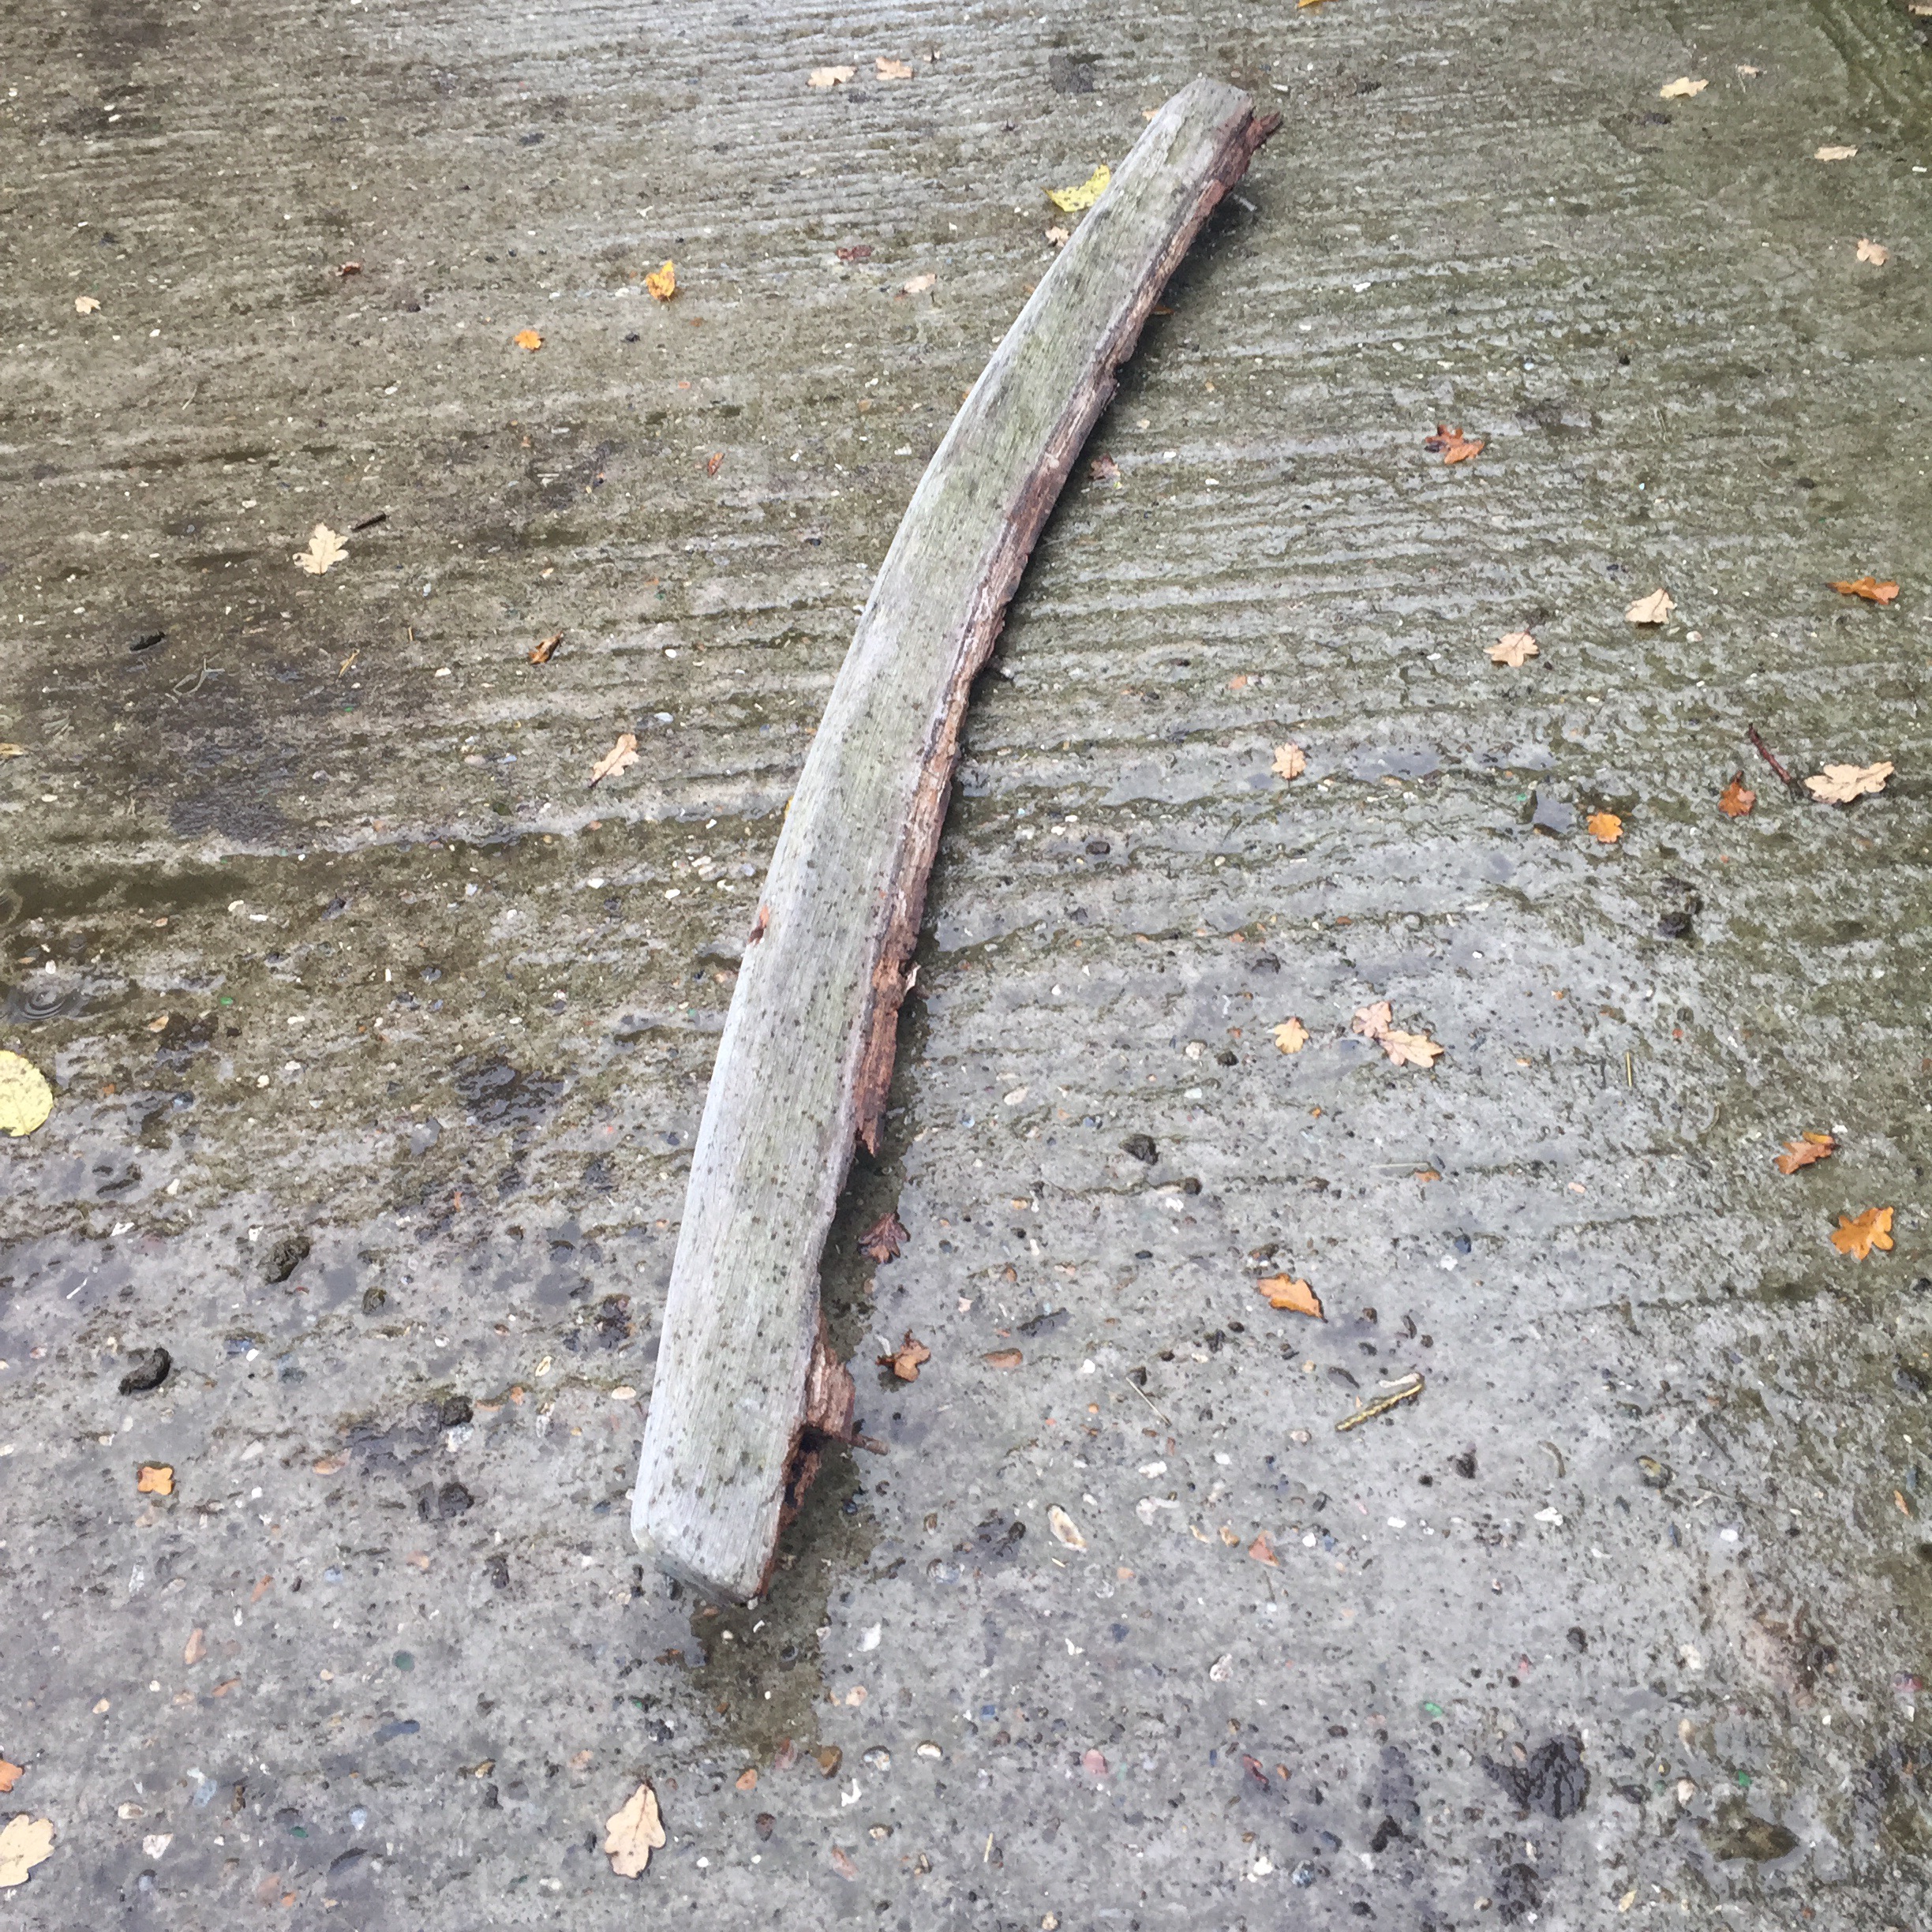
You can see from the photograph that part of the toe rail is rotten . I will need to cut out the rotten section and glue in some new pieces. The Toe rail will also need to be sanded down and treated with teak oil or varnish.
I am taking all the Toe rails off except the very bow sections. They are coming off quite easily which is worrying. I will explain the way to seal the joints between deck and hull in the future.